

I created this layout using only cardstock, ribbon and embellishments. No need for patterned paper when the ribbon is pretty!

Project Recipe:
Your first step is to cut all of your cardstock layers.
On that bottom layer of black cardstock is where I adhered my mitered corner glitter washi tape. I simply cut strips of the washi that where 11.75” long, snipped those corners and adhered to the cardstock.

Then cut different lengths of the gold star ribbon to fit on the top 2/3 of your layout. I cut 12 pieces.

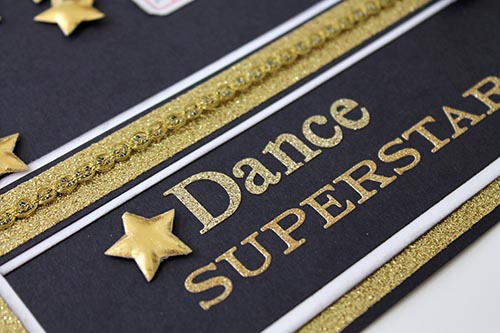
I also created a border with the glitter washi tape, matted in a couple of layers of cardstock. I also added a piece of the 3” gold mesh near the middle of the layout.

I chose to use a glue gun to adhere my strips of gold stars.

I also added a strip of the gold chain cord ribbon to my border. It adds some very pretty texture and more shine. I also cut a single star from the ribbon to accent my golden title.

The final step is to mat your photo, and add a few more simple embellishments. I used some more of the gold washi tape to create photo corners.

By Tracy McLennon
Other Supplies Used:
- Cardstock- Black and White
- Gold Glitter Washi Tape
- Gold Glitter Letter Stickers
- Assorted Gold Buttons and Brads
- White Tickets

That is just beautiful, I love the idea!! awesome layout.
Thank you so much!
Beautiful layout, LOVE the star ribbon.
Sue
https://suek86401.blogspot.com/
Thank you! I cannot get enough of anything gold these days!
This is gorgeous!!!
What a way to accentuate a theatrical dancer’s picture!
Thank you! Dancers and stars….they go together like peas and carrots!
Such a gorgeous layout! Love the gold with black as the backdrop. Your daughter must love it so much!
Thank you so much! She does love it! We have 2 teenage daughters, and I have to make sure I do the same number of layouts for each. It does not go unnoticed 🙂
STUNNING layout Tracy!!!
LOVE each & every golden element in your BOLD & BEAUTIFUL design!!!
Thank you so much! Gold is so hot right now, and I love it!!