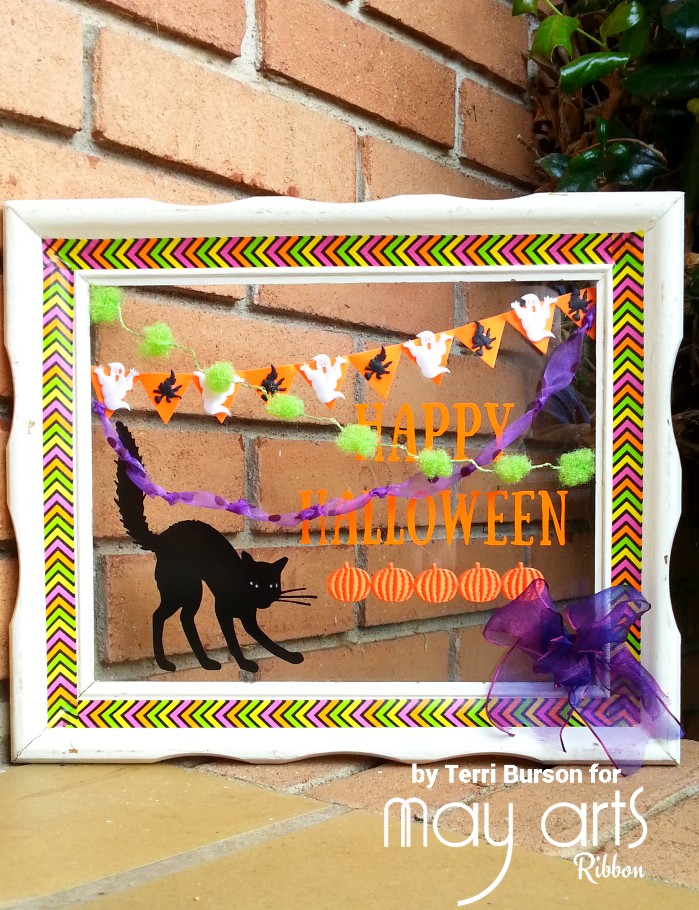
DIY Halloween Decor: Upcycled Picture Frame
I love to upcycle old things and give it new life. Luckily, my mother is like-minded, so guess who’s garage I raided for this project? You guessed it. My mother loves to refurbish junk and turn it into treasure so when I was looking for a picture frame, I knew she’d have just what I needed.
May Arts Ribbon Used:
- A486-1-28 1” Orange Adhesive Flag Ribbon (10”)
- EX-01 3/4” White Ghost Ribbon (5 pieces)
- EX-08 3/4” Black Witch Ribbon (5 pieces)
- EX-28 3/4” Orange Pumpkin Ribbon (4”)
- JE47 1.5” Violet Sheer Iridescent Ribbon (18”)
- 346-46 Fuzzy Pom Pom Wired Ribbon, Parrot Green (10”)
- QD47 1.5” Purple Sheer Ribbon Velvet Dots (14”-trimmed to ¾”width)
I chose to leave my 8.5” x 11” picture frame as is; banged up. The cracks and dings in the paint give it character, so I chose not to alter it. I used my Cricut Explore to cut the vinyl black cat and Halloween text and placed it directly on the front of the glass. You could use removable vinyl and switch out the designs and ribbons for this frame each season. If you don’t have die-cutting capabilities, you could easily substitute for clear backed stickers.
To drape my ribbon trims, I added some tiny adhesive dots to each end and tucked them behind the edges of the inner framework. For the purple velvet dot trim, I cut the ribbon in half lengthwise and knotted it approximately every 1”. The orange flag trim has an adhesive backing, so there was no need to add glue dots. I simply peeled the backing off and adhered to the glass. I trimmed my witch and ghost ribbon and added them to my banner with adhesive dots as well. *Tip – if your adhesive dots are too large, trim them into quartered sections to get a smaller, workable piece.
To finish off my project, I added some washi tape around the frame, that coordinates with my ribbons and added a gorgeous iridescent Violet sheer bow in the corner.
By Terri Burson
Other Supplies Used:
- Tombow adhesive dots
- Doodlebug Design washi tape
- Oracal Vinyl


