DIY Handmade Seed Paper
Welcome back to the May Arts blog! Today we’re going to show you how to take those bits and pieces of scrap cardstock or paper and recycle them into a whole new product. You’ll need just a few simple supplies and a kitchen blender. Your kids will love this project too! Even my husband was intrigued by the process. It’s really easy and so much fun! Ready?
Supply List
- Scrap cardstock or printer paper (enough to equal 4-6 sheets of 8 1/2 x 11” paper)
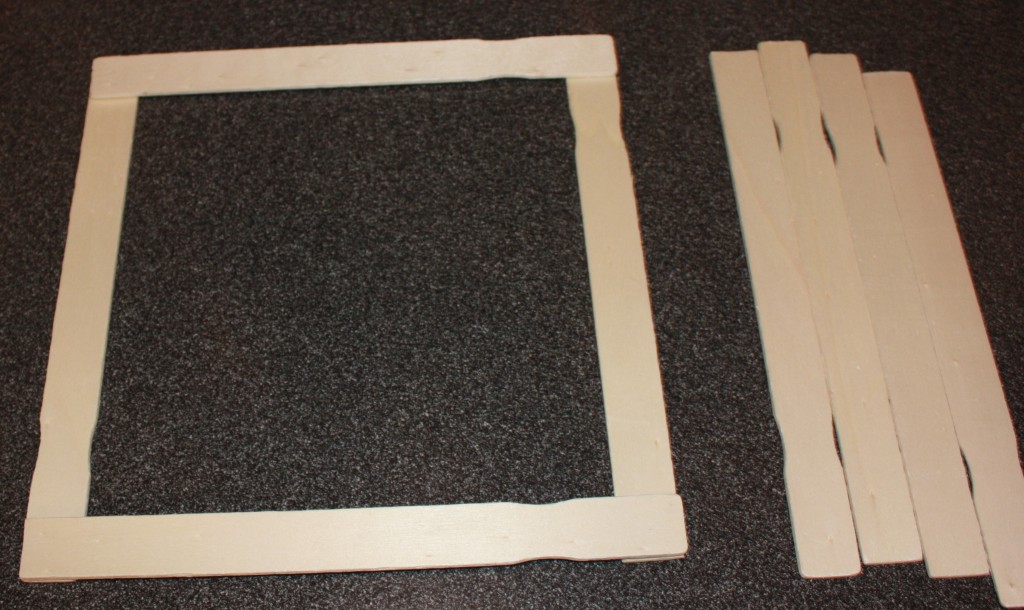
- Paint sticks or tongue depressors (this depends on the size of paper you want to make)
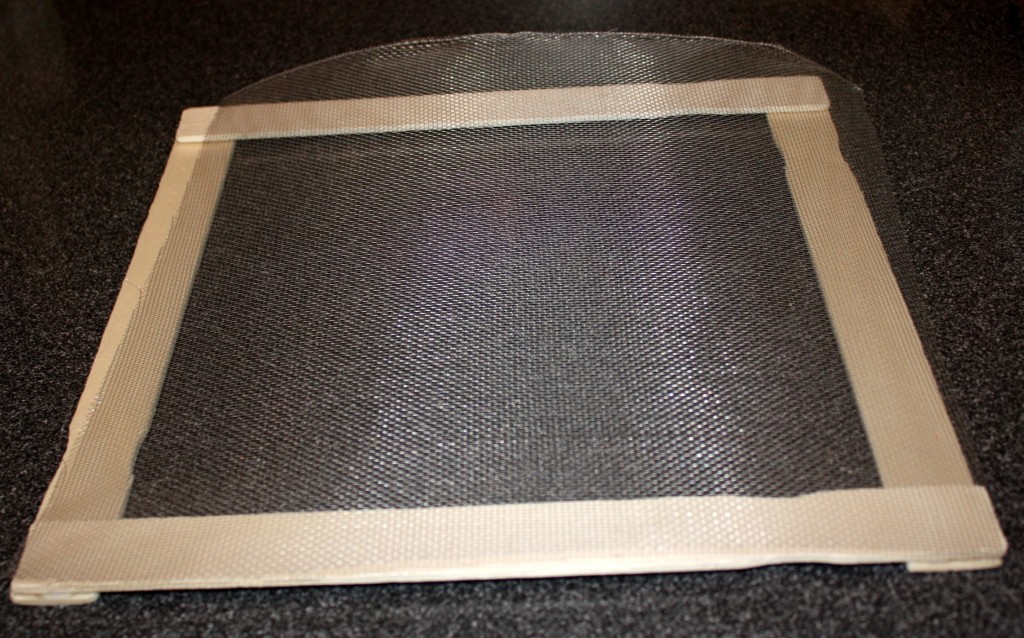
- One square of metal screening (mine is 13 inches) (NOTE: the cut edges can be sharp so don’t let your kids do this part)
- Glue or staples
- Duct tape
- Water
- Packet of flower or herb seeds
- 13 x 9” pan plus a cookie sheet or another pan to catch drips
- Several old towels
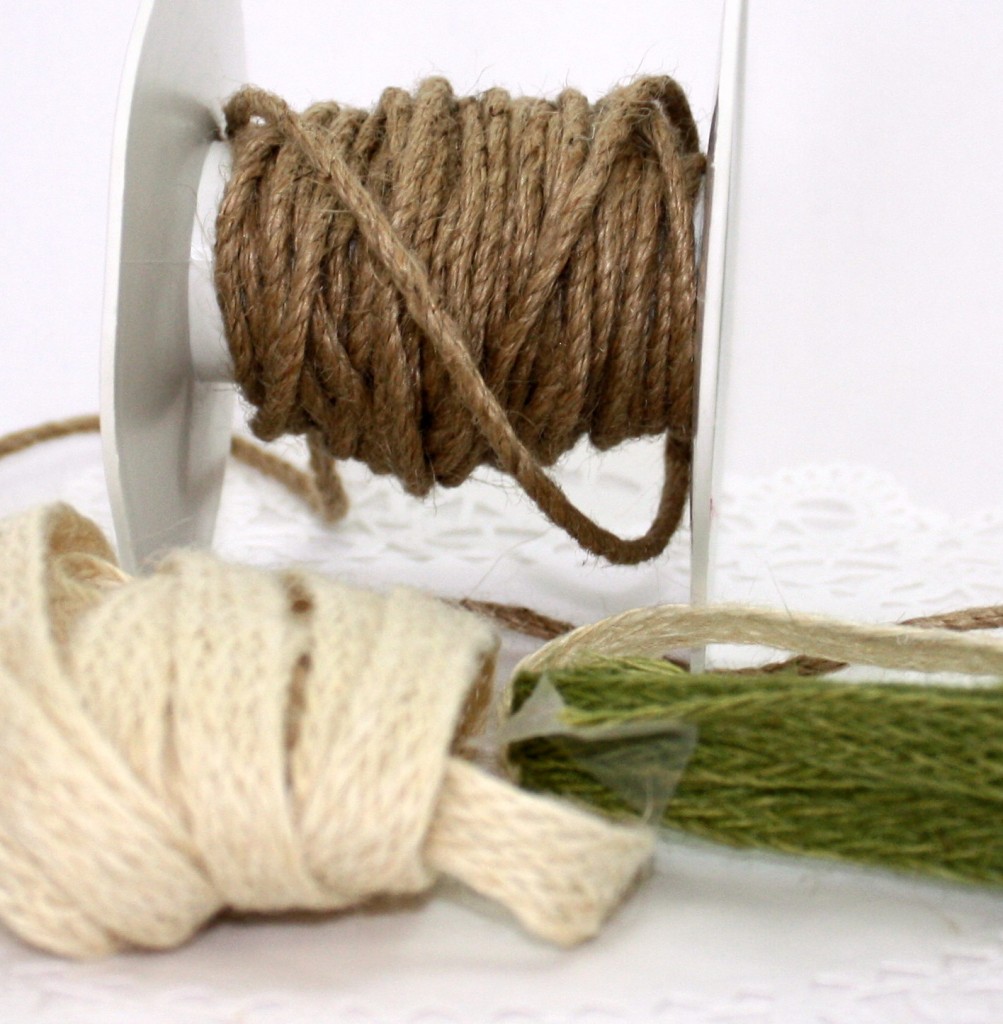
- May Arts Natural Burlap Cord SP10, Woven Burlap 408
- Optional – dried flower petals (I save the roses my hubby gives me 😉
Make the screen:
Lay 4 sticks so that they overlap one another to make a square. Staple or glue together.
Lay the screening over the sticks.
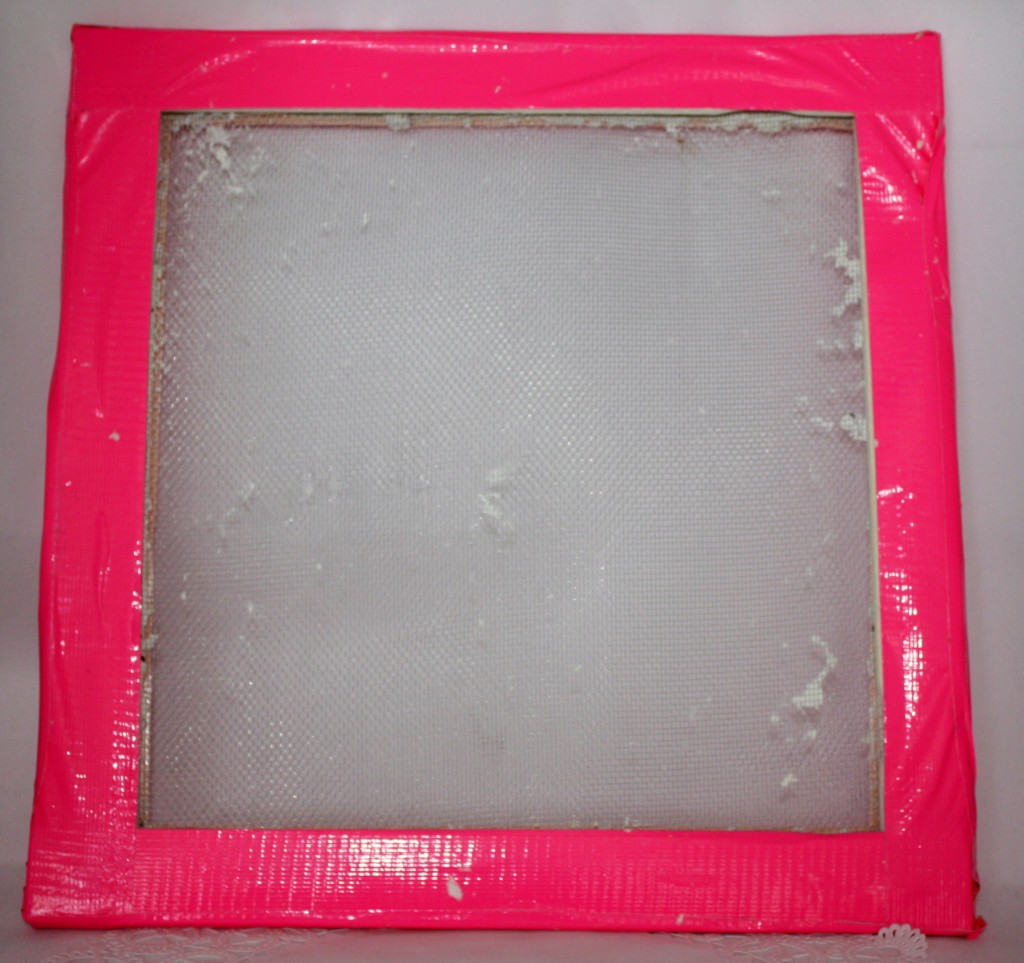
Lay 4 more sticks over the screening; staple through all layers. Cover with duct tape. (I got so excited I forgot to take a picture before I used mine. Love that hot pink duct tape!
Make the paper
Tear paper scraps into 1-2” pieces and place into the blender. Pour in enough warm water to cover the paper. Blend until the paper mixture looks like oatmeal. (You may need to add more water as you blend.)
Cut the May Arts burlap cord and Woven Burlap into small pieces. Place in the blender and blend for a few seconds.
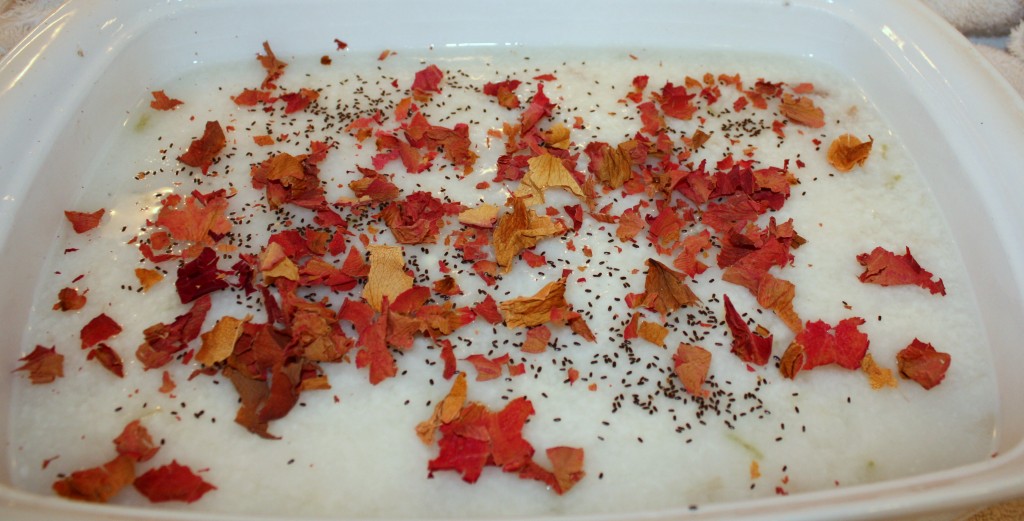
Now, fill the 13 x 9” pan about half full of warm water. Pour in enough pulp to make a thin “soup”. (I experimented making some thicker and some thinner. I liked both!) Sprinkle in your packet of seeds (I used lavender seeds because they’re black) and crushed flower petals, if using, and stir them in.
Sorry, I got so excited I forgot to photograph this next part.
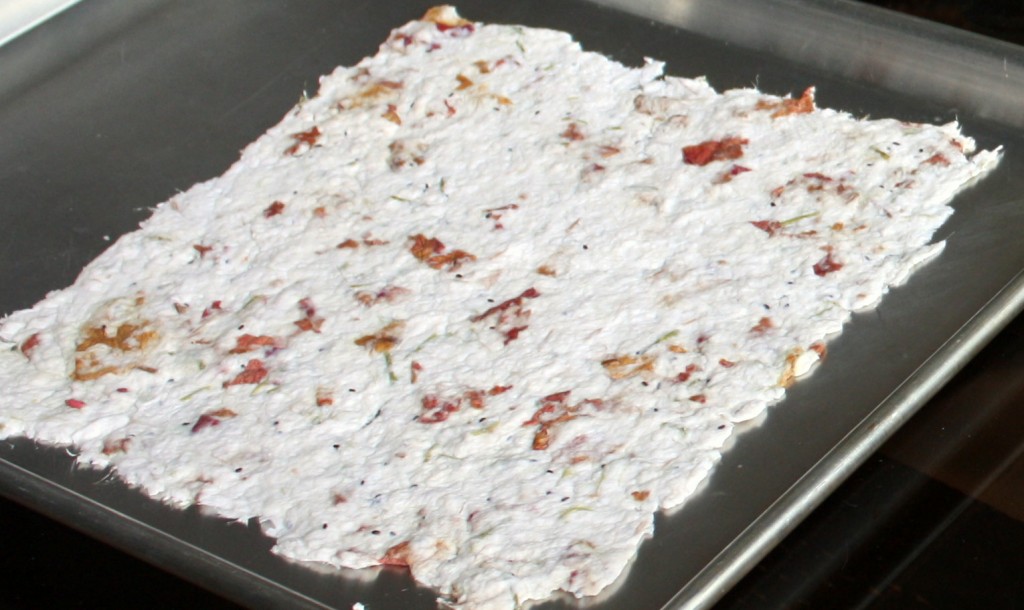
Lay your screen over the empty pan. Ladle enough pulp into the screen to cover it. Once the screen is covered, press the water out with the back end of a spoon, then, carefully tip the frame upside down over a doubled up towel. With another towel, press on the screen to remove any excess water, then gently lift the frame. Don’t worry if any edges stick; just gently coax them off with a table knife.
Repeat with the remaining pulp.
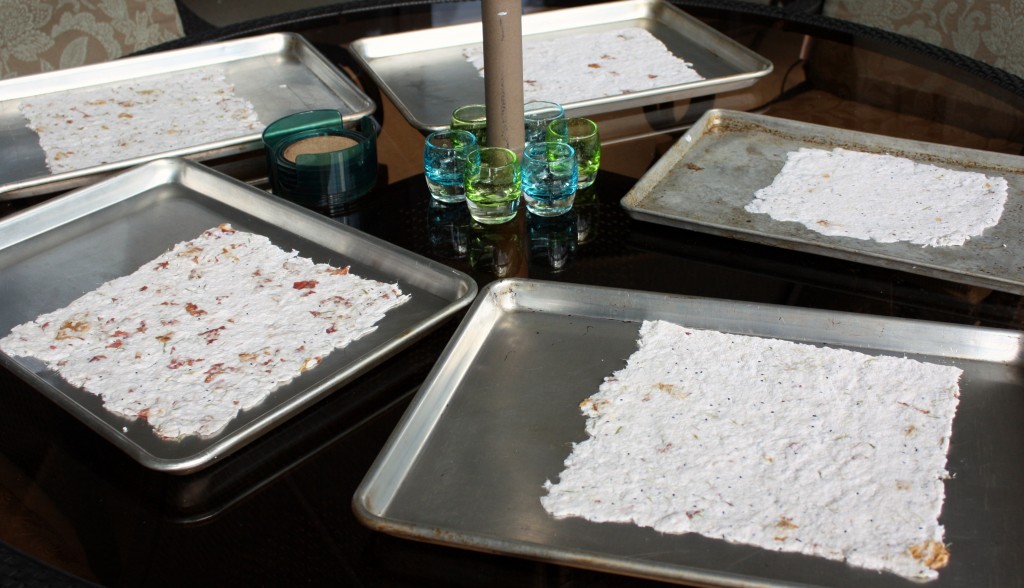
When dry enough to move from the towel; Lift and transfer the seed paper to cookie sheets and let dry overnight.
I got 5 – 12 inch seed papers from a single batch. Some will have more petals than others. That was ok with me because I liked the variety.
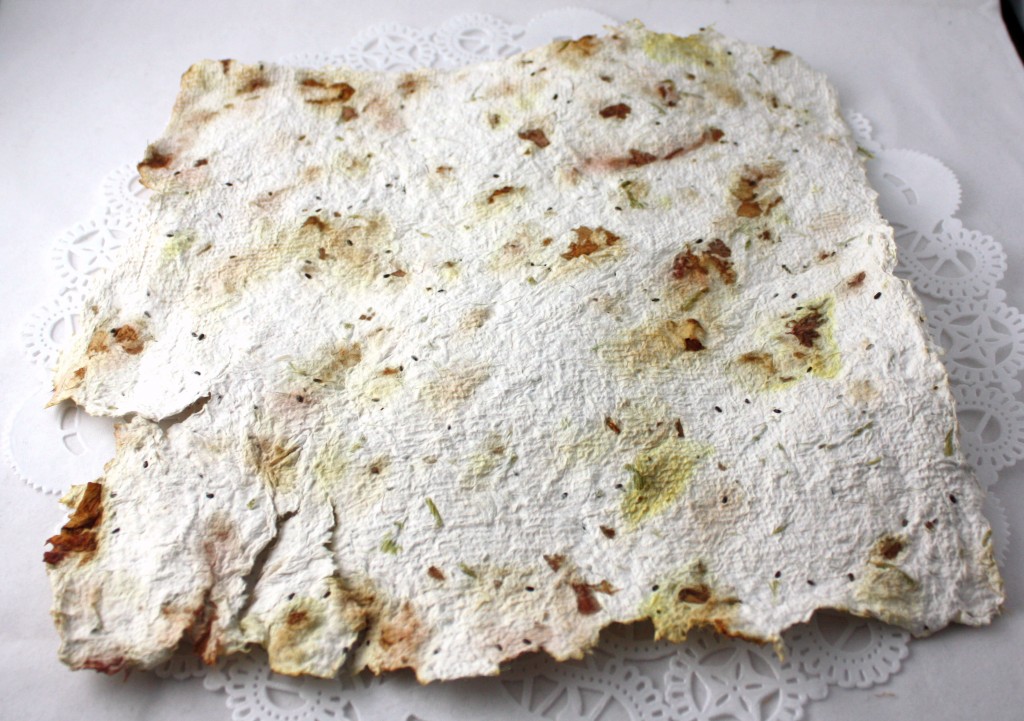
Here’s what the paper looks like when it’s dry.
You can see the bits of green and brown burlap, black seeds and colorful petals. The paper will flatten out after it sits.
Ok, now that you have all that gorgeous paper, what are you going to do with it? I have a few ideas but I bet you can think of many more.
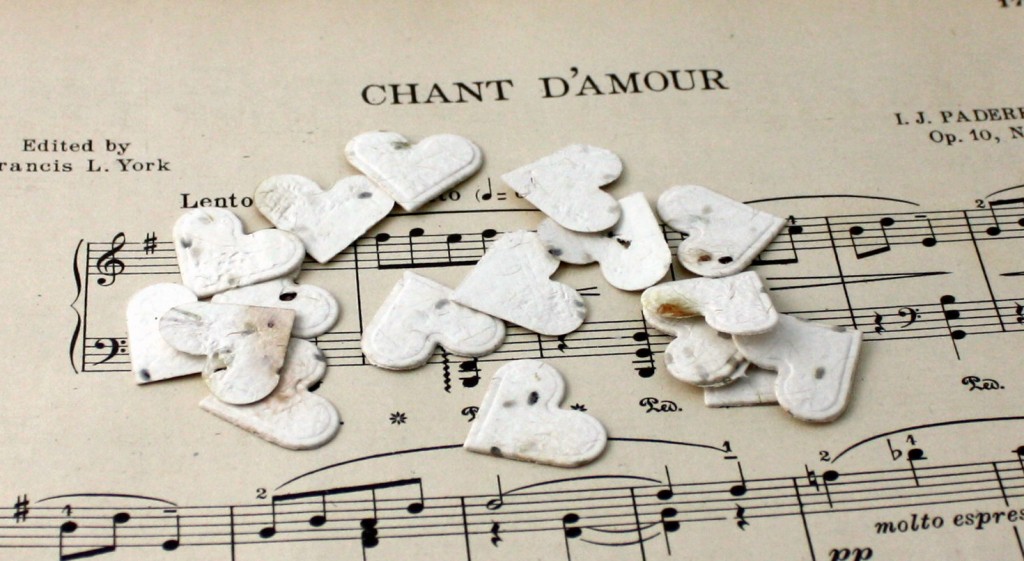
I cut some into little heart shapes with a metal die and then,
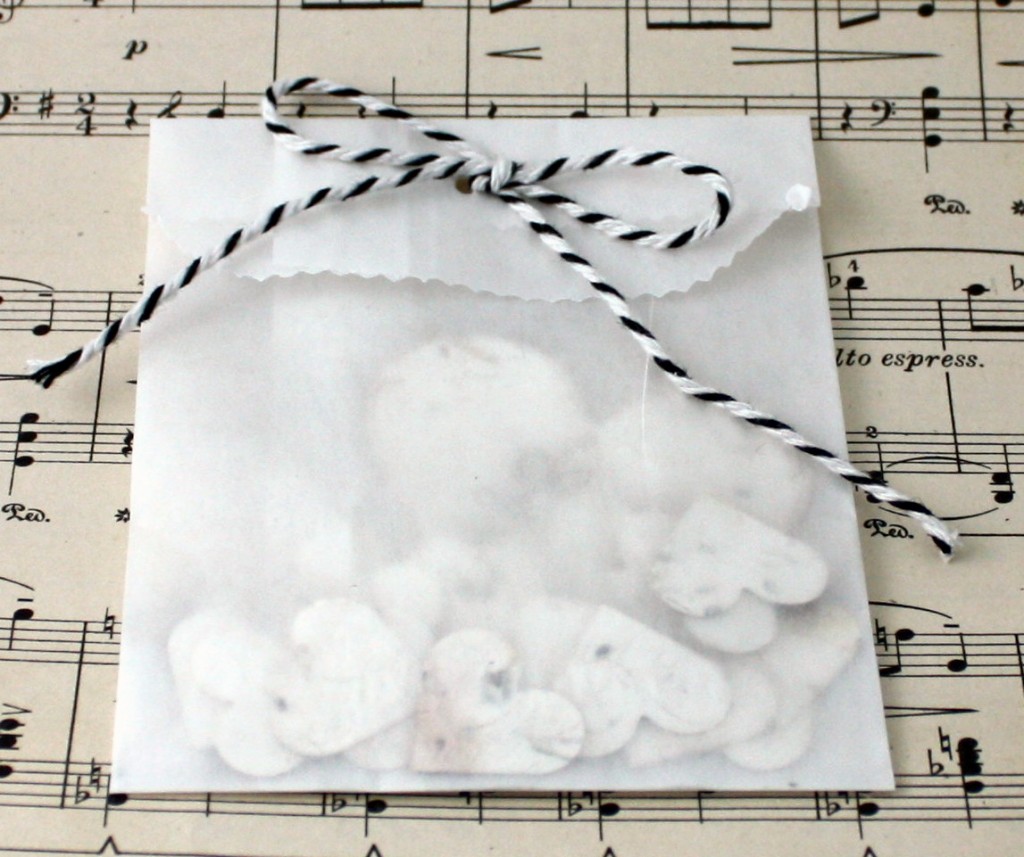
packaged them up to use as wedding confetti. I tied my glassine bag up with May Arts Baker’s Twine. The quality of this twine is amazing!
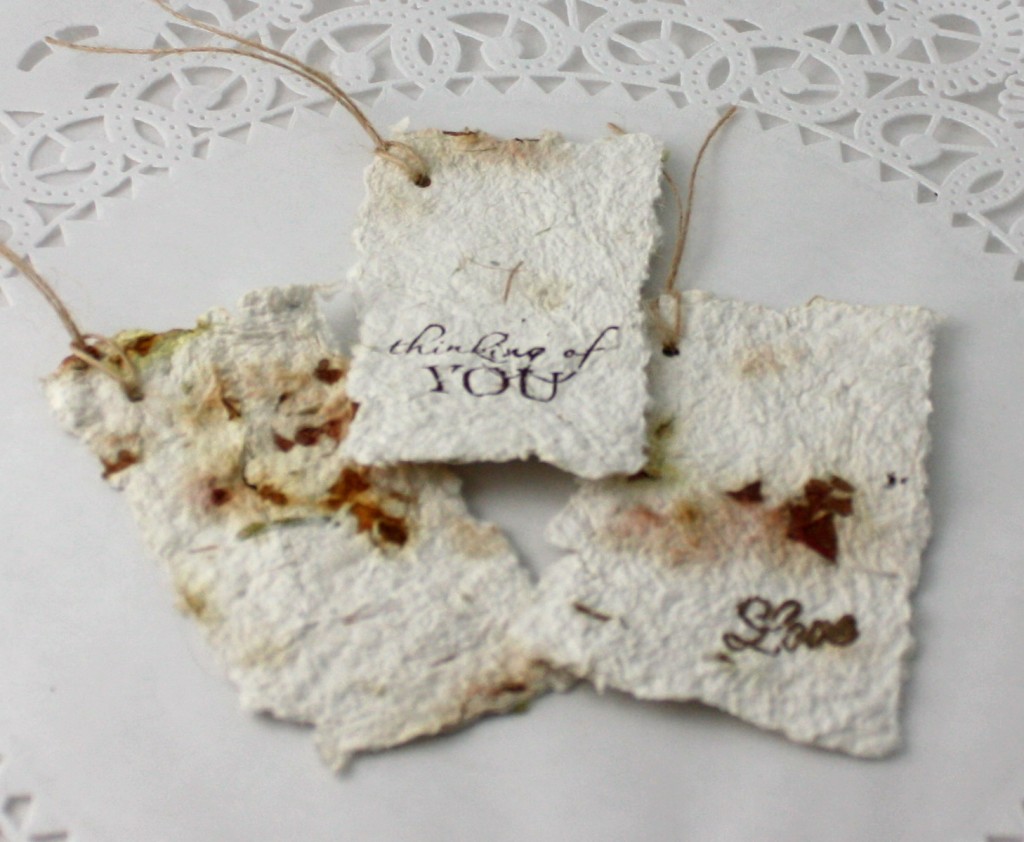
Next, I tore the paper into rectangles to use as tags on packages. Yes, you can stamp on it!
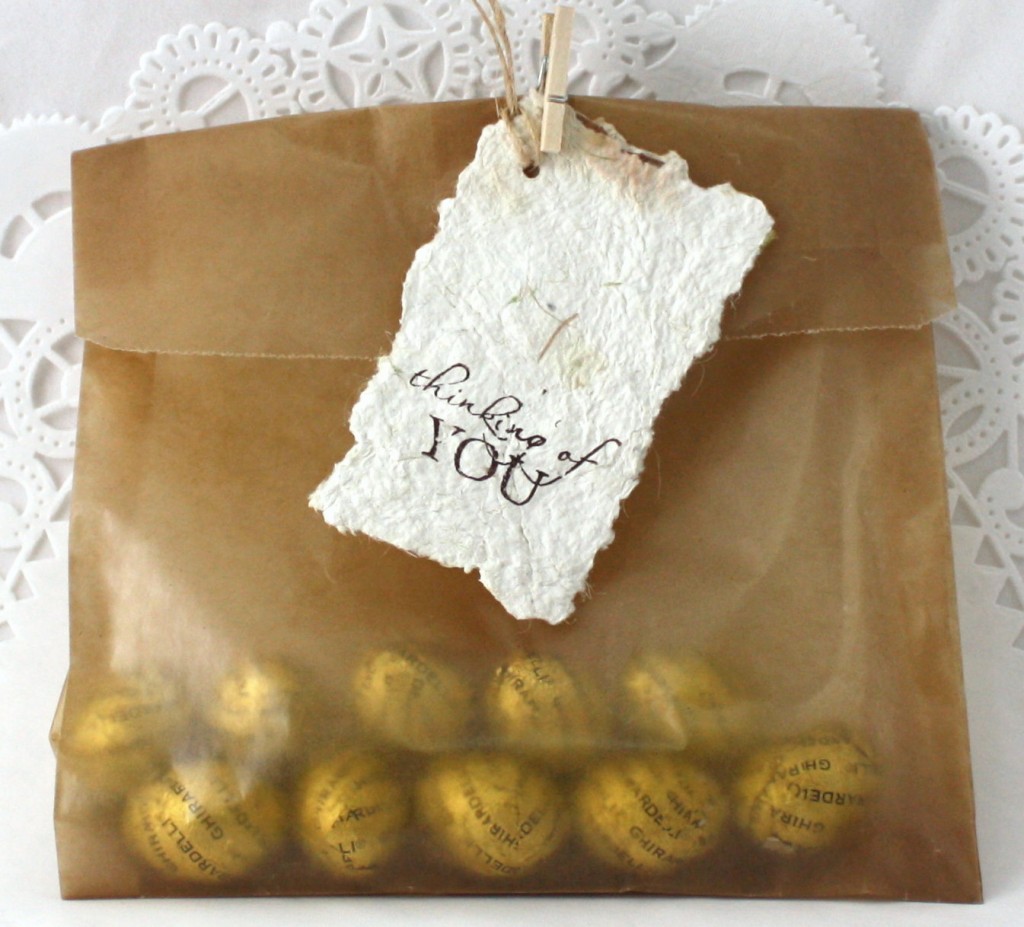
A bit of May Arts Burlap String, a natural Kraft glassine bag and a tiny clothes pin are all it takes to whip up a quick gift for a friend.
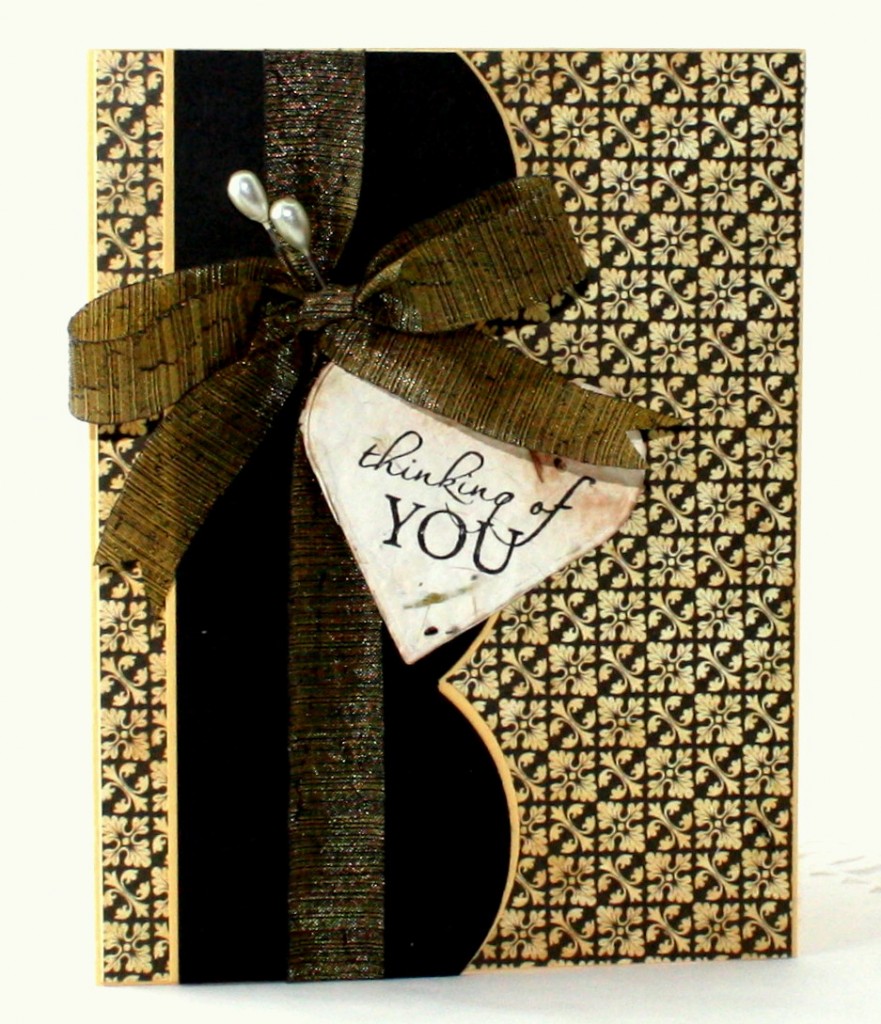
And, finally, I cut and stamped some larger hearts as embellishments for cards. I used my favorite May Arts Textured Lines (PR08) ribbon on this one….The paper is Celebration from the Graphic 45 Le’ Romantique Collection.
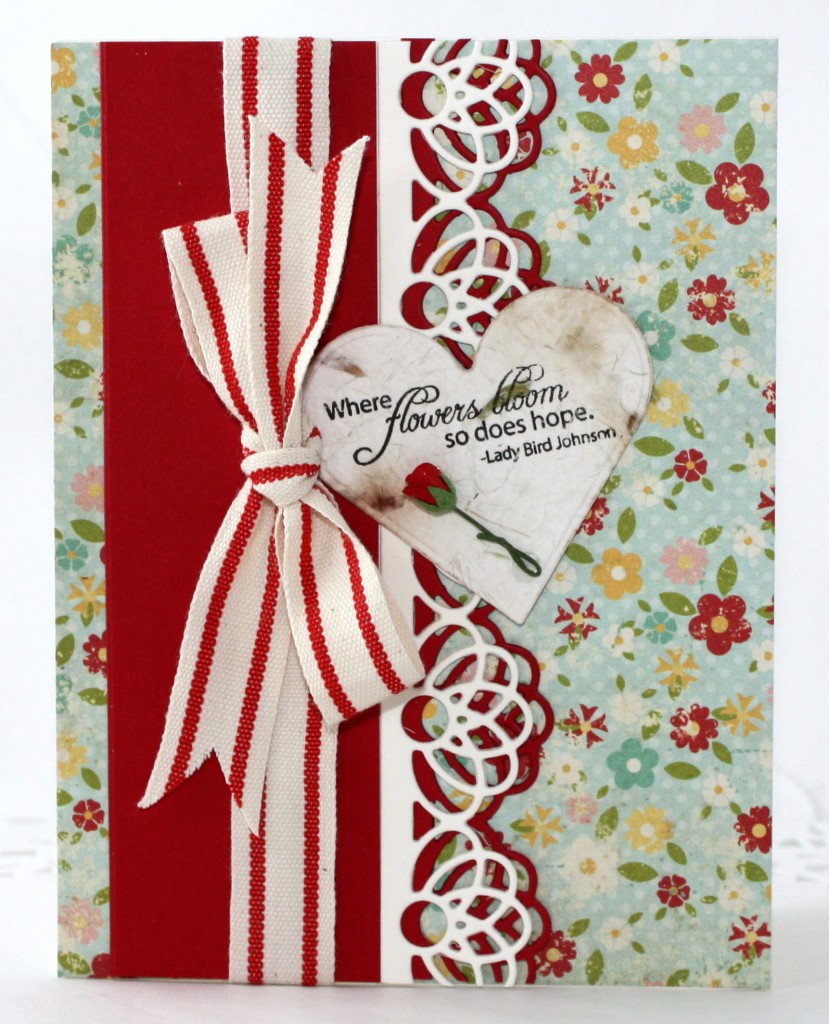
Using the same card layout, I added May Arts Cotton Stripes to a fun floral from Simple Stories 100 Days of Summer Collection along with a pretty border die cut and a tiny paper rose.
Thanks for joining us on the May Arts Blog. We hoped we’ve inspired you to use those scraps of paper and ribbon in a new way! You can find a printable tutorial for the May Arts Handmade Seed Paper HERE.
Blog post by: Charlene Driggs
Check out our Disney Birthday Giveaway for a chance to win!


