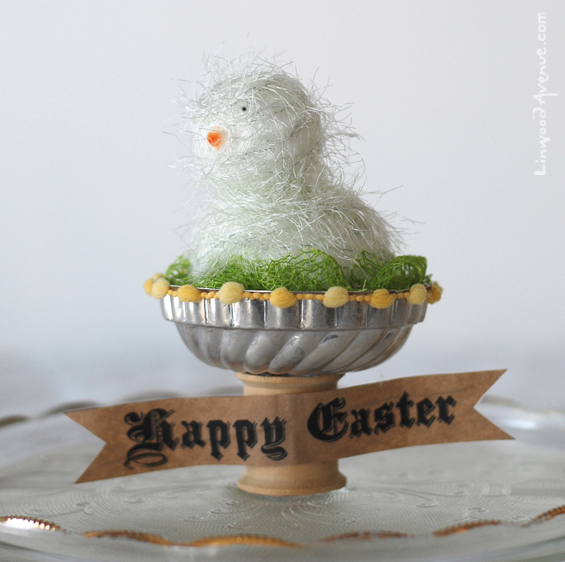
How to: Happy Easter Chick
Hi, Tiffin here from Linwood Avenue. I love using May Arts ribbon in ways not specifically intended and the first time I saw this fringy wired ribbon, I though about baby animal fur (my mind works in strange ways!). I used the white wired ribbon to create a sweet baby chick and combined it with lime colored net to create a nest inside of a vintage jello mold. This project will be a sweet addition to your holiday decorating for years to come.
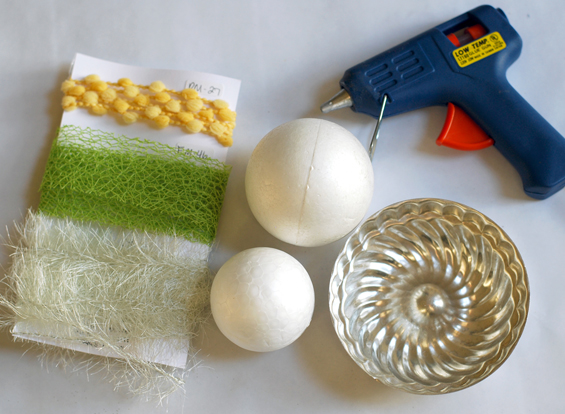
supplies
– 3 yds – white wired ribbon (PT01)
– 1 yd – 1.5″ lime net (EM46)
– 6 in – 3/8″ yellow wired pom (PM27)
• Styrofoam balls ( 3″ & 1.5″)
• Vintage metal jello mold
• Low temp hot glue gun
• Toothpick
• Scrap orange ribbon triangle
• Black marker
• Large wooden thread spool
• 5″ thin gauge wire
• Scotch tape
• Brown kraft paper
INSTRUCTIONS
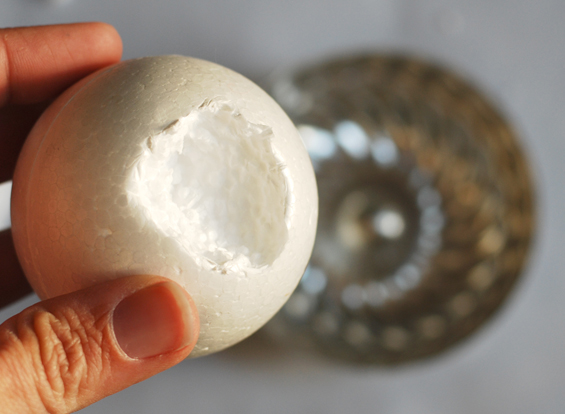
Step 1 – Carve a hole out of your 3″ styrofoam ball to fit over indentation in bottom of jello mold. Hot glue into place. Glue one end of white fringe ribbon to the base of ball and start wrapping fringe around the outside of the ball, gluing as you go.
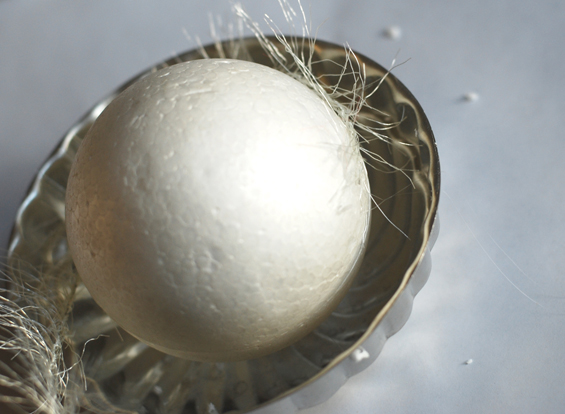 Step 2 – Insert lime net into base of mold and scrunch it into place, gluing as you go.
 Step 3 – Add small glue dots around top outer edge of mold and adhere yellow wired pom.
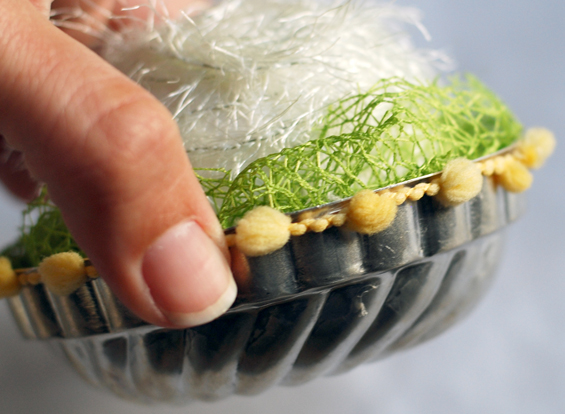 Step 4 – For the chicks head, attach the 1.5″ styrofoam ball to the larger one with a toothpick. Wrap with white fringe ribbon as outlined in step 2. Begin and end ribbon in the neck crease.
Step 5 – Glue a small piece of orange ribbon onto the head to create a beak. Draw eyes onto styrofoam ball with black marker.
Step 6 – Glue wooden thread spool onto base of jello mold.
Step 7 – Print “Happy Easter” banner onto kraft paper and trim. Stretch thin gauge wire across the back and secure completely with a length of scotch tap. Glue center of wired banner onto thread spool and bend to create waves in banner.
Blog post by: Tiffin Mills
Download the pdf to this tutorial Here!


