

Homemade Craft: Japanese Carp Kite

Welcome back to the May Arts blog! We’re excited to be able to bring you another inspiring with May Arts Ribbon and the awesome papers and embellishments from Creative Imaginations.
I got to play with these beautiful Japanese inspired papers and embellishments from Creative Imaginations Christine Adolph Sakura line.
My first instinct was to creative something exotic and elegant but I also remembered that it’s spring and the breezes are blowing warmly now beckoning us to spend time outdoors. I’ve created a quick project that you can do with your children that is not only easy but also decorative. You might even be able to get a little science and history lesson incorporated in this craft. These would also be amazing as party decorations!
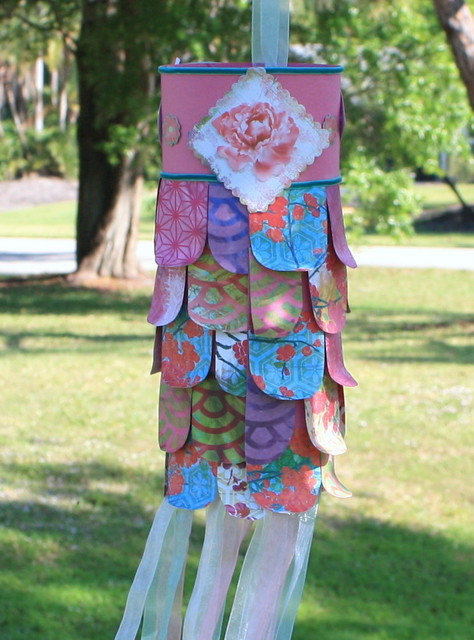
Here’s your supply list:
- Creative Imaginations Sakura Designer paper and Die Cut Shapes
- May Arts Sheer Nylon Edge Ribbon – White, Teal, Rose
- (You will need (16) 18 inch pieces for the tails and 1 piece to hang it)
- May Arts 1/8” Teal Velvet – (2) 13 inch pieces
- 1 piece of 12” x 10” Bazzill Basics Cardstock
- Strong doubled sided tape
- Stapler/pencil/ruler
- Petal template – 2 31/4” x 1 ¾”
Make petal template. Draw a line 1 ¾” long then curve around to make a petal shape. Cut approximately 35-38 shapes from Creative Imaginations Sakura designer papers.
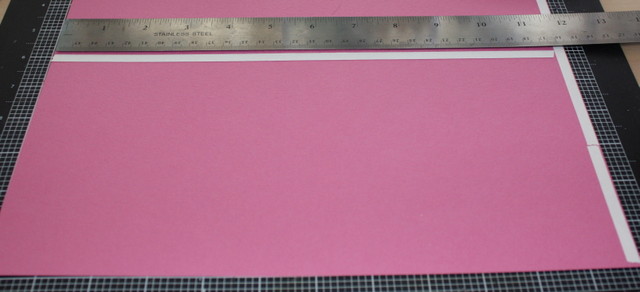
Run a strip of strong double sided tape down the WRONG side of one edge of your Bazzill cardstock.

Flip your cardstock to the R side. Run strips of strong adhesive tape across the width of your paper beginning about 4 inches from the top edge and along the side that will be adhered together. I made my rows the width of my ruler.
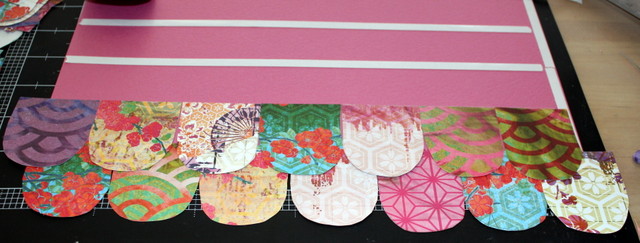
 Attach the petals across the width of the paper beginning at the bottom. Aren’t they pretty?
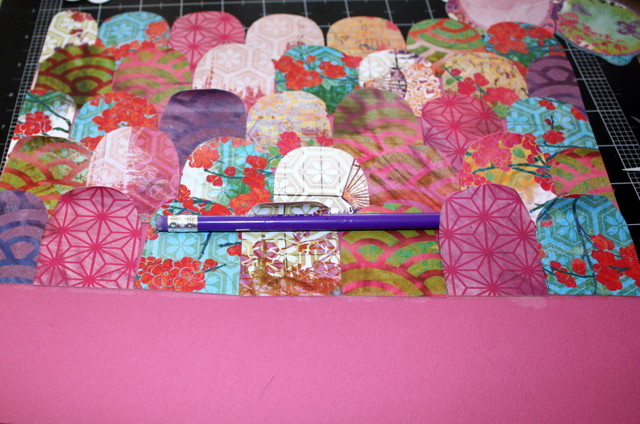
 Once all the strips are attached, take pencil and curl the ends of the petal shapes upward to look more like fish scales.
 Embellish the top section with Creative Imaginations Sakura Die Cut Shapes and May Arts 1/8” Velvet ribbon.
Flip the kite to the wrong side. Run a strip of strong tape along the bottom edge. Attach May Arts Sheer ribbons closely together to form the tails.
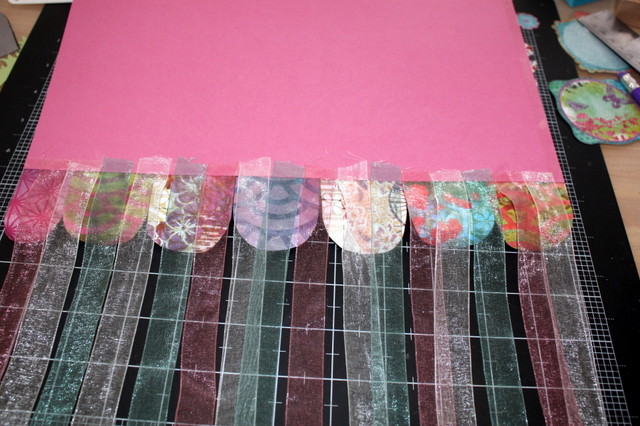 Peel the liner from the side pieces of tape and stick your kite together.
Staple the remaining 18” piece of May Arts Ribbon to each side of the kite.
Take it outside, hang it from a branch and set it free to blow in the breeze.
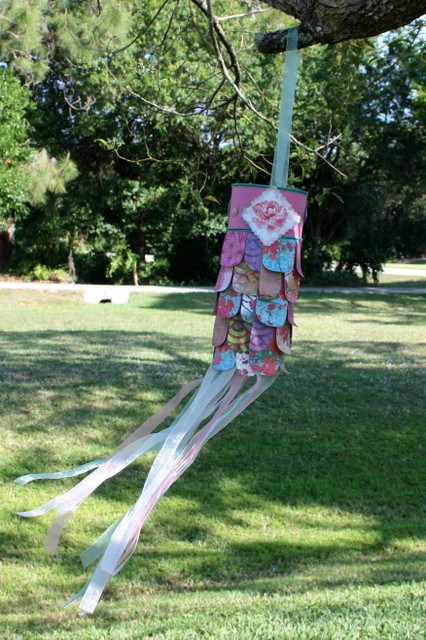 Thanks for joining us on the May Arts Blog. Be sure to head to the Creative Imaginations blog to see what their designers have created to inspire you using May Arts Ribbons.
You can find a printable tutorial here.
Blog post by: Charlene Driggs