How To: Designer Elastic Headbands For Less!
I will admit, when I first saw the new elastic at CHA, I was very giddy and excited! Since I have a daughter, I immediately thought… HEADBANDS! I’ve been spending a ton of money on hair accessories lately, so the thought of being able to make my own at a fraction of the cost made me happy!
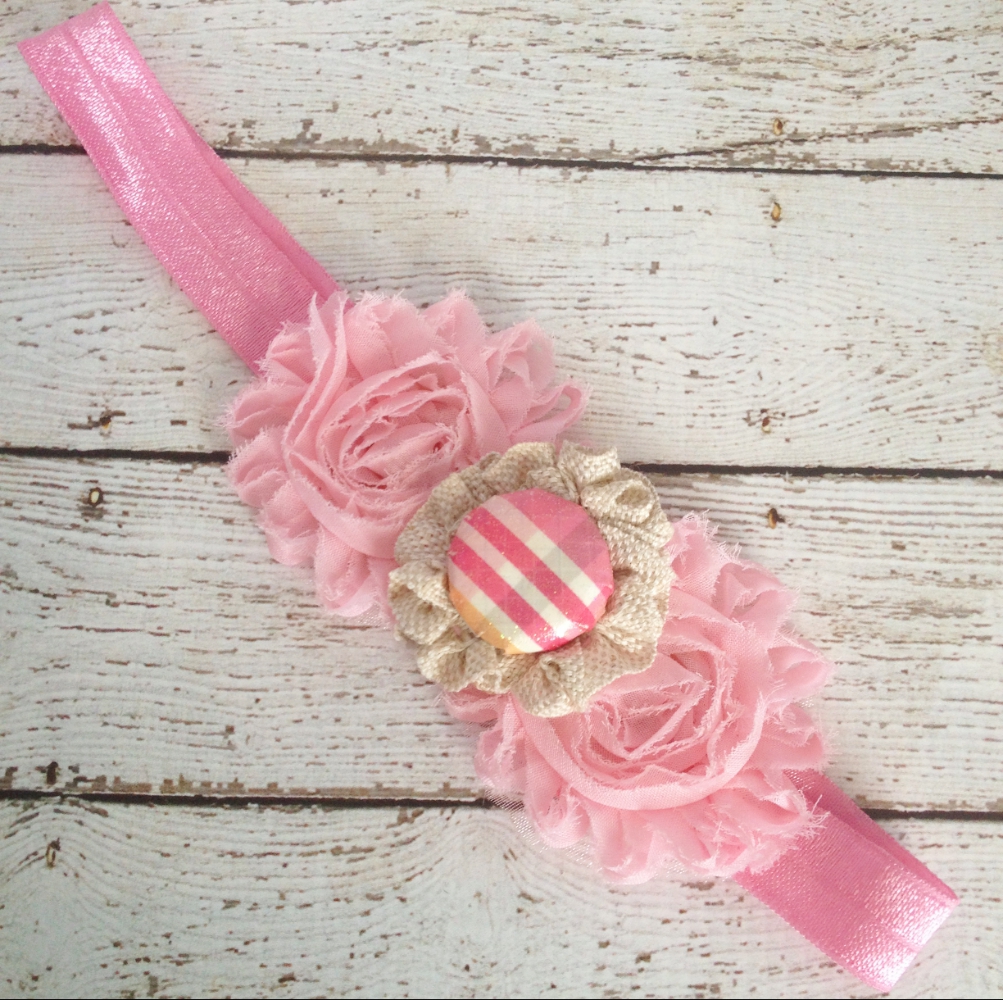
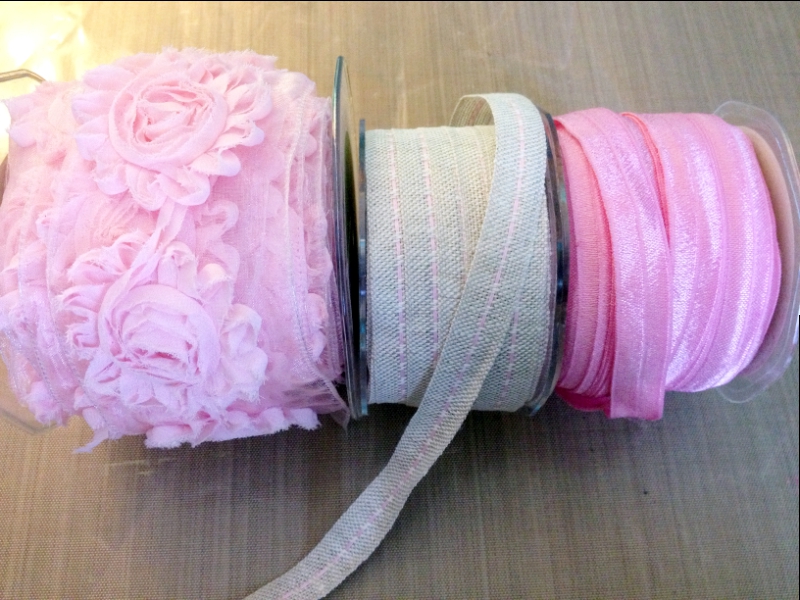
Little girls love to be pretty, so why not try your hand at these quick & easy headbands too! You will need some elastic ribbon, frayed flowers, and some of the new burlap center stitch ribbon.
Cut a piece of elastic to 17 inches. This size is standard for girls-adults, if you are making a headband for a baby, you will want to cut the elastic around 14 inches.
Stitch or hot glue the end s of the elastic together.
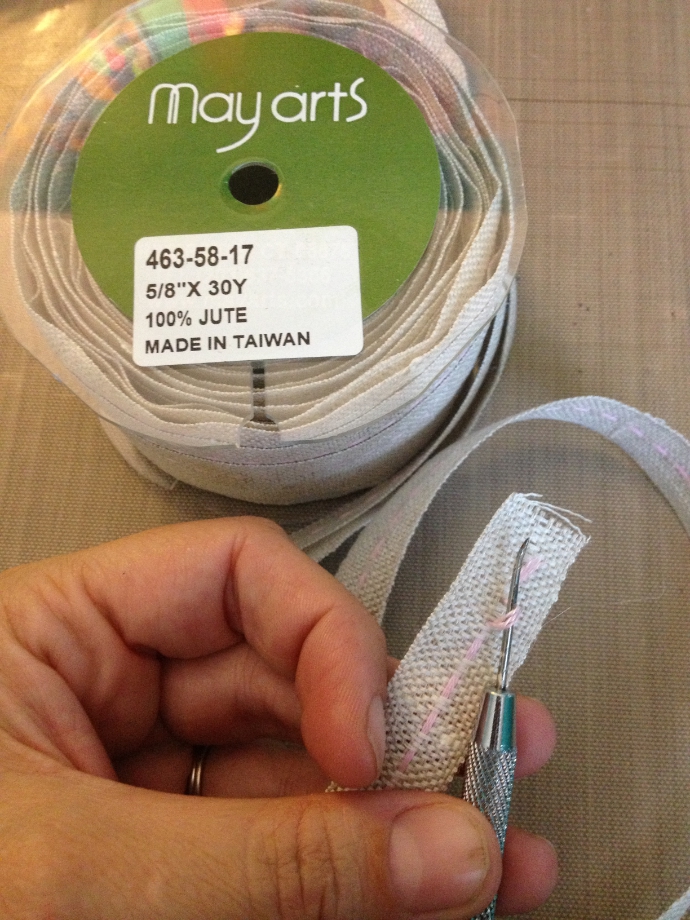
Cut a piece of the Burlap center stitch ribbon and begin to pull the center string, if you need to loosen a few stitches, that’s fine.
Pull the ribbon until it starts to ruffle.
Pull tight and tie the ends of the center string together so you have a nice circle that looks almost like a flower. Set aside.
Cut around 2 of the sheer flowers so you have individual pieces. Set aside.
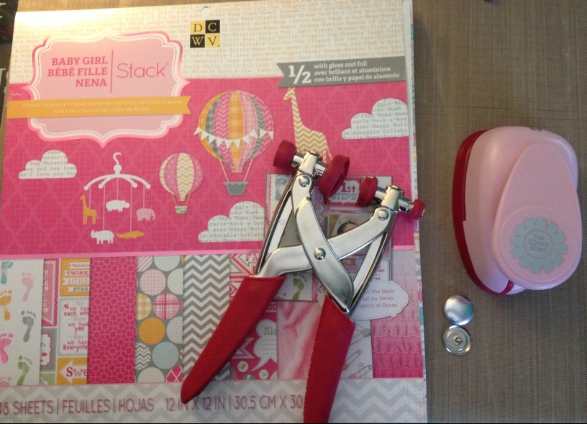
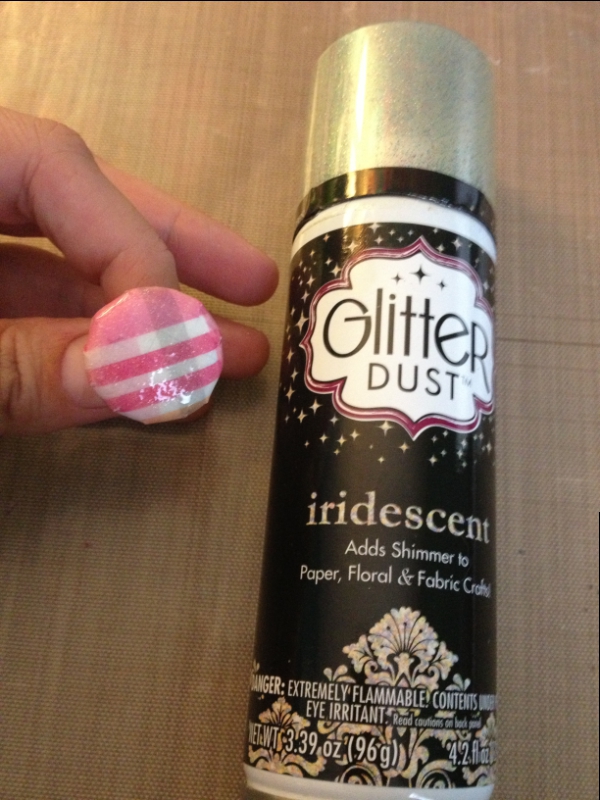
Pick out a piece of patterned paper that you would like for a center. Use an iTop to create a decorative brad. I used a medium brad for this project.
Spray brad with shimmer spray and let dry.
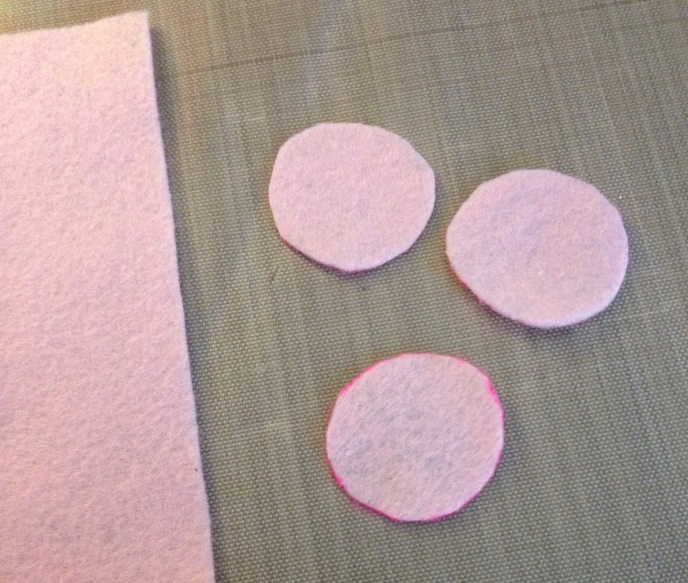
Cut 3 circles from felt.
Glue one of the frayed flowers to the elastic ribbon over the seam, glue one of the felt circles to the back. Hot glue works best.
Glue the other flayed flower onto the elastic and add another piece of felt to the back.
Add the brad to the center of the burlap flower and glue on top of the other flowers.
Add another felt circle to the back. These help to secure the flowers in place.
These are so simple you will be making headbands in no time!
Here’s my little one displaying her new headband.
Thanks for stopping by!
Blog post by: Emily Lanham
Partners in Craft Supplies Used:
- DCWV– Baby Girl Stack
- Imaginisce– iTop, Medium Brad daddies
Other Supplies Used:
- Hot glue
- Felt


