How To Make a Mini Album
Today, we have a very special guest on the May Arts Ribbon Blog! Please help us welcome Stéphanie Beauchemin! It was so much fun working with this talented lady and hope you enjoy her stunning project as much as I did. Don’t forget to show some love and post your comments at the end!
Stephanie here to show you a mini-album that I created from start to finish with gorgeous ribbons from May Arts. I just feel so inspired when playing with those! The plus side is that you even have all the instructions to reproduce this at home/in store! In this tutorial, the stamped image was already colored in a no-line technique with Copics markers, but you can do the same with stamping anything in pale ink (Memento Desert Sand, in this case) and that’s it! I want to say a HUGE thank you to Bethney at May Arts Ribbon for this opportunity to guest design with her yummy products, it’s an incredible experience and I’m a die-hard fan for sure! And you can even get them retail now at The Ribbon Resource!
- Cut 2 pieces of chipboard to 7”x6¼”
- Cover both with patterned papers. I recommend using strong adhesive.
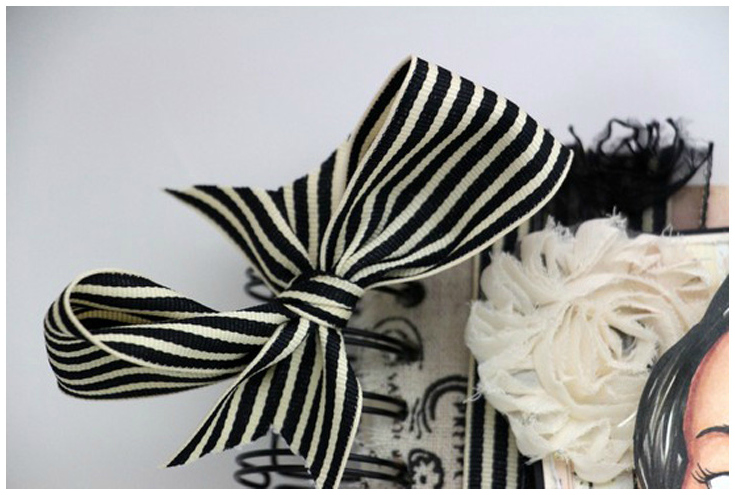
- Add 3 pieces of trimmings one over the other on the binding edge.
- Pierce holes for the binding. You could go with a regular 3-rings method or with a binding tool like the Cinch.
- Add piece of trimming to the bottom.
- Half-stamp your favorite image of the Bloom Girls collection in light ink and color it, while leaving the flowers/details blank. Fussy cut it.
- Cut a squared piece of patterned paper and mat it with 2 cardstocks.
- Pop up everything on 3D foam dots.
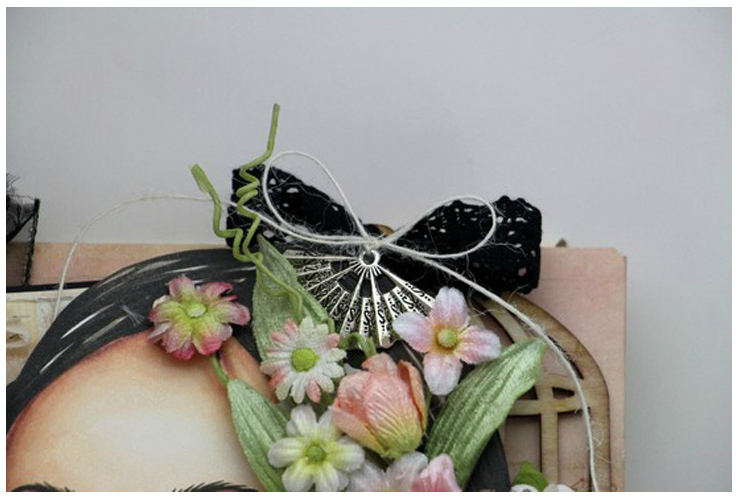
- Add flowers and other types of embellishments; you’re done!
Other Supplies Used:
- Bloom Girl Jing stamp
- Almanach paper collection 12”x12”
- Prima Flowers
- Wood Icons Epiphany collection
- Shabby Chic Treasures Metal Door Lock


