Knots and sailing just go together like peanut butter and jelly. So naturally when making a nautical themed card, a rope knot makes for the perfect accent. Lalo here and today I’m sharing how to make this very simple knot to use as accents for cards.
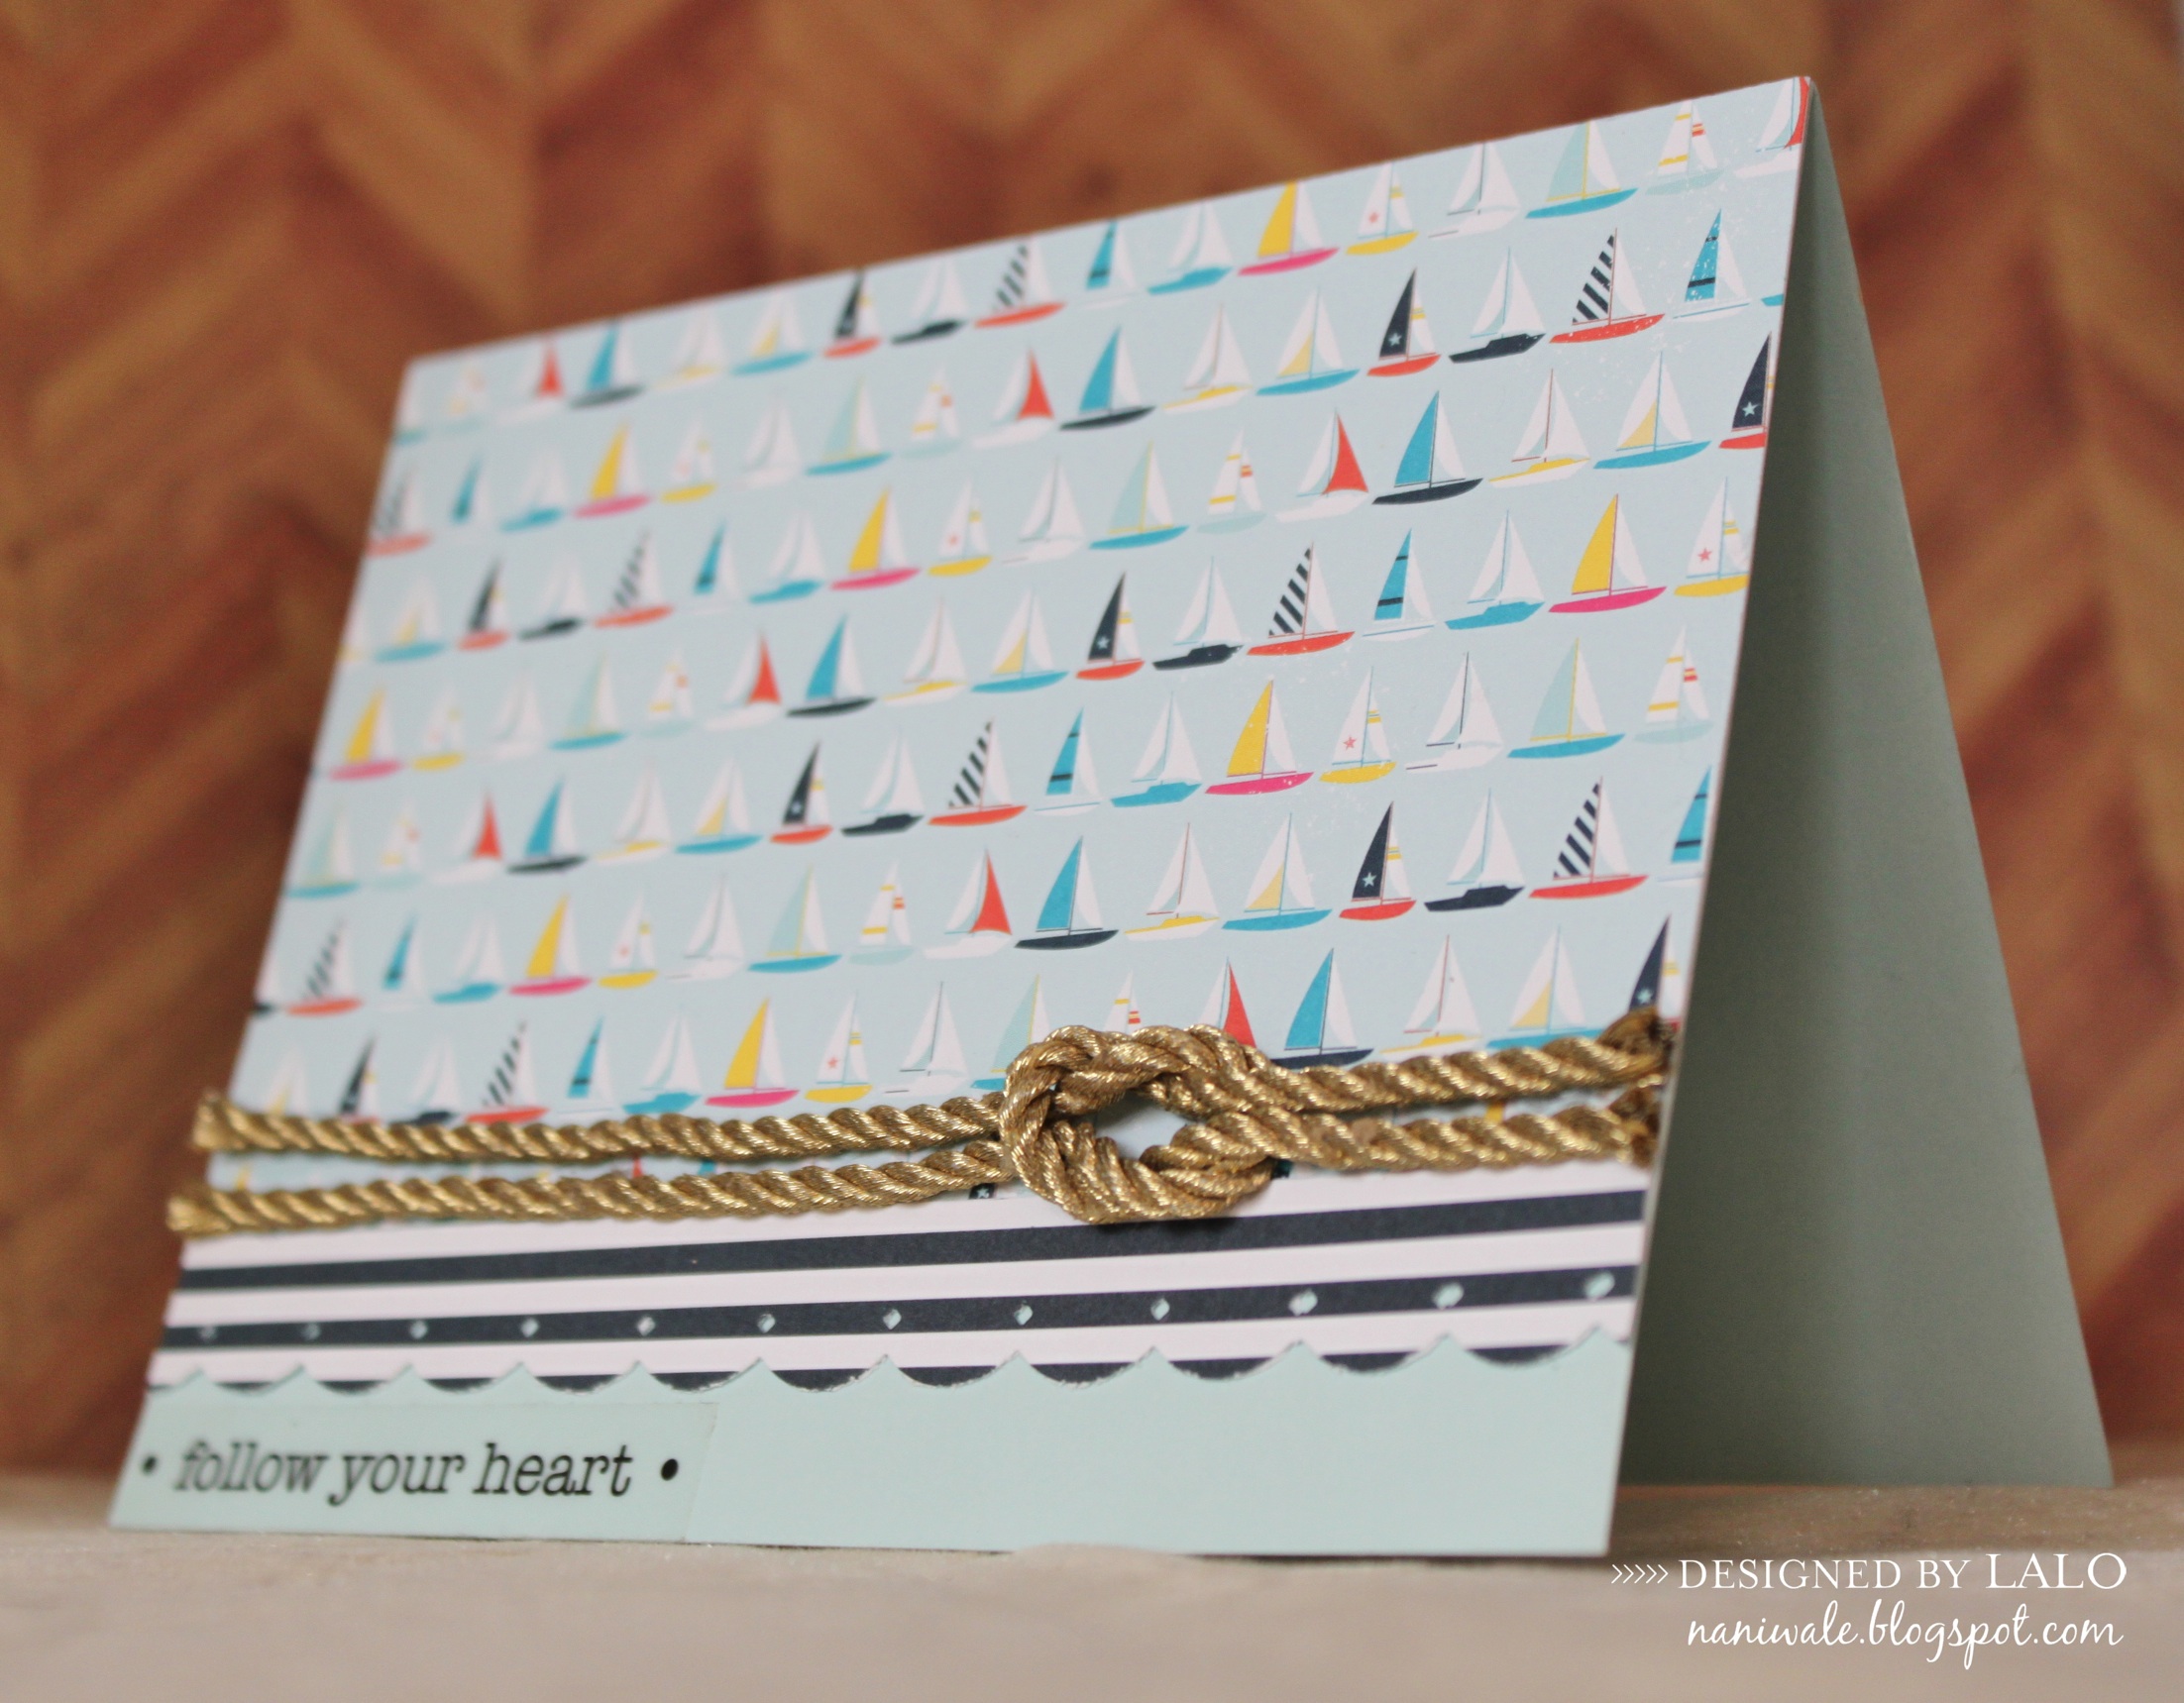
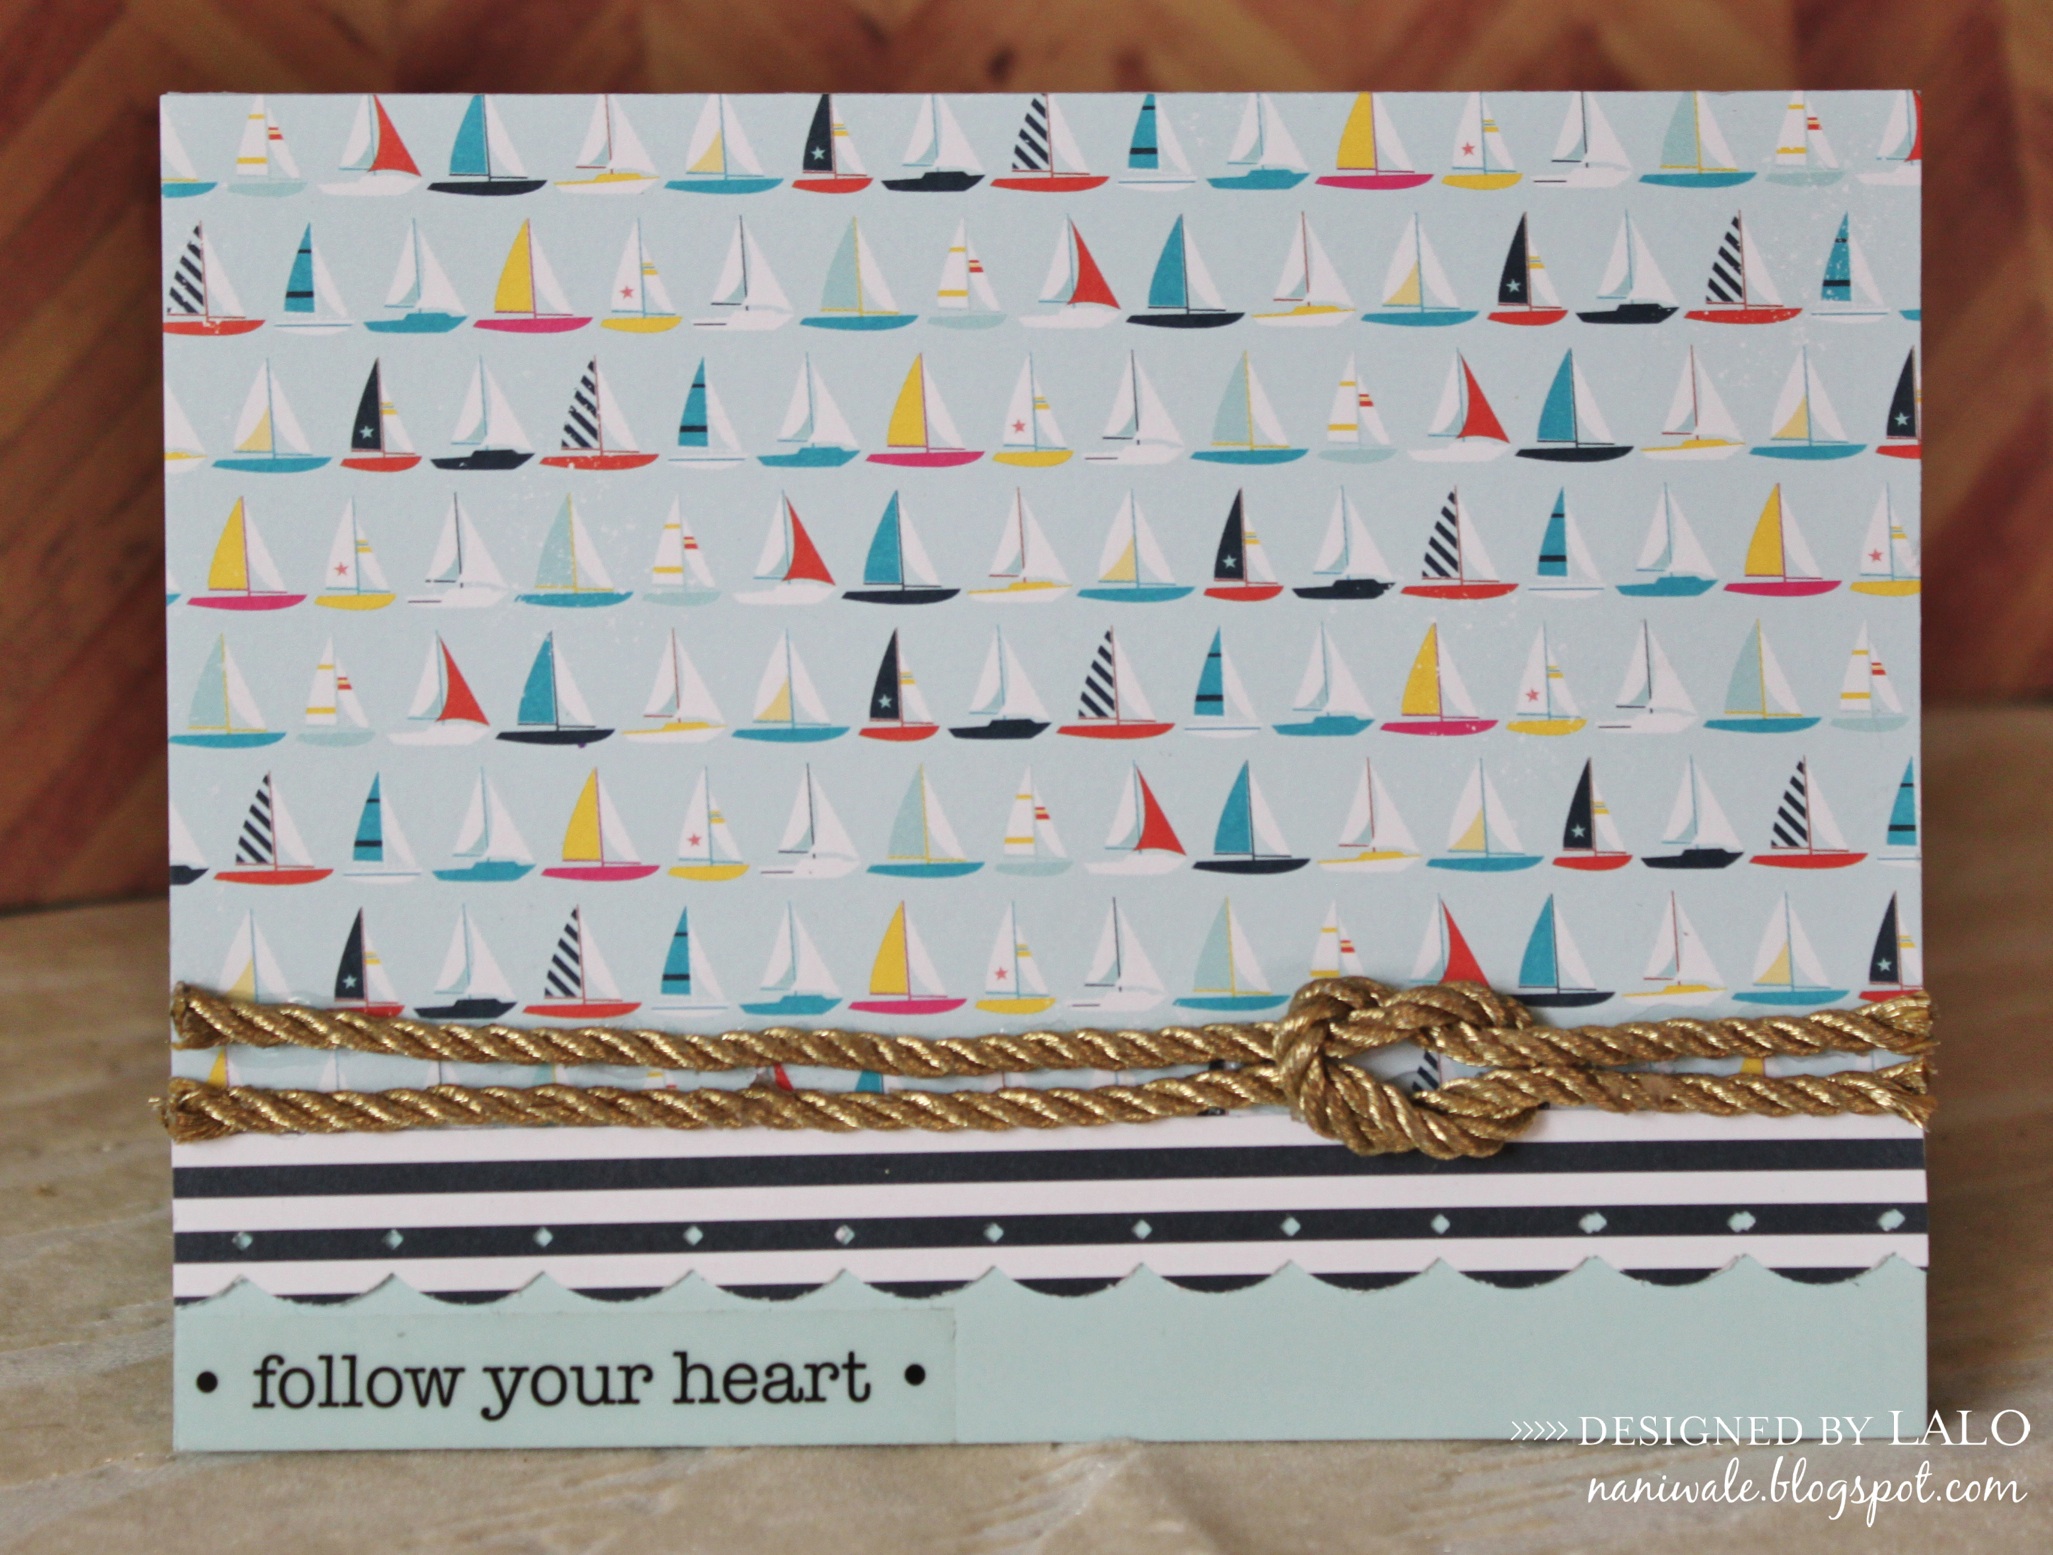
The first step on taking this knot from “just” another knot to one that is fabulous is the rope you choose. I’m using this very fabulous gold cording to add a little trendy, luxury to this nautical card.

Tying a square knot tutorial
(For the sake of this tutorial I’m using two different color ribbons)
You will use two pieces of rope. First loop one of the pieces. Then lay the other across.

Next pull the rope that was laid over the looped rope, through the center of the loop.
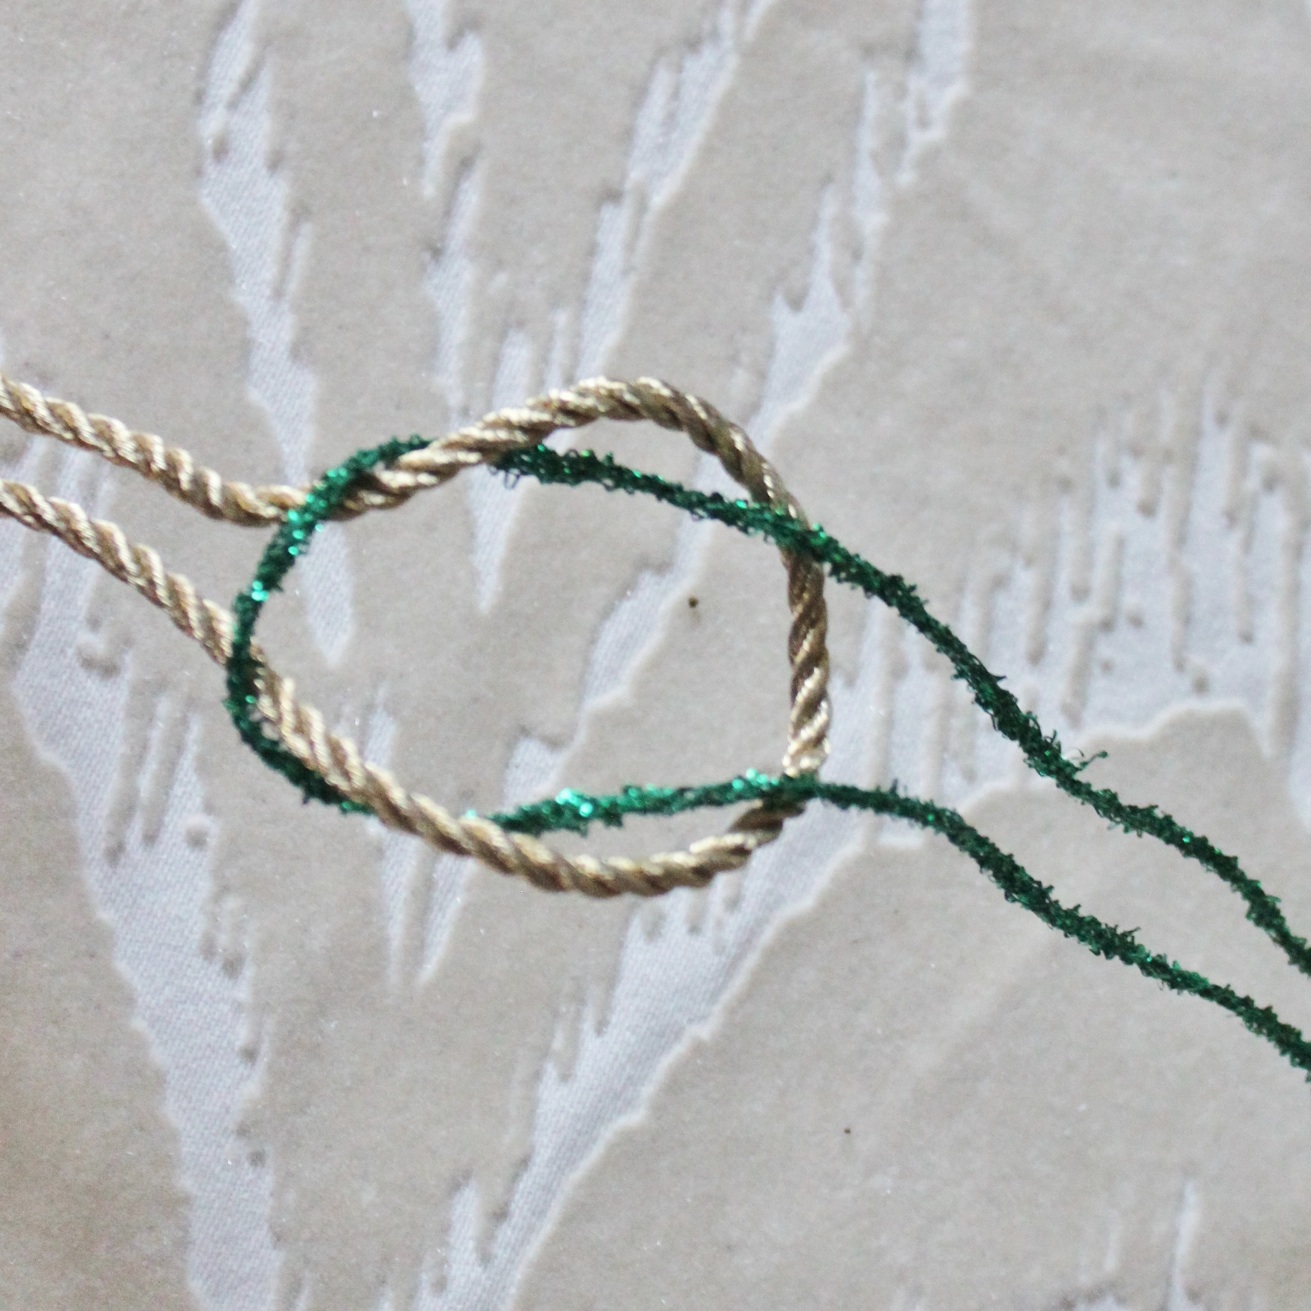
Pull tight and there you have a square knot.

To add it to my card I just simply glued it down and cut the ends.
Blog post by: Lalo IK
May Arts Ribbon Used:

- ST 2mm Metallic Cording
Other Supplies Used:
- Pattern paper: American Crafts
- Stickers: SRM

Perfect touch!
Wow! I love this clean and simple card. And thanks a million for the knot tutorial. It's smashing!
That looks great. There are a lot of boats and things out, so this will come in handy>
I. love. this.
Oh my gosh!!! How easy is that? And it looks so great! Will have to pin this for future use. Thanks!
I like that knot. I was looking for that awhile back.
I love nautical knots in twine and cording. Here is a card a made a while back using some burlap cord. https://validationofvicki.blogspot.com/2011/04/cropstops-sketch-challenge-plus.html
Love it! It adds a special touch.