Ribbon Flower Challenge Entries {and a giveaway}
All of the entries from our Ribbon Flower Challenge are in & posted right here! Of course, there is a chance for you to win some ribbon of your own!
The prize up for grabs is:
A $25 gift card to our retail store The Ribbon Resource!
To enter:
All you have to do to enter to win is tell us which project(s) is your favorite! Post your comments right here!
**For an extra chance to win, be sure to post on our Facebook Page too!**
Now for the entries
**Please also note that, although I always love to know what you think, the winners are selected solely by The Ribbon Lady**
Carmelita Shea
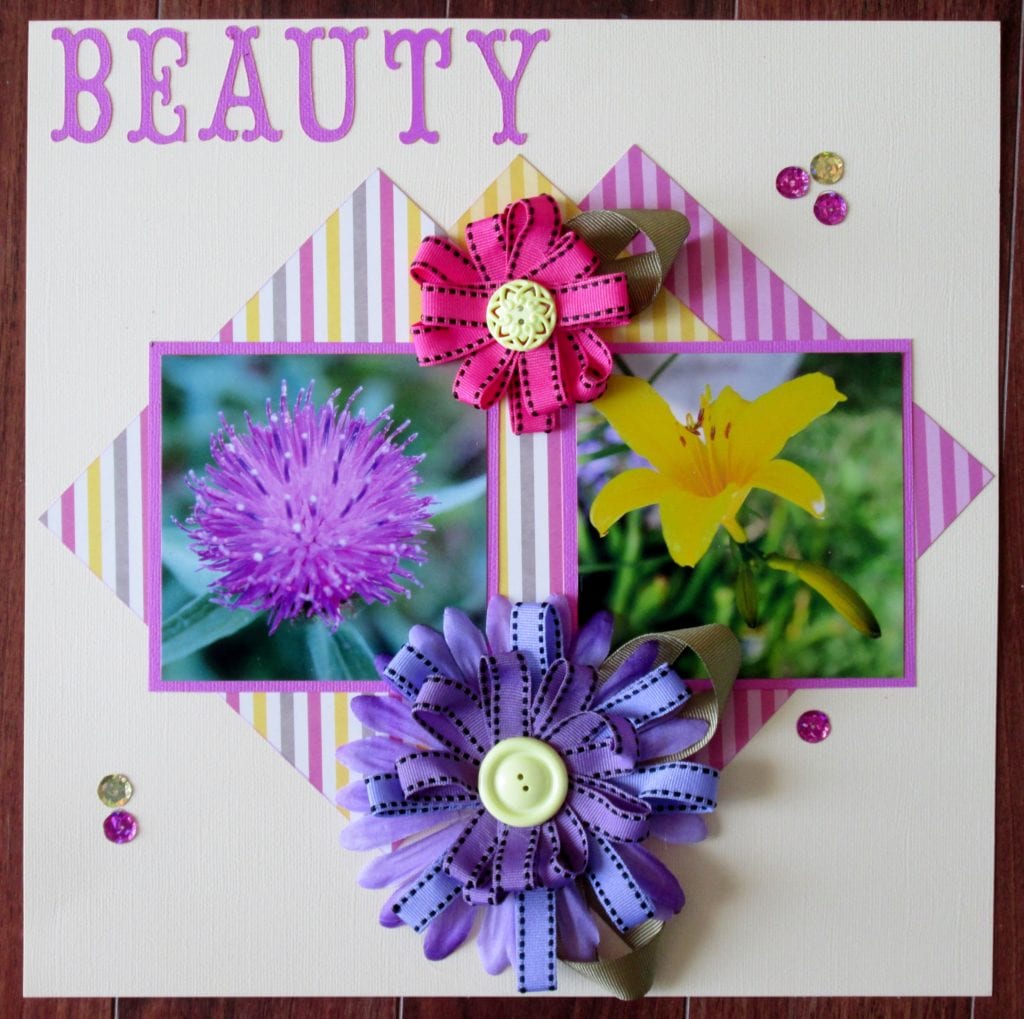
It is a scrapbooking layout using May Arts ribbon flowers to accentuate the flowers in the photos. The flowers have button centres, and the only other embellishments are the gold an lavender sequins. The ribbon I used was grosgrain with a stitched edge, the smaller ribbon one is light fuschia and the larger flower is lavender/black stitching and purple with black stitching; both ribbon flowers have green grosgrain ribbon leaves. The title is very simple….one word “BEAUTY”. I created this layout to make the flowers the focal point of the design, and with a blend of ribbon flowers and photos of flowers, while leaving the remaining space around the layout bare and uncluttered. All flowers are on 3 sheets of 6 x 6 pattern paper from Craft Smith’s Blackberry Lemon collection. The background paper is a white Bazzil cardstock.
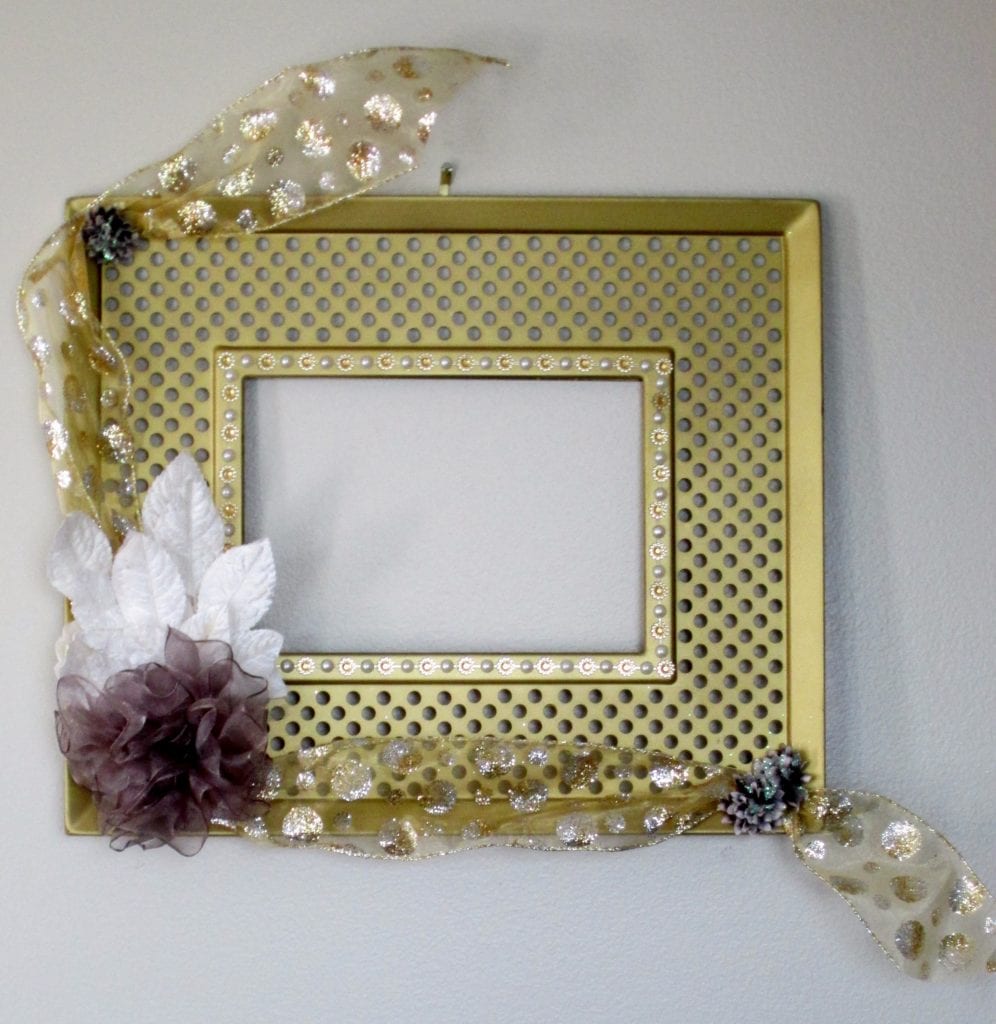
Wedding frame decorated and waiting for the perfect photo of the happy couple. The frame was a dark metal and it was spray painted with gold metallic paint. The large gray/silver flower was made with May Arts sheer ribbon, pulled together with thread to create a spiral type flower. The flower sits on top of a white spray of leaves. Gold and pearl bling is around the inner rectangle of the frame. The May Arts sheer wired ribbon with gold and silver polka dots cascades from the flower in the corner, trailing upwards to the top corner and along the bottom edge of the frame. Silver Prima flowers grace the polka dot ribbon in the corners.
This frame was originally dingy and lifeless. But with the silver/gold/white enhancements, the frame will now be a great addition to the happy couples’ home, holding a photo of their special day.
Cheryl Walker
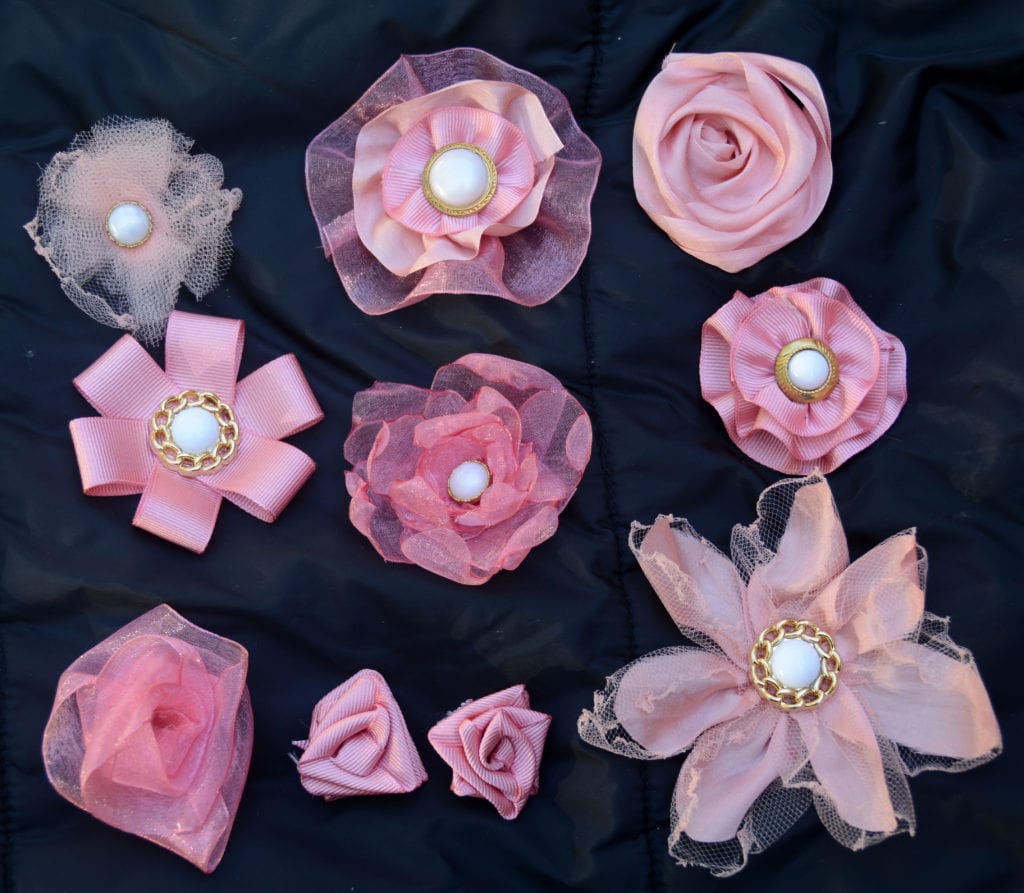
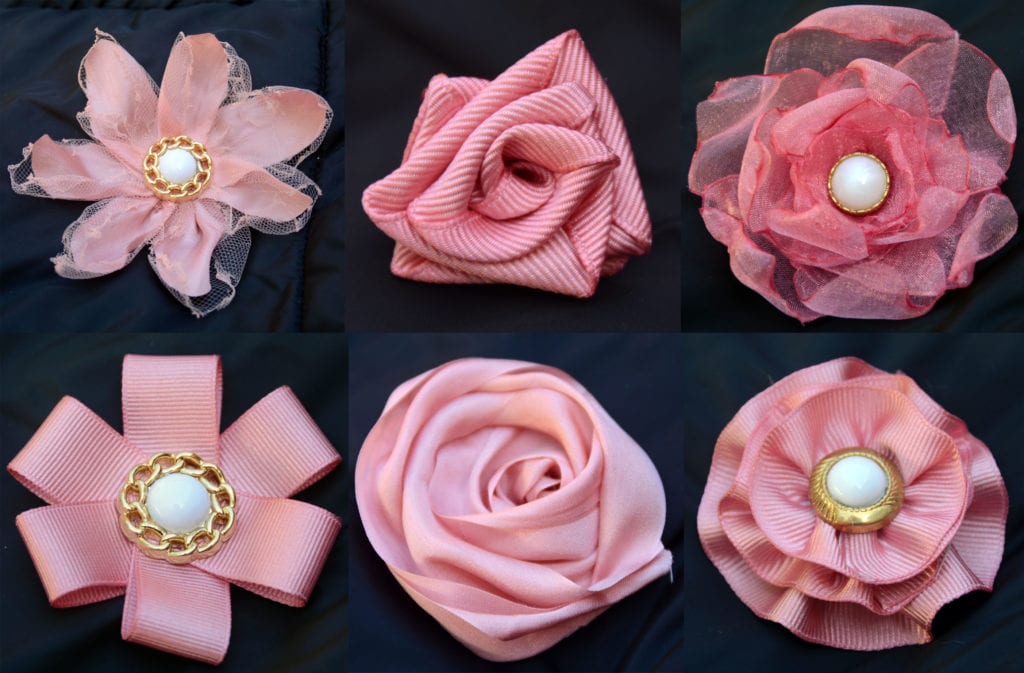
The Rosette Flowers you see grouped in the center are done using thread to ruche it up for the rosette look. For each flower in that trio, I made the bottom, and then the tops, and glued them together to create a Ribbon Rosette Flower. In my photo I show a few different rosette flowers, others made using wire, and glue. I didn’t add any buttons or pearls to these, as I wasn’t sure if we should. I am also sending a photo of how I used the 3 grouped together for my photo frame I painted and decorated for my craft room. I
Debbie Fisher
Create pretty flowers with lots of layers, textures, and techniques using May Arts ribbons.
Jamie Larsen
I made a few different styles of flowers including burned edge flowers (each petal is cut and burned), folded roses, rolled rosettes, and a few others i just made up as I went along.
Linda Correa
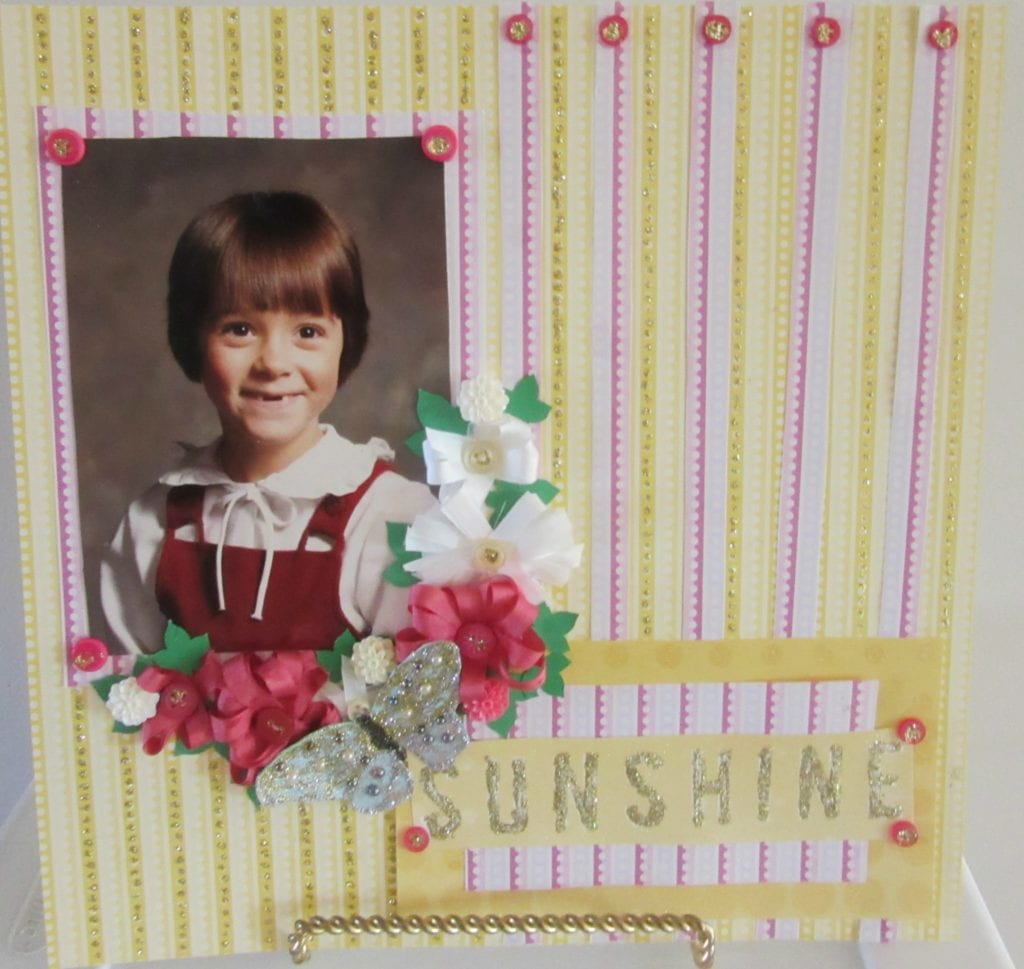
What fun creating these flowers were. Adding a little bling and some extra depth to this page made the whole project come together.
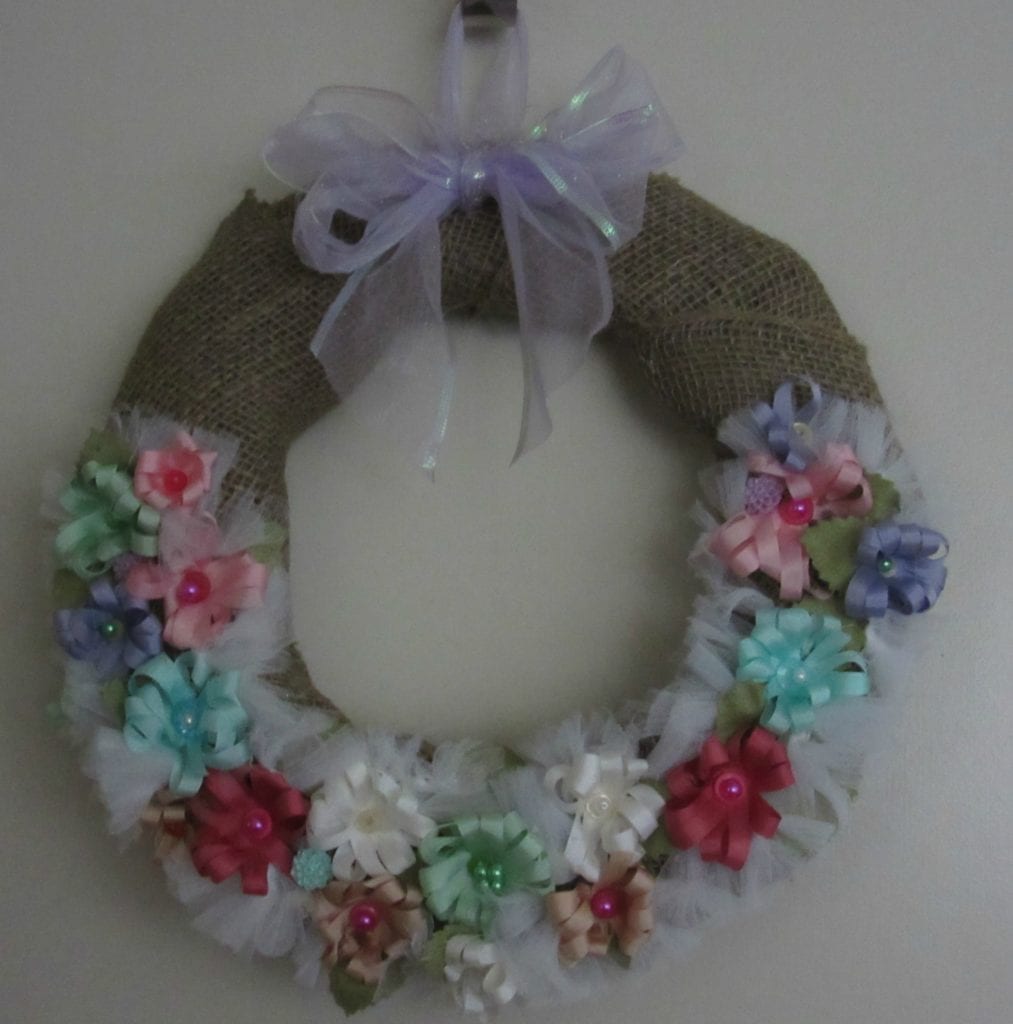
Thanks for giving me the opportunity to make this wreath. My design was made for possibly a wedding, wedding or baby shower. Also thinking about Spring.
Lori Williams
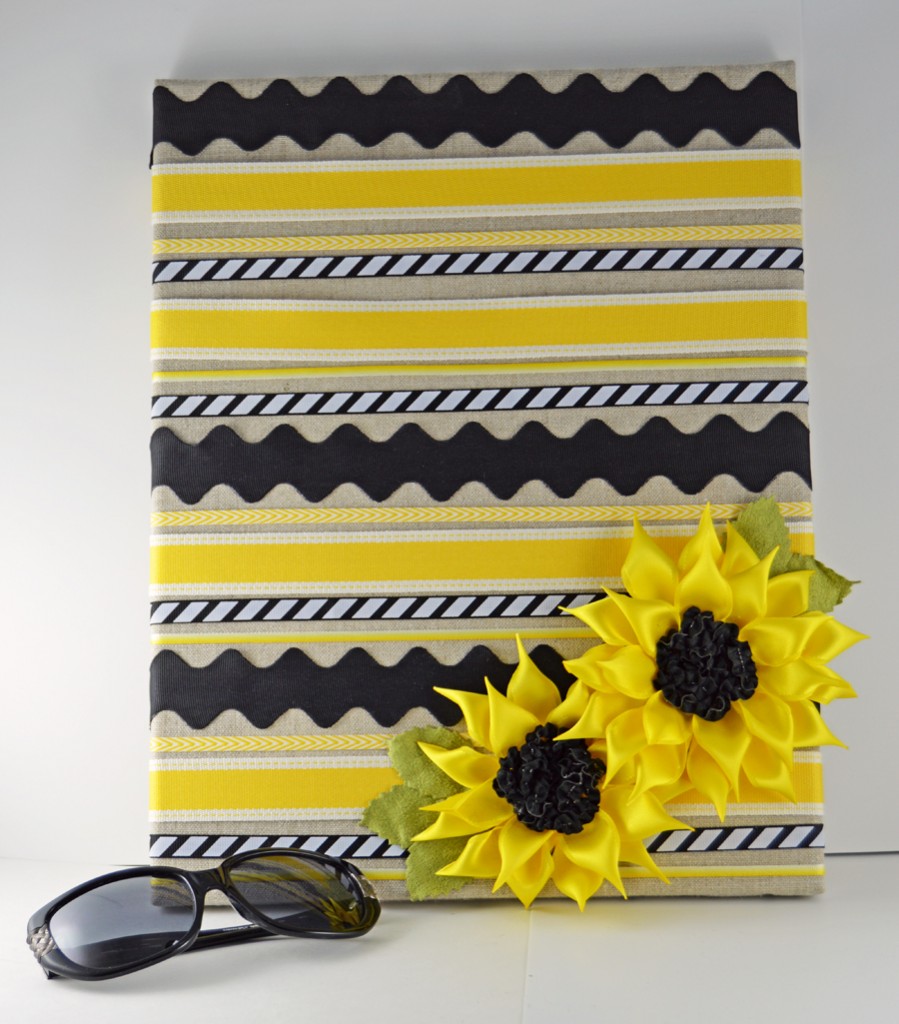
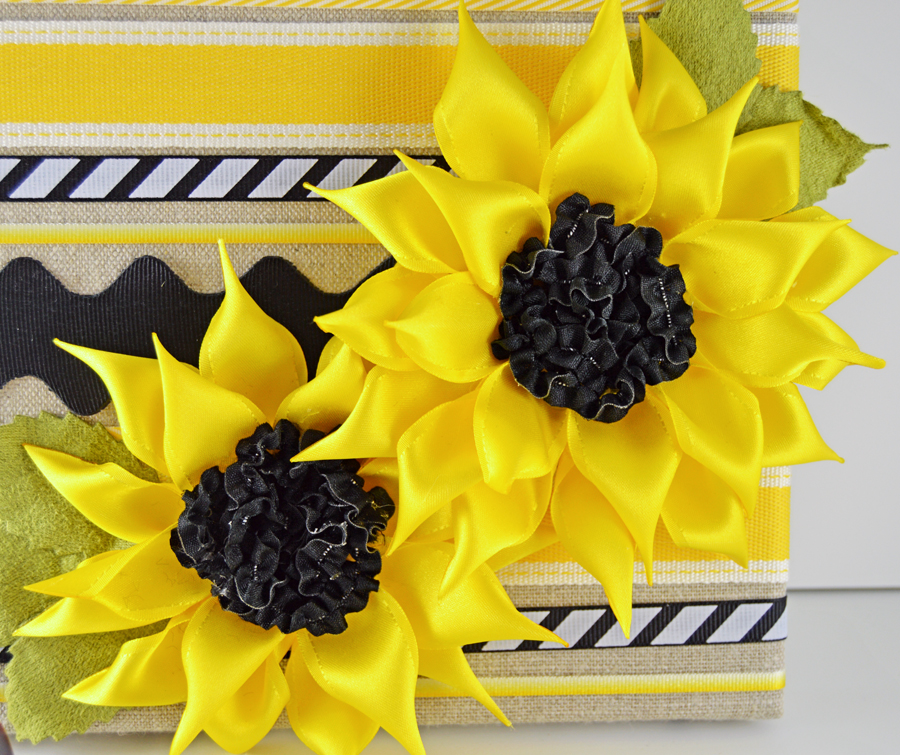
I created this sunglass holder adorned with sunflower ribbon flowers. It’s a burlap canvas that has ribbon tightly wrapped on the front. The ribbon strips are what will hold the sunglasses. The sunflowers are made of ribbon using a little flame and some fine tip tweezers and scissors and they are easy to create in no time. I’m hanging this right by my front door so I’ll have a place to hand my glasses as I’m always leaving them lying around, plus it just makes makes me happy when I see it.
Mary Reppe
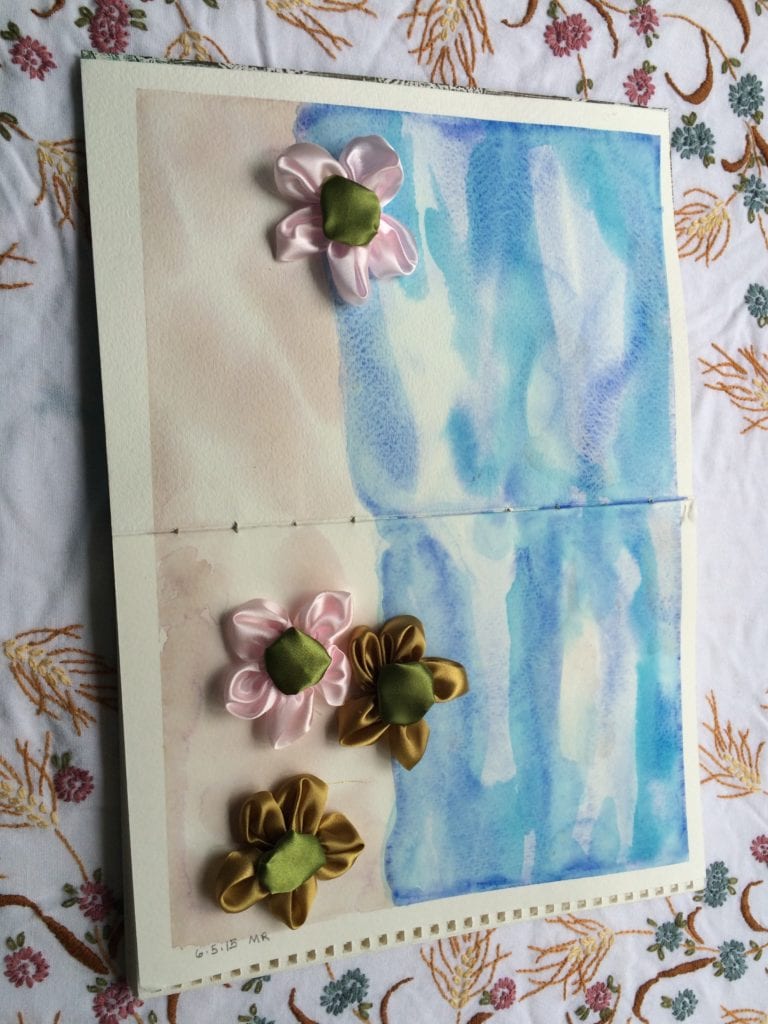
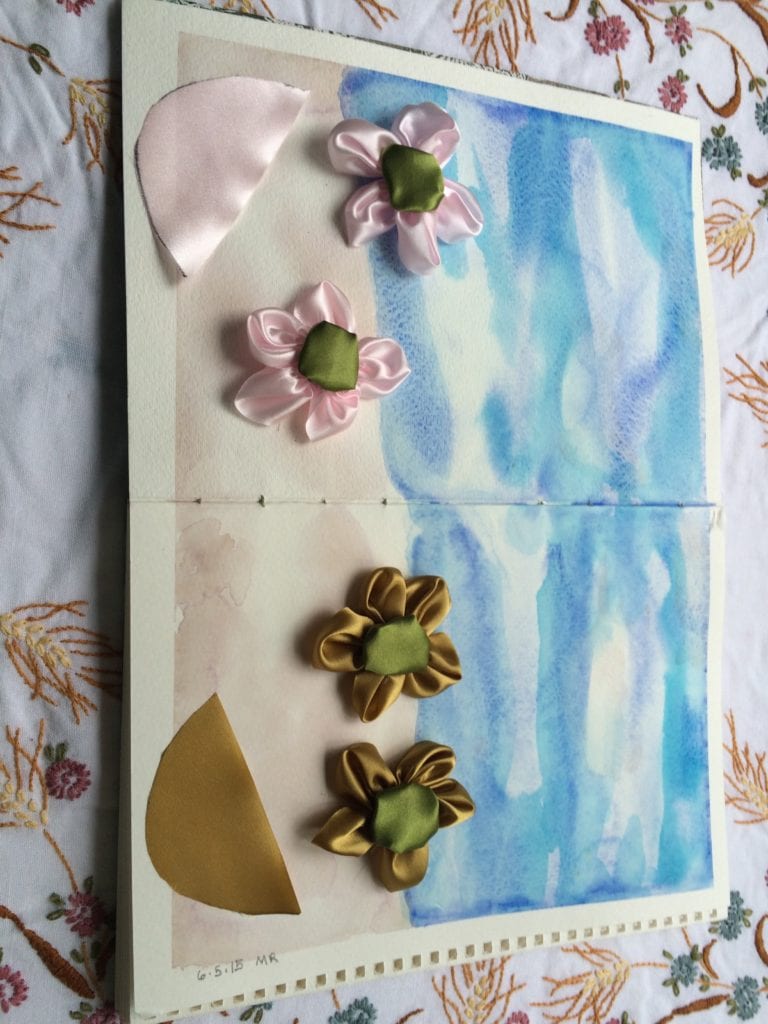
I’ve attached photos of the flowers I made with May Arts Ribbon. The second photo shows the half circles cut from the ribbon. I gathered with needle and thread along the curved edge to make each petal. Then sewed them together to form the flower. Next I used a double thickness of green ribbon cut in a full circle and gathered around the circumference with needle and thread again to form the flower center and sewed it onto the petals.
Melanie Siganos
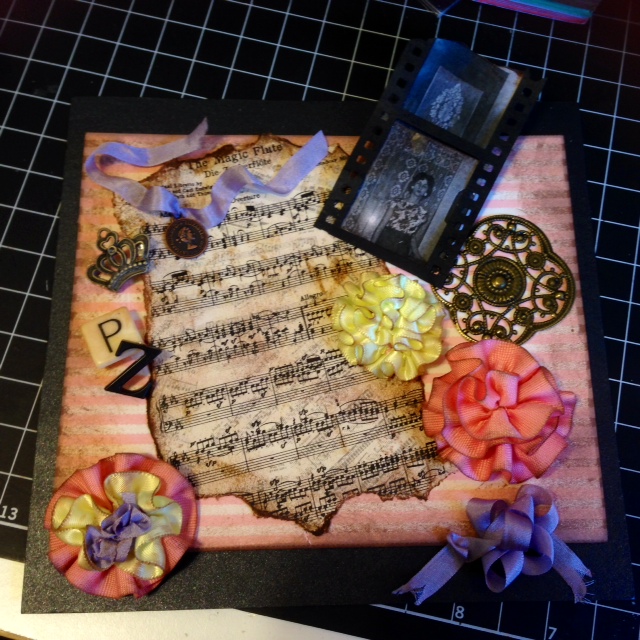
First I gathered the ribbon, allowing the twists and turns of the gathering to make its own unique flower. One flower was made using all three colors supplied, as well as one individual flower, per color.
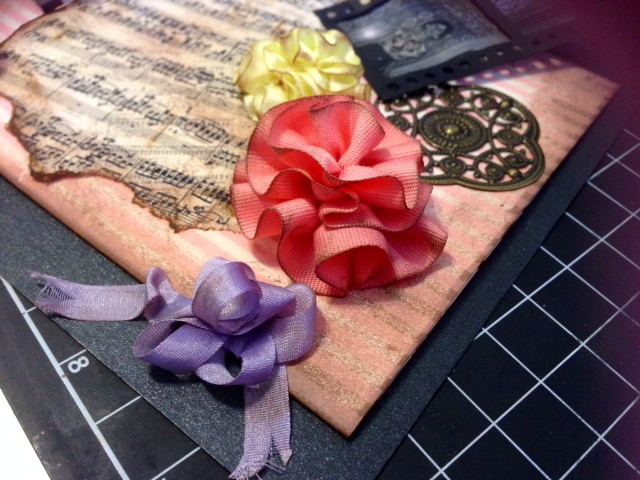
I ultimately used 3 out of the four original flowers in my “Memories” project. Because it was a memories theme, I lightly brushed the outer edges of the flowers, giving them an aged look. After mapping and placing out my project, I decided to use the lavender ribbon as an on the spot flower, made simply by twisting loops and securing with glue dots, to give a look of an old, fraying, flower which has began to unravel over the years.
Terri Burson
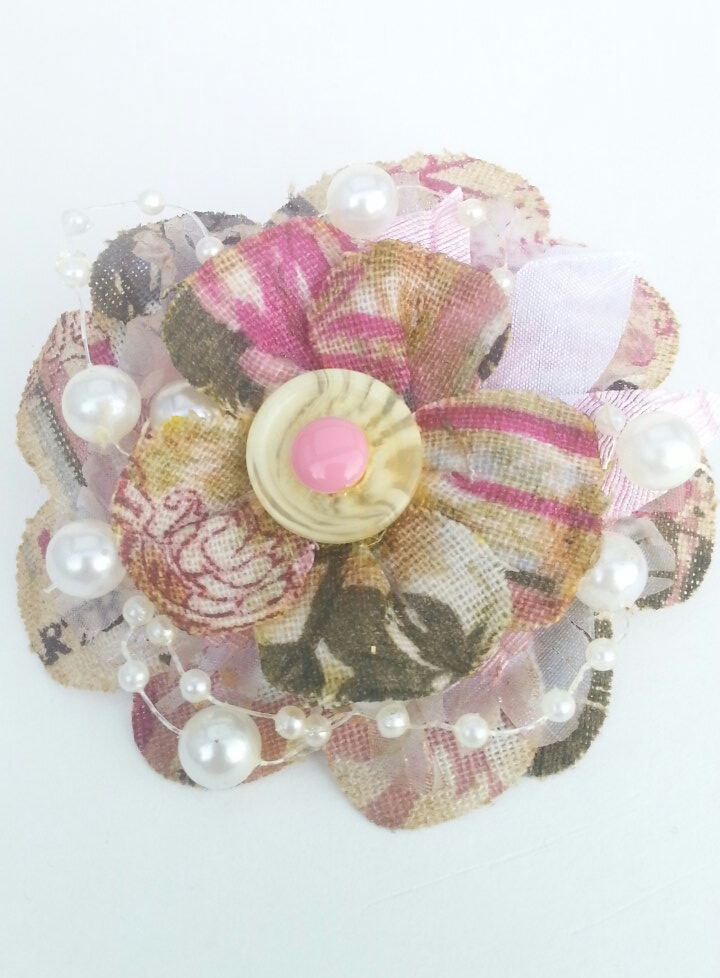
I created a Vintage Flower Ribbon Pin. The bottom layer of petals (garden print) are heart shaped and were cut with my Cricut Explore, as was the white and pink ribbons. I blended a touch of distress ink on the edges. The middle layer includes the white and pink heart shaped ribbon. I decided to “melt” it with my heat tool to give it more of a crinkled appearance. I also adhered some hand trimmed leaf-like petals in pink and white. The bottom and middle layers all have heat n bond on the back, so I ironed those layers together, fluffing up the edges prior to distressing. I designed a template for the top layer of petals and hand trimmed and hand-stitched together by pinching the bottom and stitching to the next petal. I added more distress ink for vintage appeal, and added Mod Podge to better shape the petals and give some shine. I finished with the pearl string accent, a coordinating button and enamel dot. These are adhered with fabric glue. The flower is glued to a pin with a felt heart-shaped backing.
Thank you to all our participants that completed their projects! The winners for the Challenge & our Giveaway will be posted on Friday June 19th!
Now start voting for your favorites!


