Hello Ribbon lovers! I love bringing you different techniques and uses for ribbon…sometimes it’s altering the ribbon, sometimes it’s combing ribbons, sometimes tying the ribbon differently.. all sorts of things! Today is a “let’s give this ribbon a new tie” sort of post. It combines a bit of securing and layering and .. well.. ribbony goodness!
Let’s start off with the card shall we?
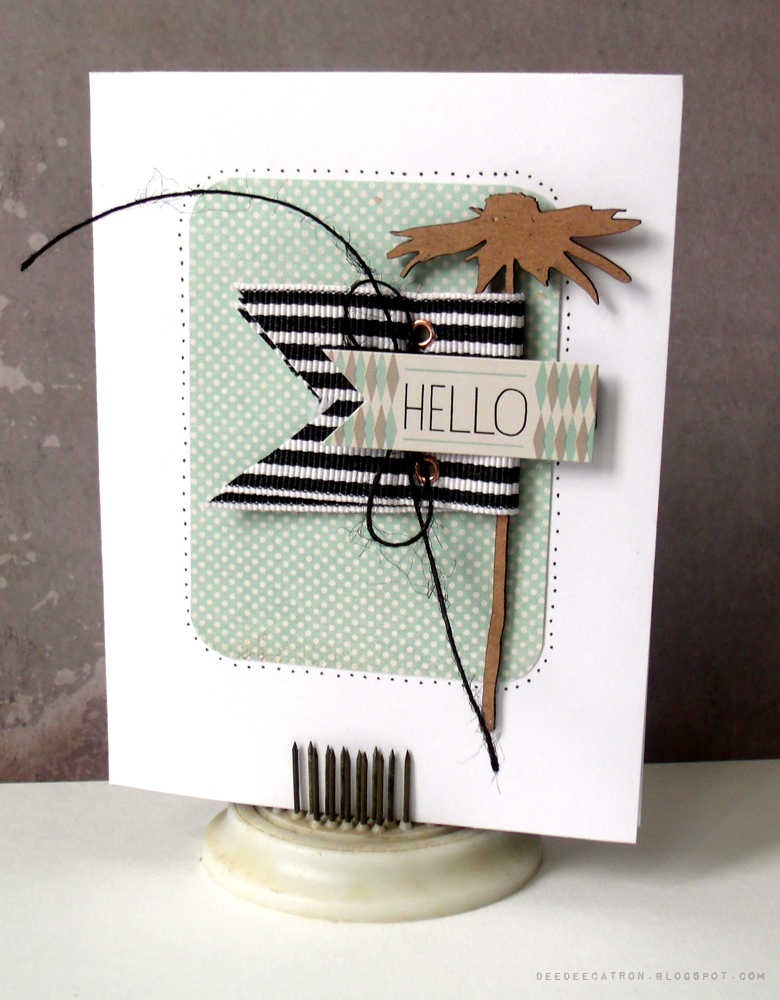
Isn’t this adorable? It’s not my usual style – but I’m gaga over it. Not only about the sweet little tie of ribbon and eyelets, but also about the Basic Grey Hipster Collection layering happening. Here’s the how to:
Easy peasy lemon squeezy right?? The card base is plain white cardstock. There’s a rectangle of Hipster with rounded corners, and then our newly tied embellishment. Layer and adhere.
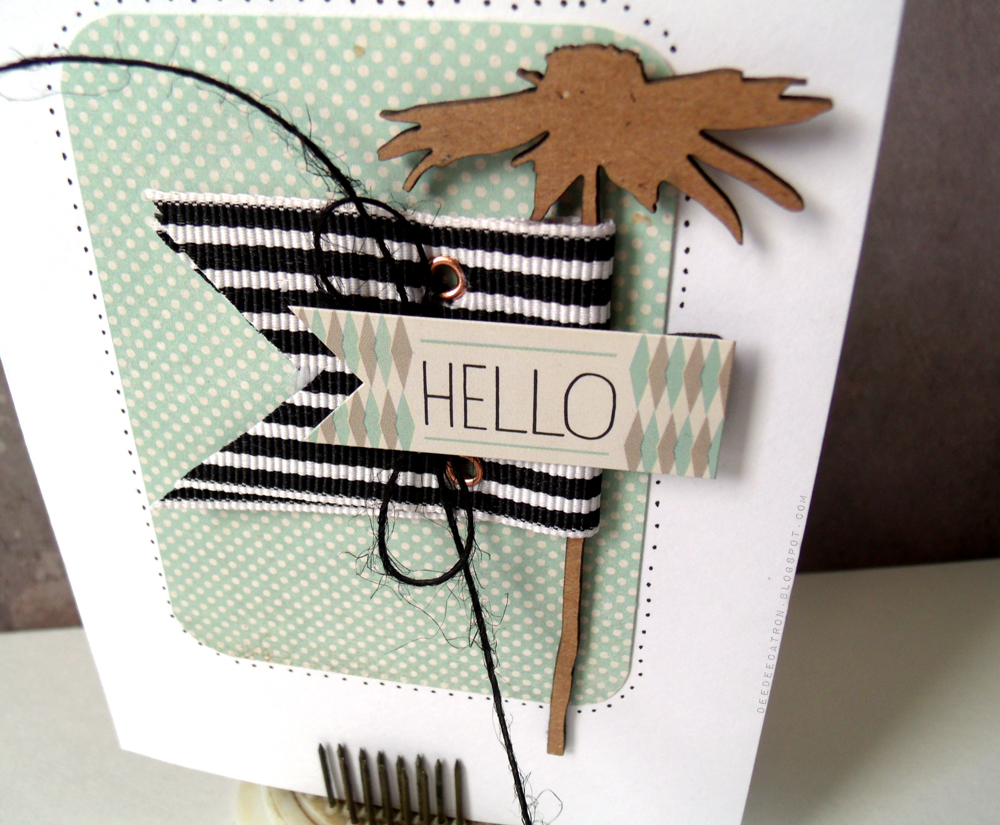
Then I layered a Hello sticker from the collection with foam adhesive, and did a little border of doodled dots. I honestly can’t wait to make fifteen more of these. Different ribbons, different paper, fun eyelets. Eek. It’s quick, cute, and I know a ton of people who will love to receive this card!
By DeeDee Catron
Other Supplies Used:
- Basic Grey – Hipster Collection
- Scrapbook Adhesives – adhesive, 3D foam
- UmWowStudio – Chipboard Daisy
- Crop-o-dile
- Sakura Of America Micron
- Eyelets, white cardstock, corner rounder, scissors

LOVE LOVE LOVE
You are so funny DeeDee …. while I was looking and reading I was thinking this is definitely a DeeDee creation and it was great to see that it really was 🙂 THANK YOU for the INSPIRATION!!!
Love this idea!! TFS!
How what a great
idea! Looks so neat
and easy.
Carla from Utah
I love that bow, what a great idea and technique.
DeeDee, wonderful little tutorial. I am going to try this for sure …