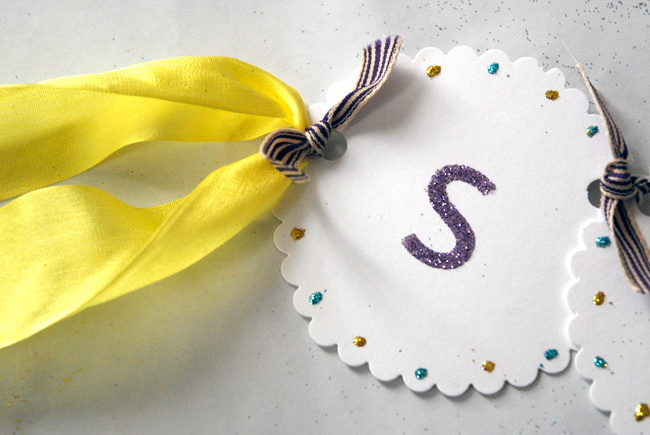
Create Your Own Spring Banner
I love decorating for holidays, but sometimes, I prefer to have decorations that are more generic and can hang up a bit longer. This banner is dedicated to spring and will last for several months. The letters can easily be switched out for a birthday or the 4th of July – whatever you want to say.
supplies
– 1.5 yds – 3/8″ purple grosgrain stripes (RG67)
– 3 yds – 1-1/4″ yellow silk (SK27)
• White card stock
• Hole punch
• Scalloped scissors
• Glue
• Double stick letters
• Glitter
INSTRUCTIONS
Step 1 – Cut and scallop the edges of 11 card stock circles, 3″ in diameter. Punch 2 holes in each circle as shown in photo below.
 Step 2 –S out “happy spring” by placing one double stick letter in the center of each circle. Cover letter with glitter and brush off excess.
 Step 3 – Add small glue dots around outer edge of circle and cover with alternating colors of glitter.
 Step 4 – To string circles together, cut 3″ lengths of purple ribbon and thread through neighboring holes. Tie ribbon in a double knot and trim ends on an angle.
 Step 5 – Cut yellow ribbon into 4 equal lengths. Loop and lay it over the purple ribbon on each end letter. Tie purple ribbon in a double knot to secure yellow ribbon in place.
 Step 6 – Your spring banner is now ready to hang and enjoy throughout the coming months.
Download the pdf to this tutorial Here!
Blog post by: Tiffin Mills
Be sure to check out this week’s giveaway – Jennifer McGuire’s Folded Ribbon Card


