Craft Ideas: Sun & Sea Beeswax Collage
 Layers of melted beeswax lend a dreamy feel to a collage and fuse all the elements together beautifully! It’s much simpler than you might think to work with this technique, and the results are so satisfying. I created a Sun & Sea Beeswax Collage for the May Arts/Creative Imaginations blog week, and I would love to share the details with you!
{Please visit Serendipity Vintage Studio for a link to a download of the tutorial. Have fun waxing!}
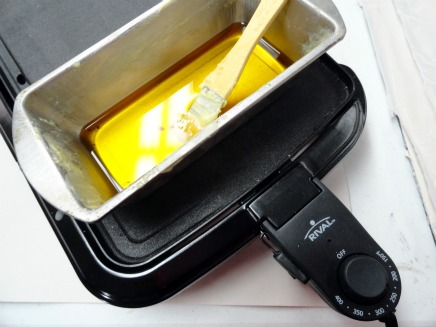 Beeswax collage requires only a few simple elements:
- Natural Beeswax {Available in a block here or as pellets here}
- Griddle with a temperature control dial
- Metal Loaf Pan
- Natural Bristle Paint Brush {any other type will melt!}
- Heat Tool
Melt the desired amount of wax with the griddle set at 225 degrees. The beeswax smells wonderful as it melts, but you may want to work in a ventilated area. The beeswax is hot, so use caution when working with it. For more information about beeswax collage, visit this post for links and suggested resources.
{Other Materials}
- CI Beach Cottage Mermaid and Sun and Sea DS papers and Die Cut Shapes.
- May Arts Baker’s Twine {412-28}
- May Arts Woven/Burlap {408-05-09}
- 12 x 12 Canvas
- Poem or Quote {Laser Printed on Vellum}
- Ranger Perfect Pearls: Green Patina, Blue Patina, Perfect Pearl
- Vintage Photo Distress Ink
- Matte Decoupage or Gel Medium
- Rhinestones
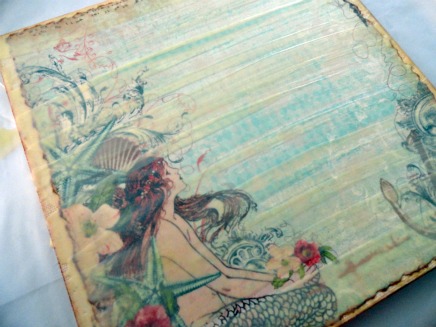
- Tear the edges of the CI Mermaid paper by hand or with a deckle ruler and then apply Vintage Photo Distress Ink all around.
- Use matte decoupage or gel medium to apply the Mermaid paper to the canvas. Allow to dry thoroughly.
- Use a natural hair paint brush to apply the melted beeswax on the entire canvas using even strokes in one direction.
- Use a heat tool to smooth out the wax after each layer
- Tear the Sun and Sea paper as shown, ink the edges, place on the collage, and add another layer of beeswax.
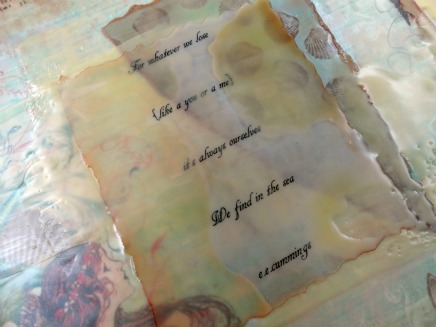
- Tear the vellum poem with a deckle edge ruler and then ink the edges with Vintage Photo Distress Ink. Add to the collage, and then brush on another layer of beeswax.
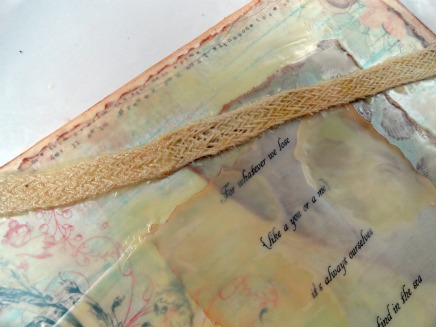
- Drape a piece of May Arts woven/burlap across the top of the canvas and layer that with a piece of Baker’s Twine. Secure in the back with tape, and then add a layer of beeswax on top. Use the heat tool to smooth the wax.
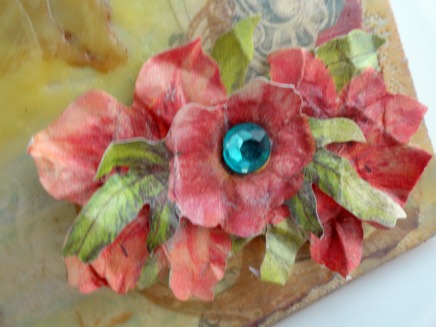
Brush Ranger’s Perfect Pearls on the CI Beach Cottage Die Cut Shapes and spritz to activate and set the shimmer. To add extra dimension to the flowers, crumple them after spritzing with water. Add the Die Cut Shapes as shown, and use a white tacky glue to add rhinestones for a bit of sparkle.
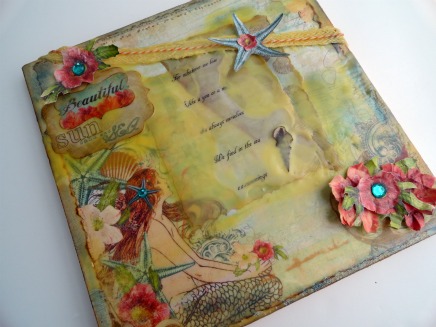 The finished collage! Working with beeswax is fun and easy, but here are a few tips to help you get started:
- If you’re using a block of beeswax, freeze it first, put it in a sturdy plastic bag securely closed, then break it into pieces with a hammer or mallet, or throw it on the sidewalk!
- Be sure to apply the beeswax in even strokes that don’t overlap. This will prevent buildup along the brush lines.
- The beeswax will not adhere as well to slick surfaces like vellum, so some lifting may occur.
Blog post by: Kimberly Jones


