How To Make Tape Measure Cards
Hello! Today I wanted to share with you a couple of ways to put the “Tape Measure” Canvas Ribbon to use on your cards. With the measuring tape motif, it can be used on projects for teachers, seamstresses, crafters or construction workers!
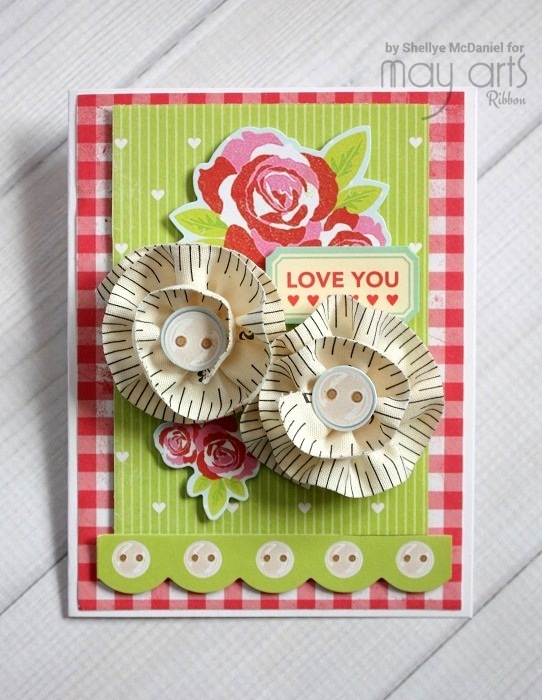
For the first card I have taken a 12″ length of the ribbon and added a running (straight) stitch to the bottom with needle and thread. Once completely stitched along the edge, I pulled the thread to create a pleated look. Knot off the thread and then wind the ribbon around into a flower motif. I glued the flower to a small piece of felt with fabric glue.
I used some stickers and papers by Kaiser Craft that includes some buttons in the patterns.
Next I made a teacher’s card by adding rows of the canvas ribbon to a piece of cardstock.
The card base is 4.25″ X 5.5″, so I cut the cardstock to 3.25″ X 4″. I placed the strips of ribbon through a Xyron Sticker Maker and then applied to the cardstock. I alternated the pattern so that one row’s numbers would be off-set with the next row.
To complete the card, I used papers and stickers from Simple Stories. I wanted the tape measure background to be the main focal point, so I kept my embellishments to a minimum.
If you’re interested in more masculine cards with the printed canvas ribbon, try spritzing with distress ink or tea-dying!
Enjoy!
Shellye
Other Supplies Used:
- Kaiser Craft Tea Party Collection
- Simple Stories Smarty Pants Collection
- Xyron 1.5″ Sticker Maker
- Beacon Fabri-Tac
- 3L Scrapbook Adhesives Foam Adhesive
- Needle and Thread


