Thank You Cards {and a giveaway}
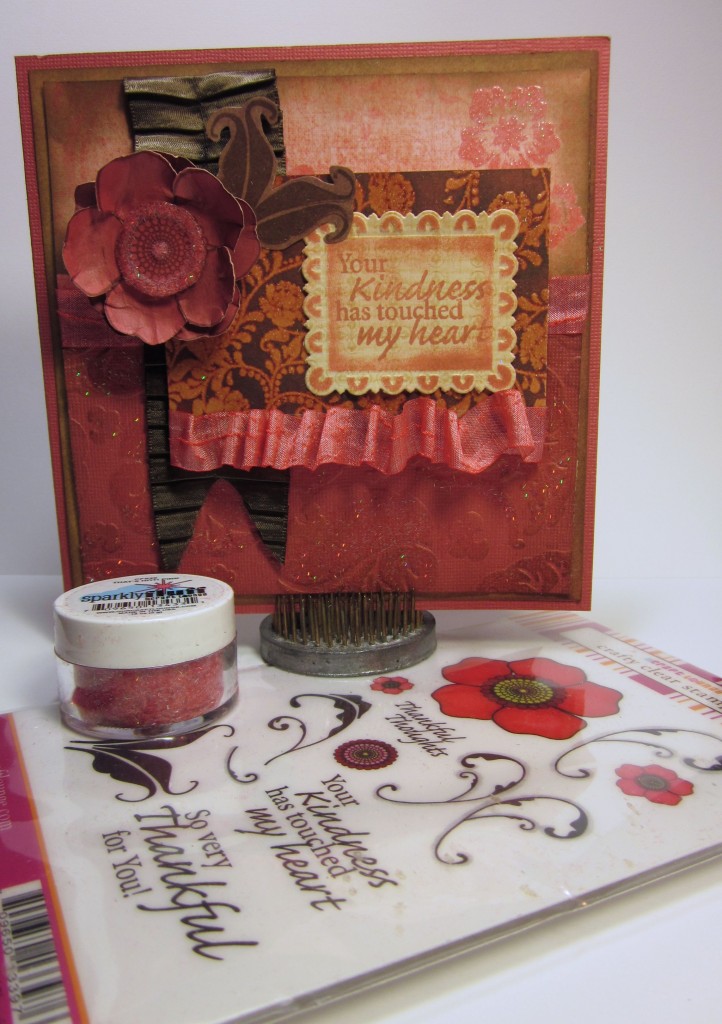
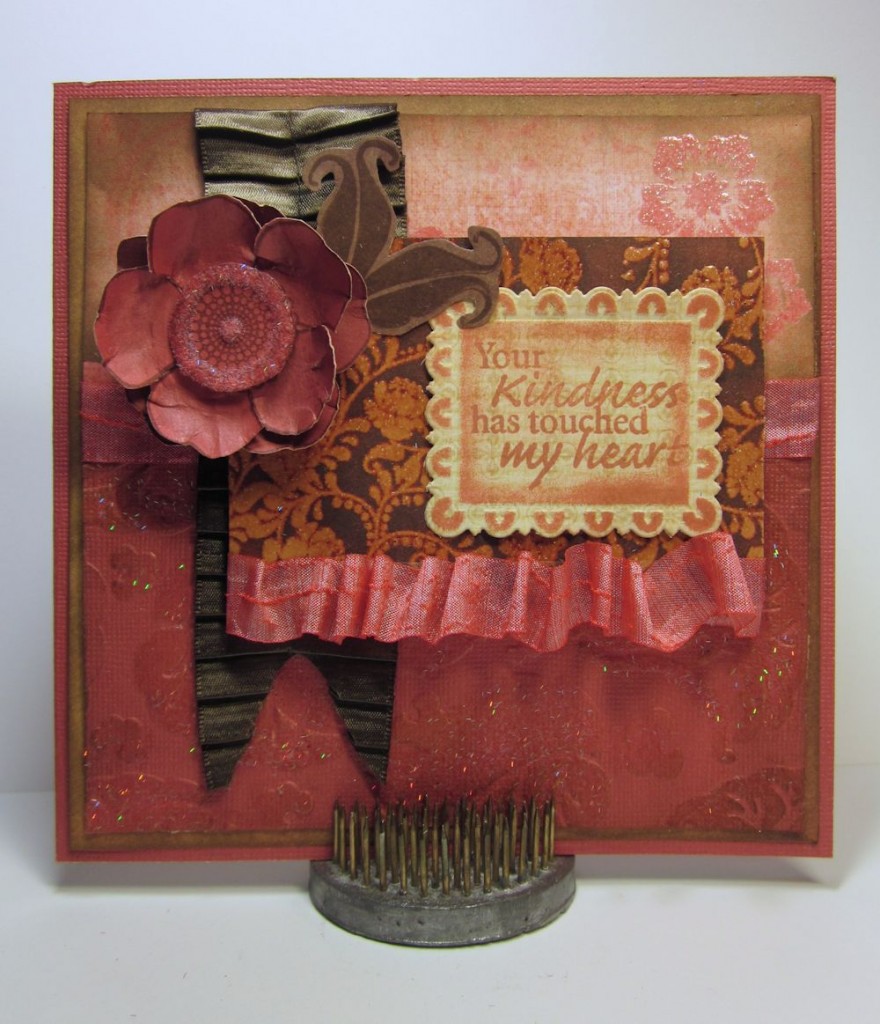
Hi, it’s Gini and I am excited to share a couple of cards created with the lovely Our Craft Lounge set Thankful Flourishes and some of my gorgeous May Arts ribbons. I’m always in need of thank you cards, and this set has the perfect sentiments. My cards are very different from each other, to give you an idea of how versatile these stamps are.
Supplies – Card One
- May Arts Ribbons: 379 1.5″x15y SATIN/PLEATS (379-15-33); PR 5/8″x30y – TEXTURED/LINES (PR-22)
- Our Craft Lounge: Crafty Clear Stamps – Thankful Flourishes (CCM041); Sparkly Fluff (That’s Hot Pink)
- DCWV: Patterned Paper – The Rustic Stack
- Core’Dinations: Cardstock
- Spellbinders: Fleur De Lis Rectangles die; M-Bossabilities Flora folder
- Scor-Pal: Scor-Tape
- GlueArts: Glue Glider Pro Perma Tac; U Cut It 3D Adhesive Foam
- Art Glitter Dries Clear Adhesive
- Sakura Crystal Lacquer
- Clearsnap Ink
Designer Notes:
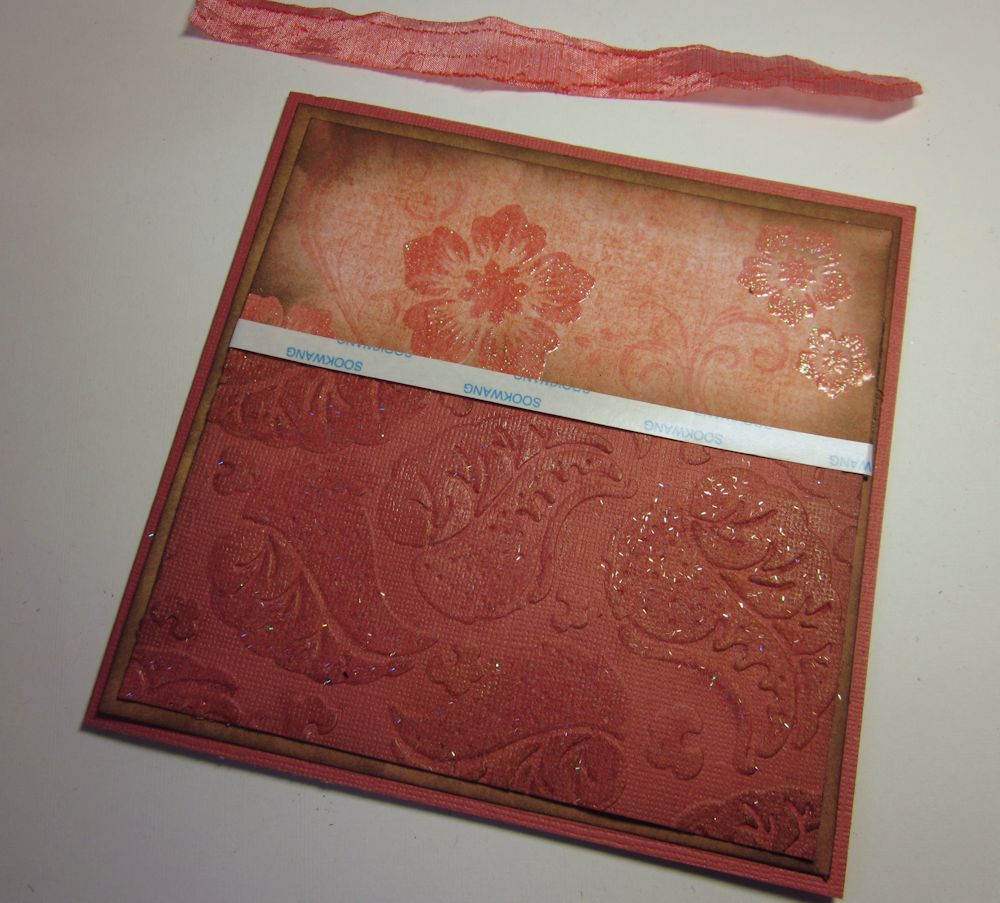
- Dry emboss your cardstock with the folder of your choice. Apply Dries Clear Adhesive on the raised areas, and spread the glue out thin. Sprinkle Sparkly Fluff over the glue, and burnish the fluff with your finger to create a nice, subtle sparkle over your embossing.
- Use Scor-Tape to easily attach your ribbon to your card. This is a great way to keep your ribbon in a straight line on your project.
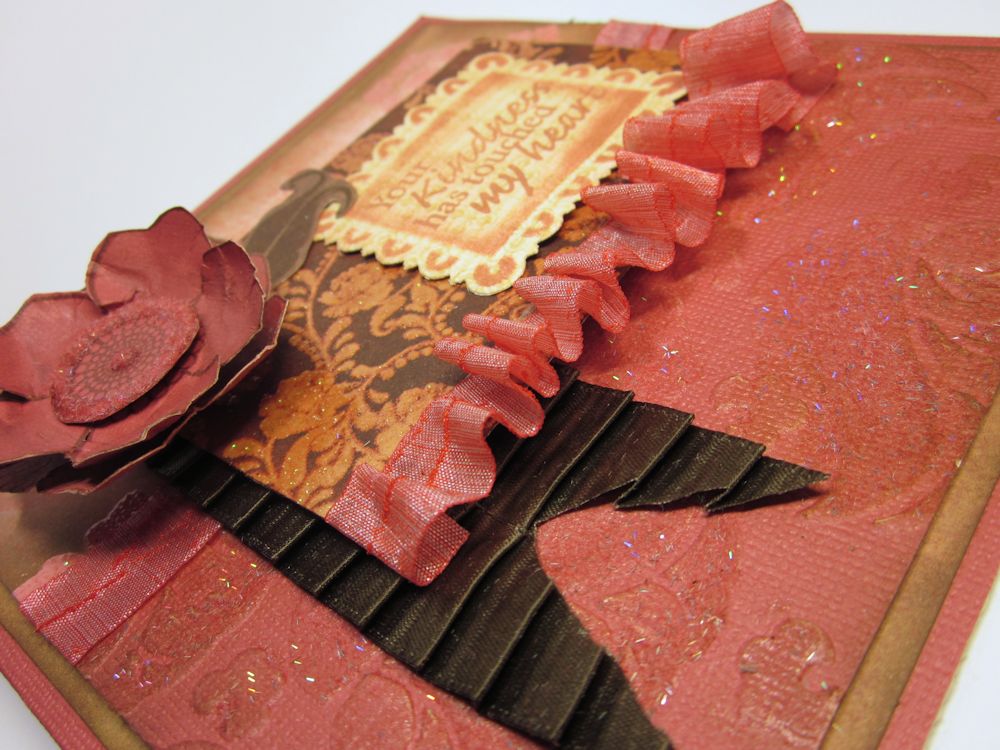
- Create a ruffled-ribbon edge by laying down a piece of Scor-Tape, and folding the ribbon as you attach it to the tape.
- Stamp three flower images. Fussy cut around two of the flowers, and cut the petals into the center. Shape the petals of the two flowers using a large, round embossing stylus. Glue the flowers together, with the petals off-set, using dimensional foam. On the third stamped image, outline the center with Crystal Lacquer, and sprinkle with the Sparkly Fluff. Allow to dry completely, and then cut out the center, and adhere it to the other flowers.
- Die cut a decorative rectangle, ink the stenciled areas, and stamp your sentiment in the center.
- Assemble the card as shown.
I have to be honest, I made this second card, just because this incredible ribbon showed up in my mailbox today – and I couldn’t wait even a minute to use it on a card!
Supplies – Card Two
- May Arts Ribbon: 365 2″x25y SOLID/STRIPES (365-2-67)
- Our Craft Lounge: Crafty Clear Stamps – Thankful Flourishes (CCM041)
- WorldWin Papers Cardstock
- Wow Embossing Powder- Presidio Purple
- Jolee’s French General Tag
- Versamark Watermark Ink
Designer Notes:
- Randomly stamp the flower image on your cardstock with watermark ink. Sprinkle with embossing powder and heat set.
- Tie a simple bow for your card. Attach a length of ribbon around your matted, stamped cardstock. With your sewing machine, zig-zag stitch along each edge of the ribbon. Glue your bow in place.
- Add sentiment, with dimensional foam, and attach to card base.
Thank you for stopping by today!
Blog post by: Gini Williams Cagle
Giveaway!
Now here’s your chance to win goodies of your own! Each day we will be giving away a different prize! Today’s prize is:
That’s Our Craft Lounge’s Crafty Cling Rubber Single – Fall Sunflower
and
1 spool of ribbon – Your Choice!
All you have to do is comment on any post today! Tomorrow I will annouce a winner and a new prize pack to give away!
And be sure to stop on by the Our Craft Lounge blog to win some more goodies!


