Whenever we have a big family meal, we have a tradition of giving little gifts or trinkets to everyone – so I am always on the lookout for cute ideas that are easy to make, but that will bring a smile to everyone’s face. This little ribbon turkey can be finished with a pin back or made into a magnet – so you have something to suit everyone’s tastes.

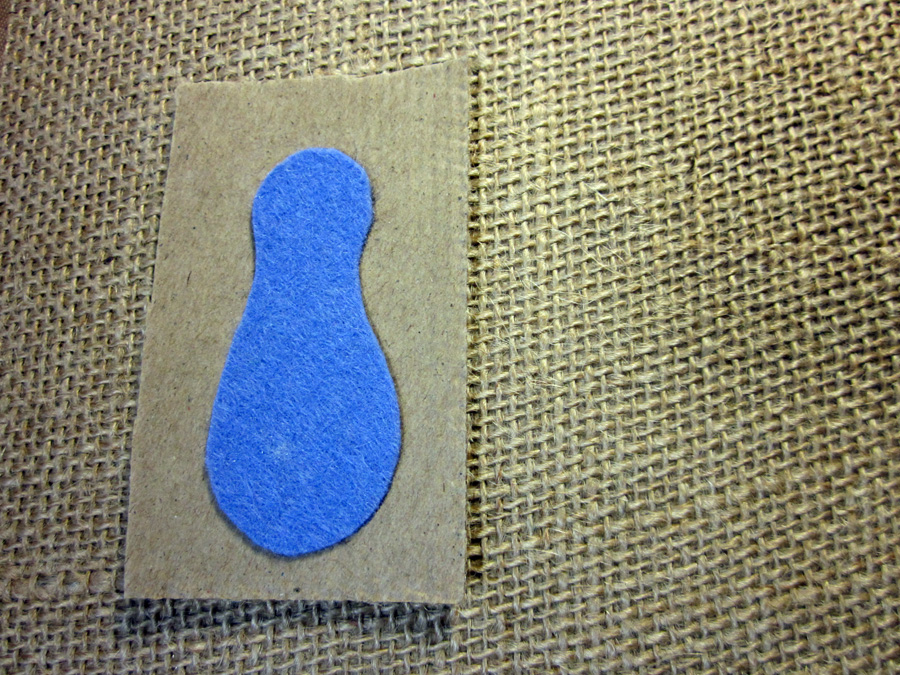
Draw the turkey body onto felt and cut it out. Glue to the back of burlap paper and cut again. Ink the edges with brown ink.
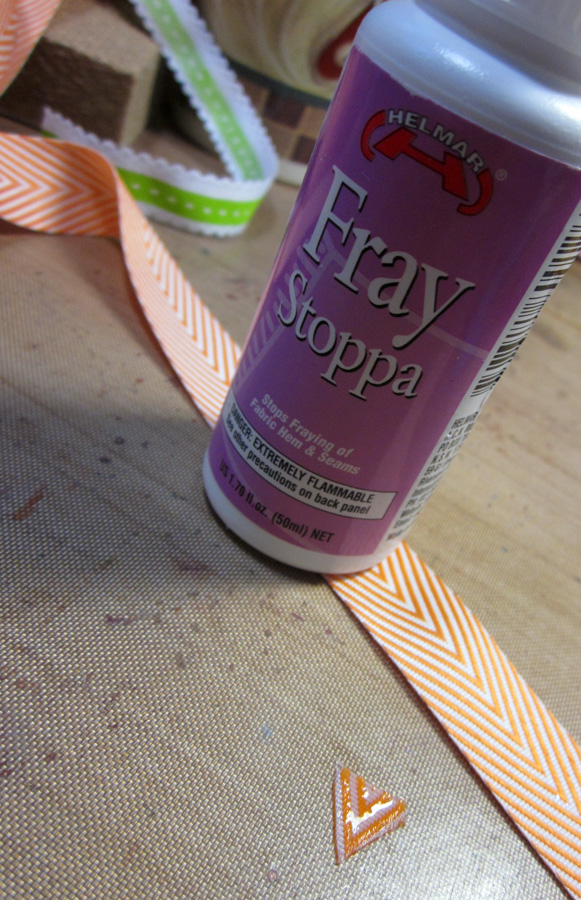
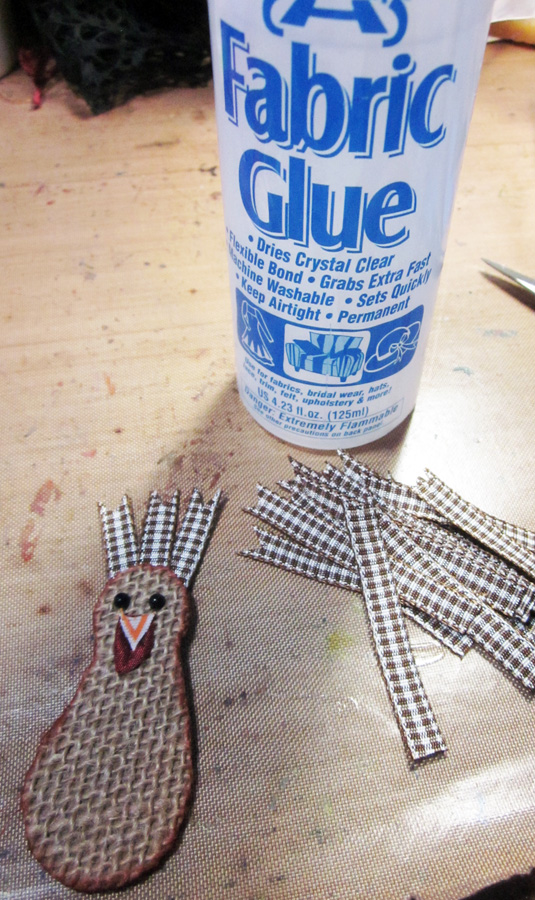
To make the turkey face, use two black adhesive pearls for the eyes. To make the beak, use orange chevron ribbon, and coat with Fray-Stoppa. After this is dry, then trim to the size of the beak.
To make the turkey’s wattle (the red jiggly thing on his neck – and yes, I had to look up what it was called!), cut one dark red leaf and adhere to the body, and then add the beak on top of this.

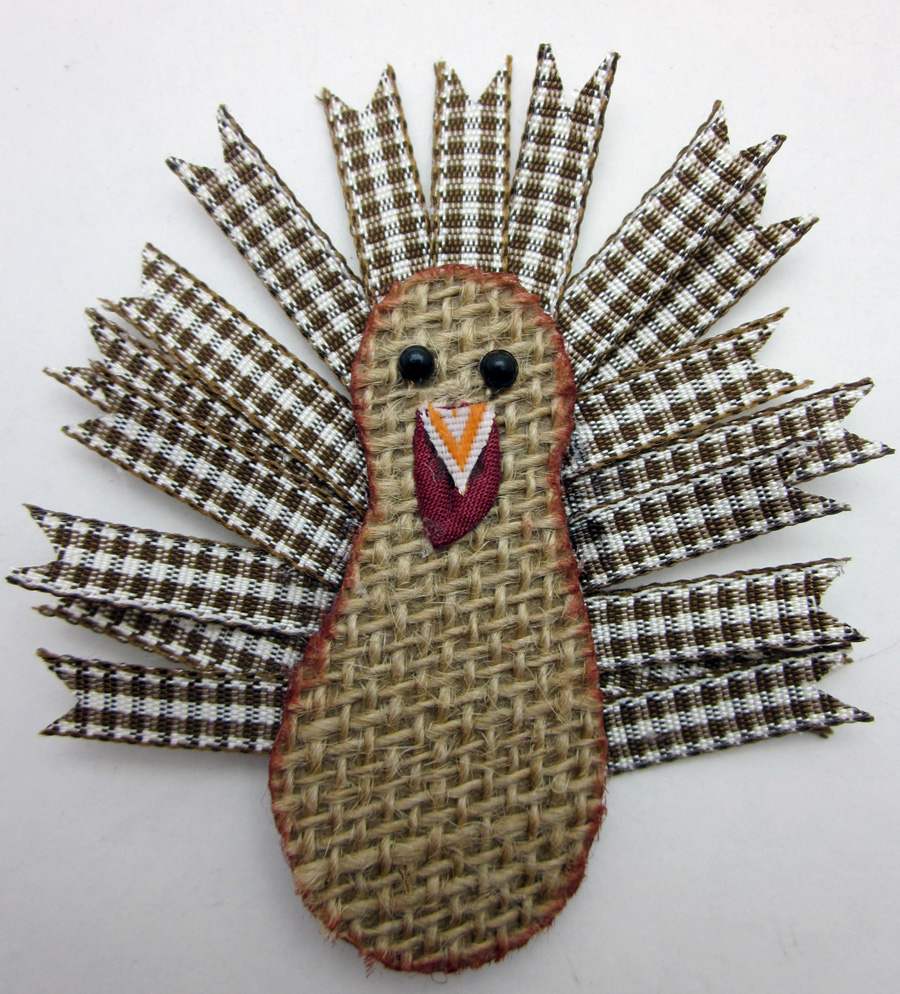
For the turkey feathers, cut 15-20 pieces of ribbon, about 1.5” long each. Start gluing at the top of the turkey’s head, and alternate adding feathers to the right and the left.
Add a pin back or magnet to the back to finish.
By Gini Williams Cagle
Partners in Craft Supplies Used:
- DCWV The Burlap Paper Stack
Other Supplies Used:
- Helmar Fabric Glue, Fray Stoppa
- Felt
- Adhesive Pearls

What a clever way to make a turkey! Love it!
This is adorable. Thank you for the pics and how to. 🙂
How cute! TFS!