

If you are like me, you are always looking for new ways to organize and store all of your craft room goodies. It came to me one day while looking at a friends, now unwanted baby crib.
The pieces of the crib could make great storage for some of your smaller items, perfect to mount on a wall near your workspace.
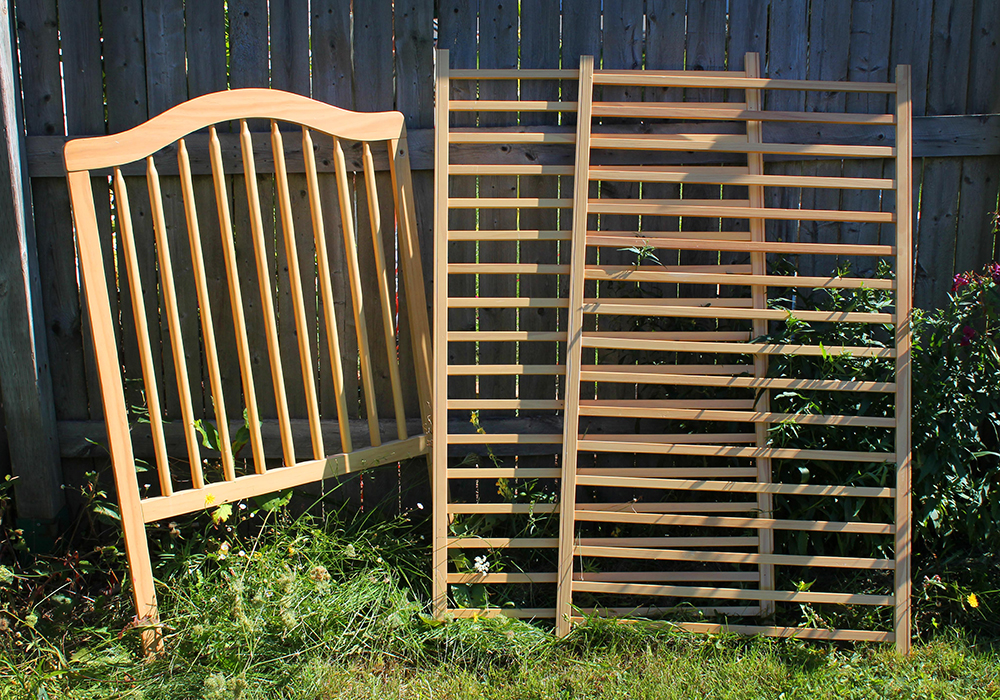
So my adventure began. I took that unwanted crib and used some of the pieces to make my creation.
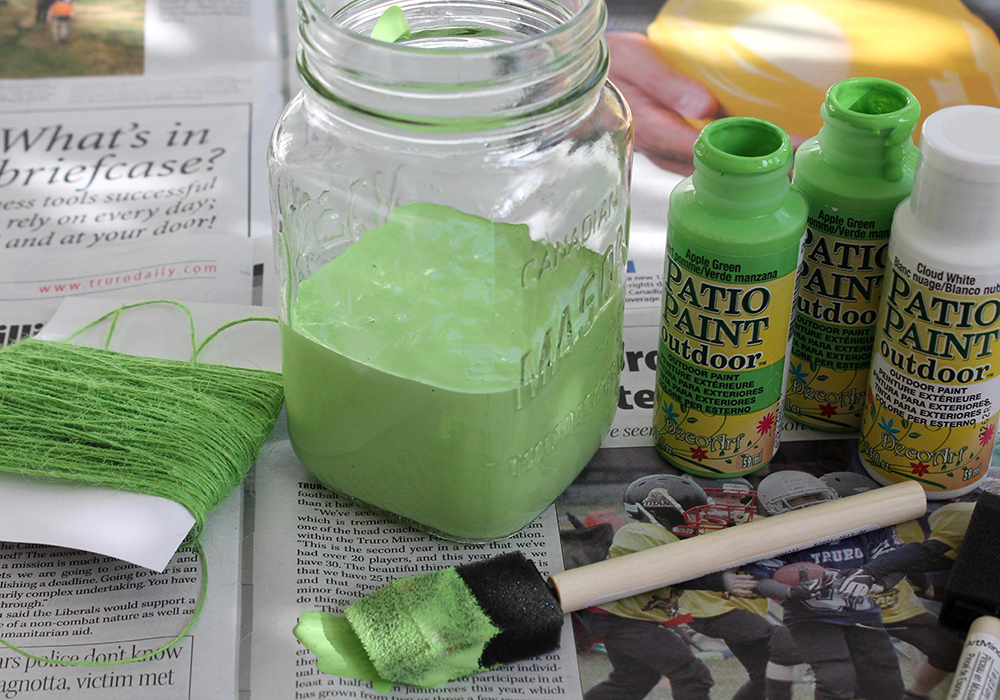
I started by preparing the used crib. I cleaned it thoroughly and then sanded all of the surfaces that I had planned on painting. A light sanding will help the paint adhere to the surface. A quick wipe with a damp cloth afterwards will get rid of any dust left behind from sanding.
I also had to cut the crib pieces so that when put together, all pieces would be the same length. But that would all depend on your crib. You want to make sure that the rungs of the crib will line up like shelves.
I then mixed my DecoArts Patio paints to get the desired shade of green.
Overall, covering the crib took and average of 3 coats of paint. I didn’t want any wood grain showing through.
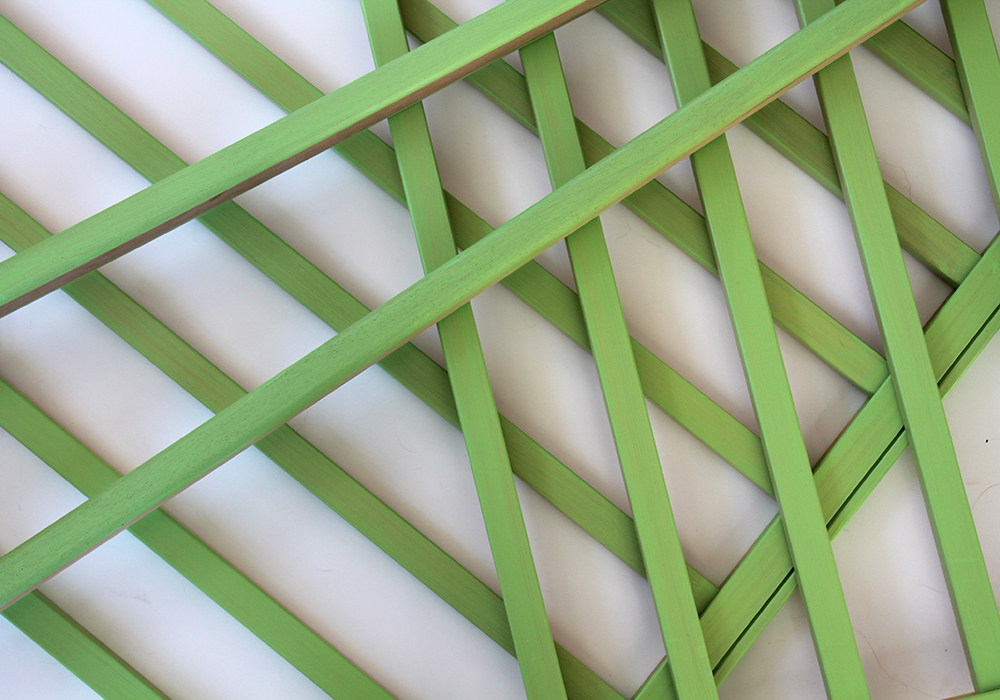
Once your pieces are painted and dried, you can start to think about assembling. I used the 2 sides of the crib, and I also used 2 pieces of wood that were on the bottom section of the crib that I had . This gave a little separation to my crib sides, making the shelves a little wider.
I simply used a hammer and nails to put mine together. I made sure that anywhere I had nails would be covered by my ribbon later.
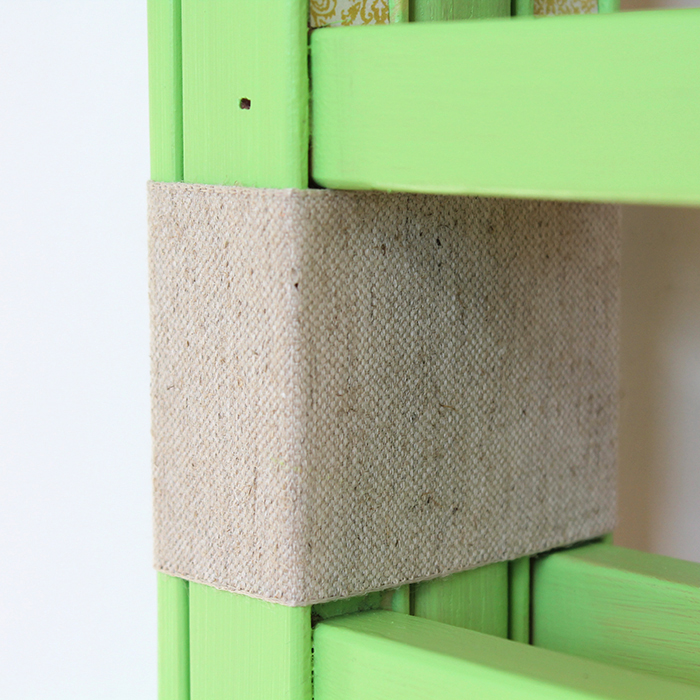
I then added my Natural Burlap/Cotton Ribbon around every other section. I used a hot glue gun to attach each piece in the back.
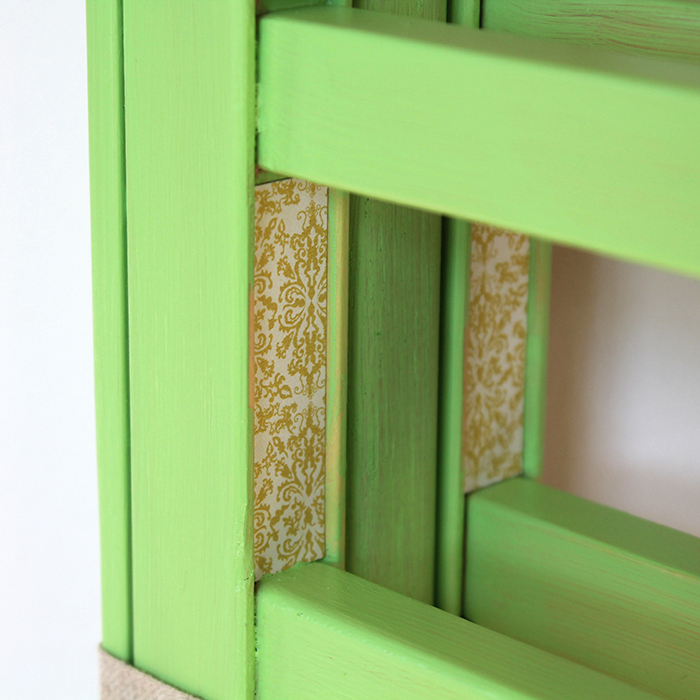
Depending on your crib, you may have little spaces that could be hard to get to with paint. I decided early on that I would be covering these spaces with patterned paper. So I added narrow strips of patterned paper in the section that did not have the Burlap/Cotton ribbon.
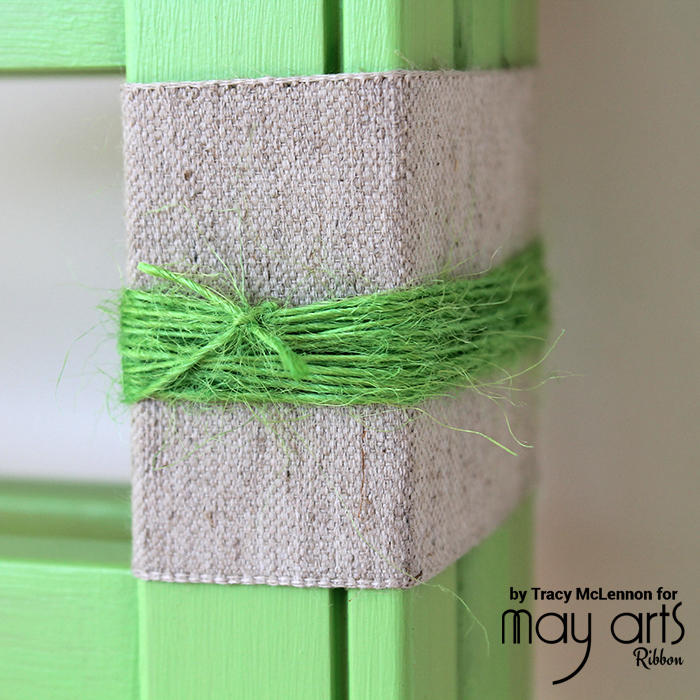
I then added the Parrot Green Burlap Twine to each of the ribbon sections. I wrapped very long lengths of the the twine around and around, and tied a knot in the front of each section. I wanted to add texture and even a bit of a nautical look to my storage.
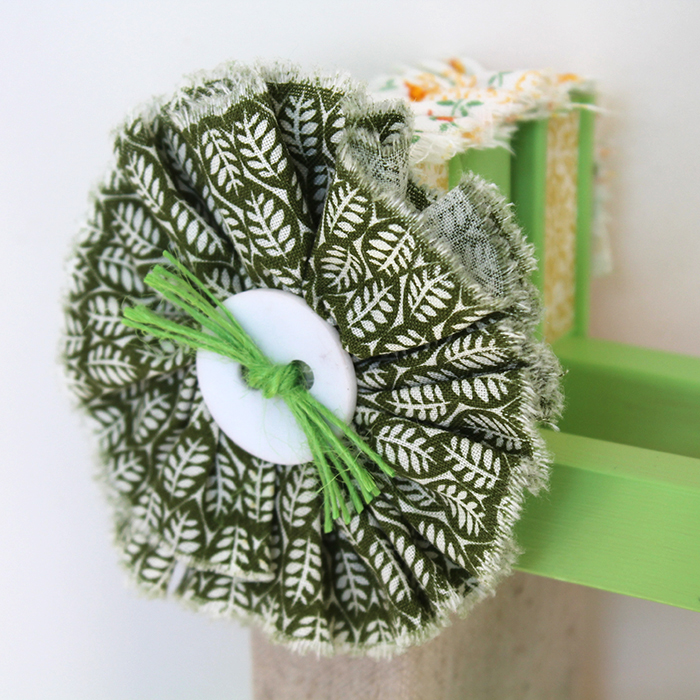
I wanted to add something to the top of my storage, as after trimming it to the length that I needed, it left the pieces a little rough looking. So I added some ruffled fabric and ruffled fabric flowers to cover all that needed to be covered.
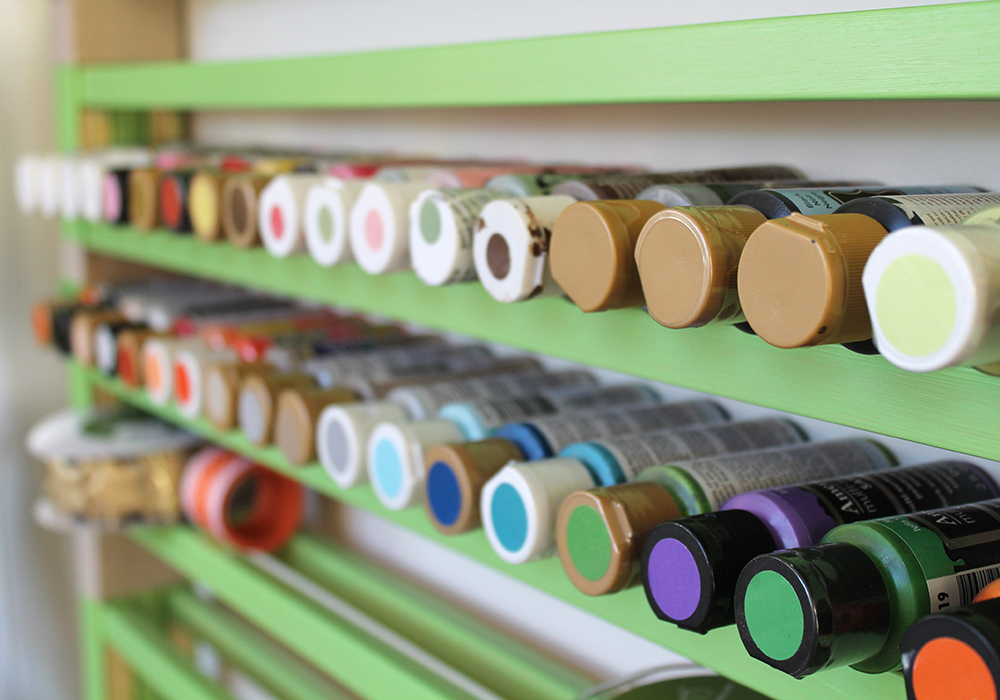
From there, your upcycled crib is ready to store all of your precious craft room goodies!
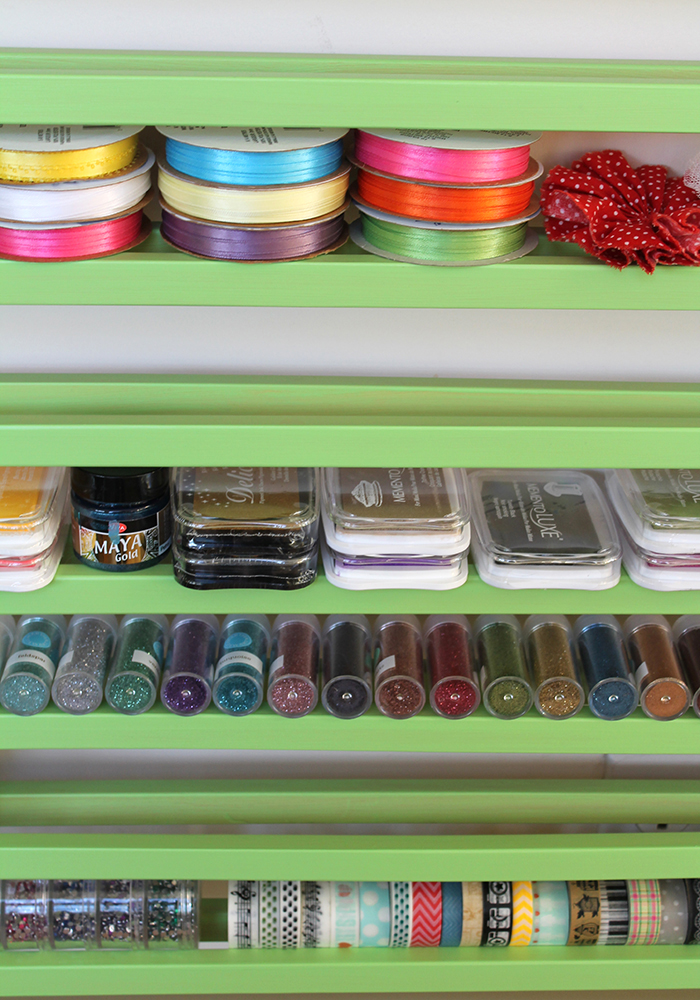
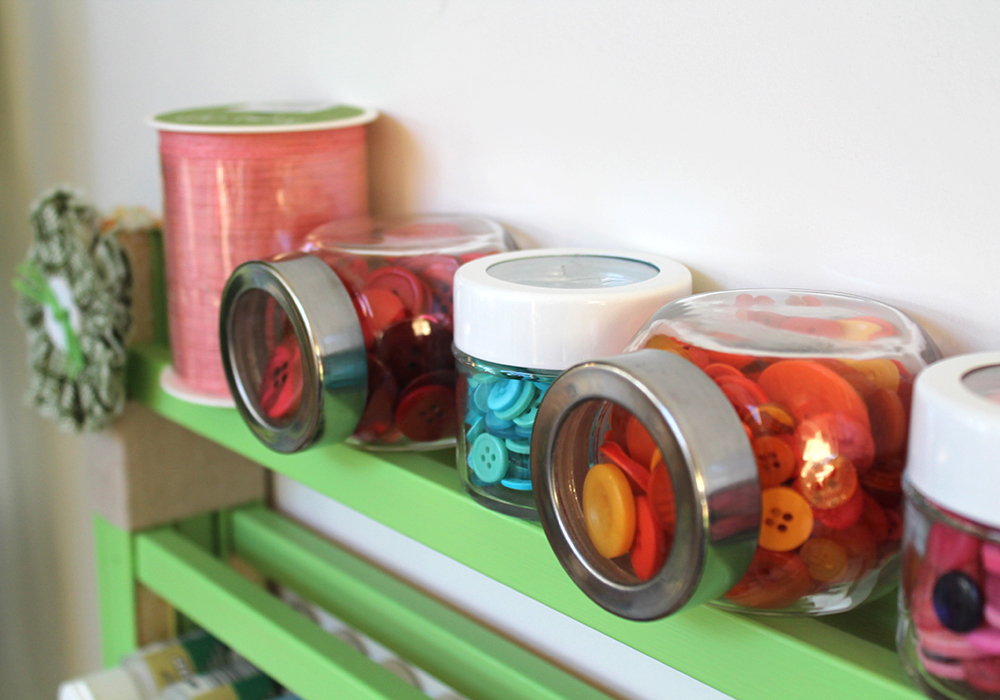
Other Supplies Used:
- Authentique Patterned Paper
- Baby Crib
- DecoArt Patio Paint and Foam Brushes
- Hot Glue Gun
- Hammer, Nails, Sand Paper, Saw
- Large Flowers and Buttons

I love this idea! I think I will take the fabric idea a bit further by using modpodge and fabric to make a solid shelf “liner” for each rung, to prevent my tiny things from falling through.
I can’t tell you how glad I was to come across this idea. The crib I have was mine when I was born in 1957. It has been through several family members, but came back home to me about 30 years ago. I have been hauling it around ever since, loathe to give it up because of the sentimental value. Now I will be able to use it in my craft room and always have it in sight. Thank you.
I have a very small crib that I have stored for 43 years. The grandchildren are grown so I think it’s safe to make something of the crib. Thanks for this idea!
Well, it is May 2017, but I am just now seeing this … and saving it! I have a very small crib that was used for my son as a newborn (43 yrs. ago) and I have held on to it. My two grandchildren are 23 and 27, so I think it’s safe to make this storage item out of that crib! Thanks for the idea.
I’m just seeing this May 2018. ????Great use of old cribs, especially since charities can no longer accept old cribs.
Can you upload the pictures again? They aren’t showing up! I’m using Google Chrome, if that helps.
Hi Terrie. Sorry ’bout that. Can you check again? The images are showing up using Chrome on my Mac. Could have been a temporary glitch.
Love the idea. Always loving for new ideas and spaces to put the small things. Thank you for sharing it with everyone.
No! I am not like you. I have 4 times as much of everything. Am competing with my Sister, Barb, she has 4 times more than me! We LOVE this–however need SEVERAL cribs. LOL We will be doing this project several times–thanks bunches. Dorothy
Love This! I am going to measure the area behind my door. Hope it fits because I need a place for acrylic paint bottles and stamp pads. This would be perfect!
I love it, so clever, I pinned it and have two cribs just waiting to be upcycled to something new. My only issue is I don’t have any spare wall space in my craft room. #craftroomproblems. thank you so much.
This is so clever and a wonderful way to upcycle an old crib. Love it!
Genius!! This is absolutely fabulous!! I will be asking around for cribs now!!! TFS!
This is a fantastic idea!!!
I pinned it!
Oh my gosh this is brilliant. Best part is I have like 4 cribs in the garage right now. So excited to make one of these.