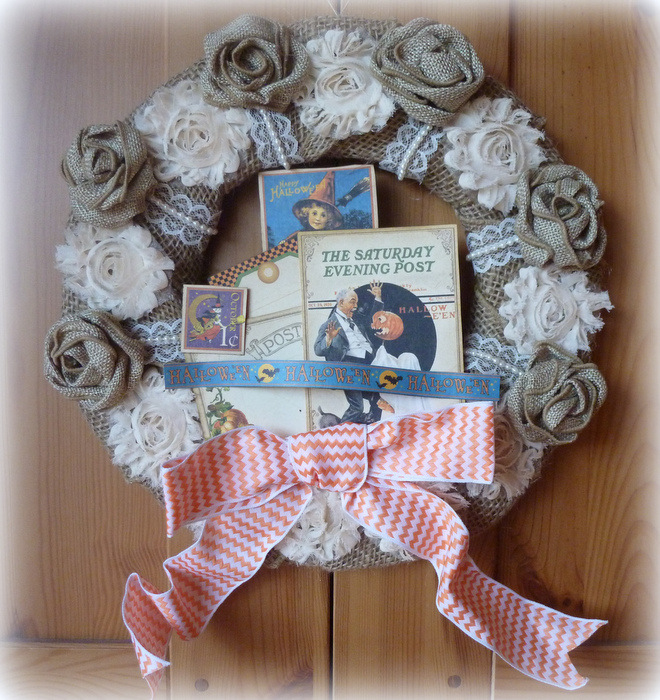
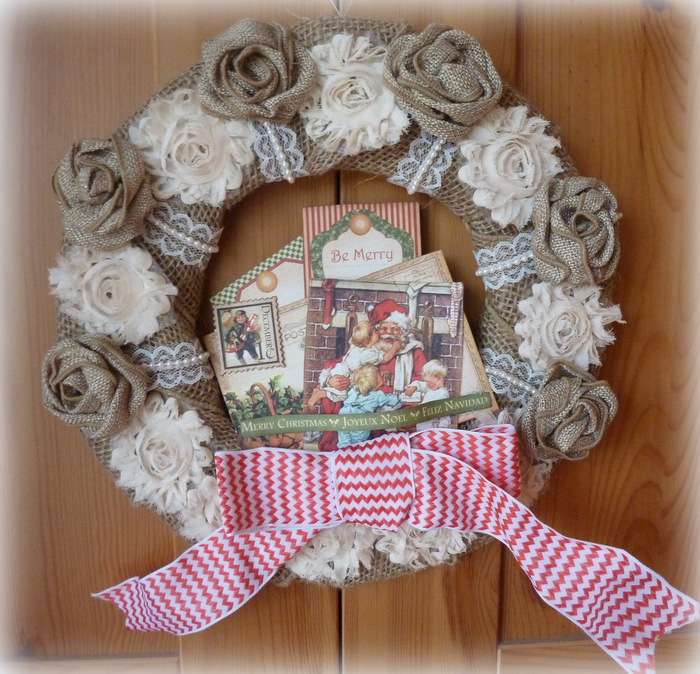
How To: A Wreath For All Seasons
Today, guest designer Cathi O’Neill is back with another fabulous project! She is doing a series of posts with us, so we hope you enjoy her work as much as we do. Don’t forget to post your comments at the end!
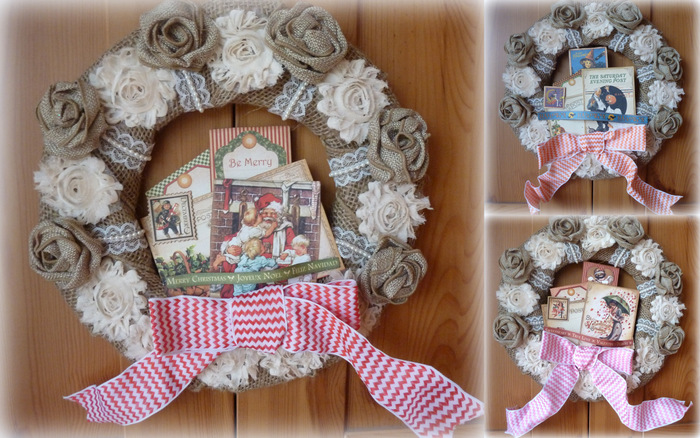
Come join me to learn how to make a simple wreath that you can change out the decor for with the change of the seasons, with great help using the gorgeous Graphic 45 Places in Time papers.
I found it very hard to source a wreath form here in Ireland, so I borrowed an idea that Royal Ribbonista Karen Baker used for her gorgeous Nature Walk Wreath and made my own from some large pizza boxes that I got some scrap goodies delivered in, recycling at its best! I used a plate to trace the circle and then cut out the center and I layered two cardboard bases together.
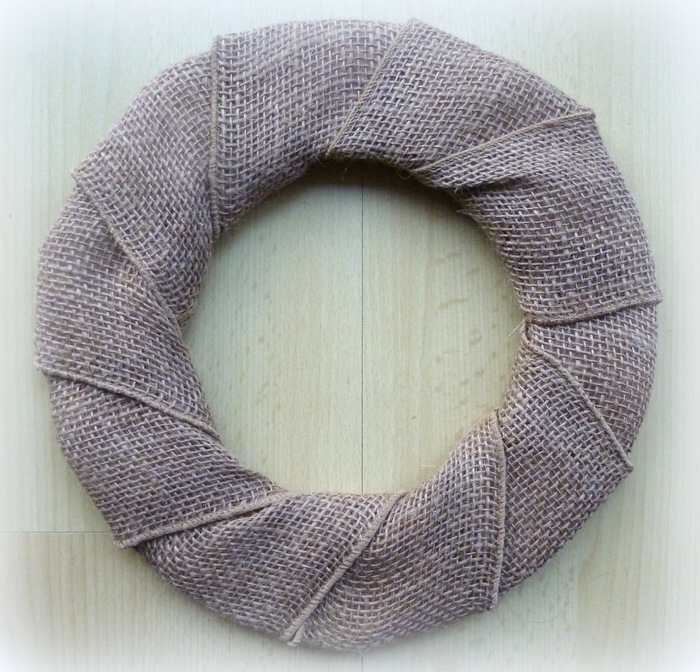
I wrapped the Wide Burlap Ribbon around the wreath form to make a great burlap base.
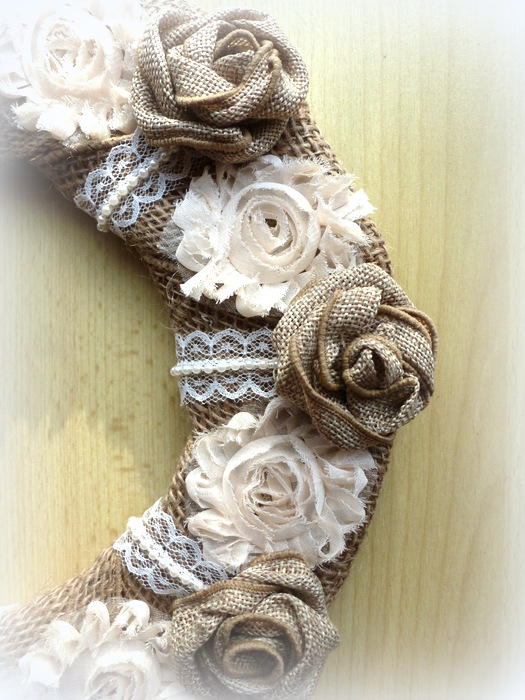
I used the gorgeous Frayed Flowers in ivory to build up my wreath. Where I knew I was going to have my interchangeable decorative motif I put several flowers together, then a spaced the others out a few inches apart for the rest of the wreath. I hot glued all the flowers into place.
I then took 5 inch strips of the beautiful Lace & Pearl Ribbon and glued them into place between the frayed flowers.
For my final addition for my wreath I made some super simple burlap flowers simply by wrapping and twisting Faux Burlap Ribbon.
Since these ribbons are wired they held together perfectly till I was able to hot glue them into place between the frayed flowers. The wreath base is now finished!!
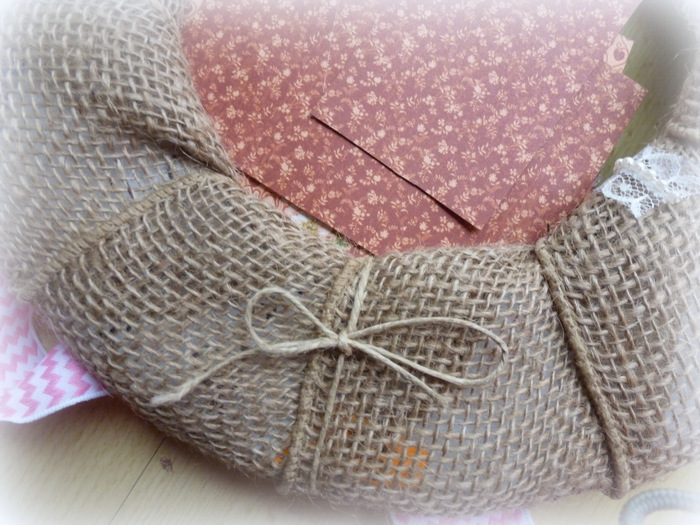
For each of my different seasonal centerpieces I tied a large bow using various colored Woven Chevron Striped Ribbon and used my Graphic 45 Places in Time Collection for all the gorgeous image collaging. I simply assembled them together and glued the bow to the front of the decor piece. I used a piece of burlap twine attached to the back of each of my themed motifs. To switch them out simply tie them around the wreath base!!


