
I am enamored with texture on handmade cards, as it is something that can’t often be found at the cards from big box stores. Today I have two cards featuring the same technique: inked rows of ribbon.

To create this technique, I cut enough strips of May Arts Solid ½” Wrinkled Ribbon in White to cover the front of a card. I then ran a thin strip of liquid adhesive and adhered the ribbon to the cardstock base. I then covered an acrylic plate with watered down ink and placed my ribbon covered cardstock face down into the ink. After a minute or so of soaking, I separated the plate from the cardstock and allowed the cardstock to dry. The ink seeped into the paper, and some into the ribbon as well. Because I did not completely adhere the entire width of the ribbon, the water crinkled the ribbon up from the cardstock base for a nice, fluttery effect.
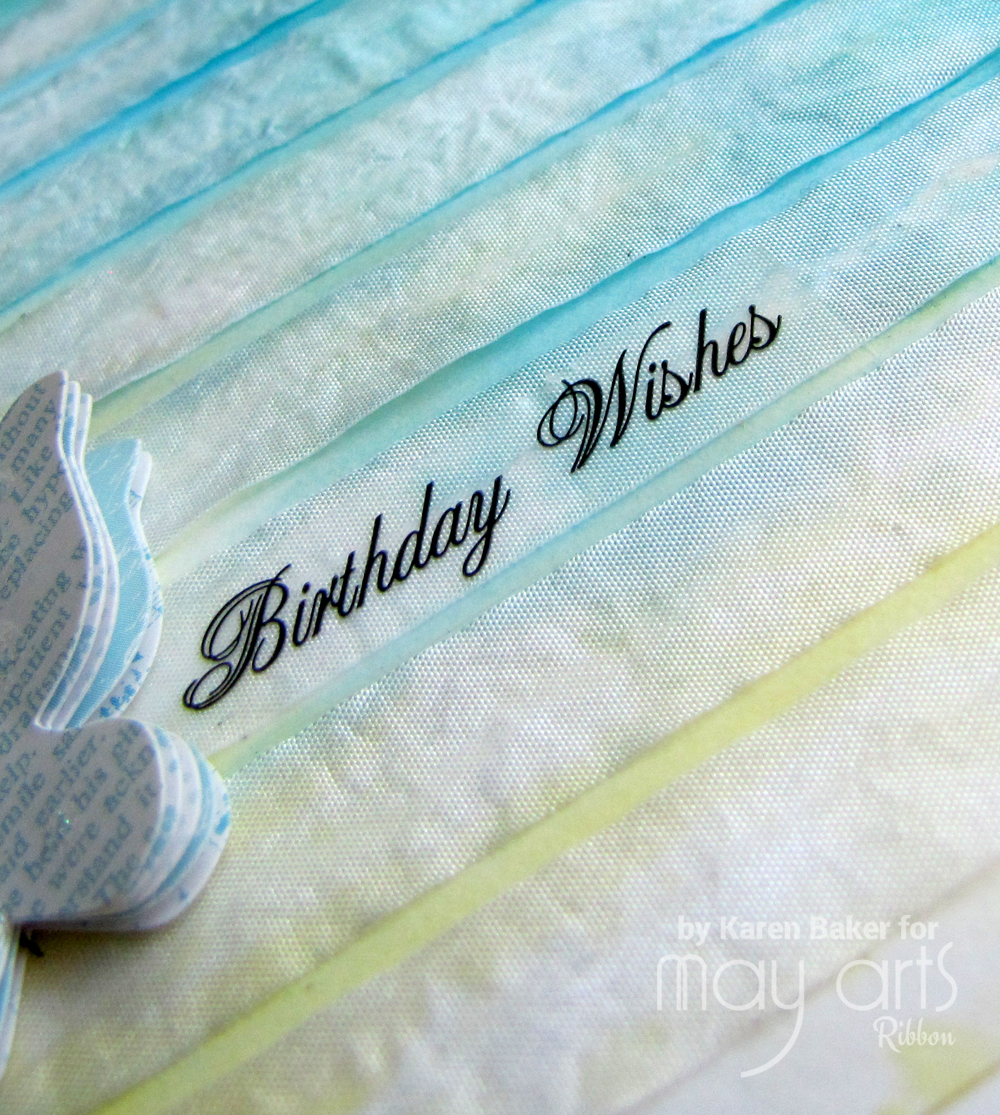
After letting the ribbon and paper dry, I finished the card by adhering the inked rows of ribbon panel to a cardstock base, affixing a decorative butterfly sticker and sentiment.

The second card features a warm toned color palette. I did not cover the entire card base with the inked rows of ribbon panel, rather only half, because the ribbons were glued to the panel closer together.

I finished this card with a May Arts Rosette and a bow made of black silk ribbon in 1/8”.
By Karen Baker
Other Supplies Used:
- Tombow Mono Liquid Adhesive
- White Cardstock
- Distress Inks
- SRM Sentiment Stickers

These are really pretty! I love the ombré effect.