DIY Desk Organization with an Upcycled Tin Can
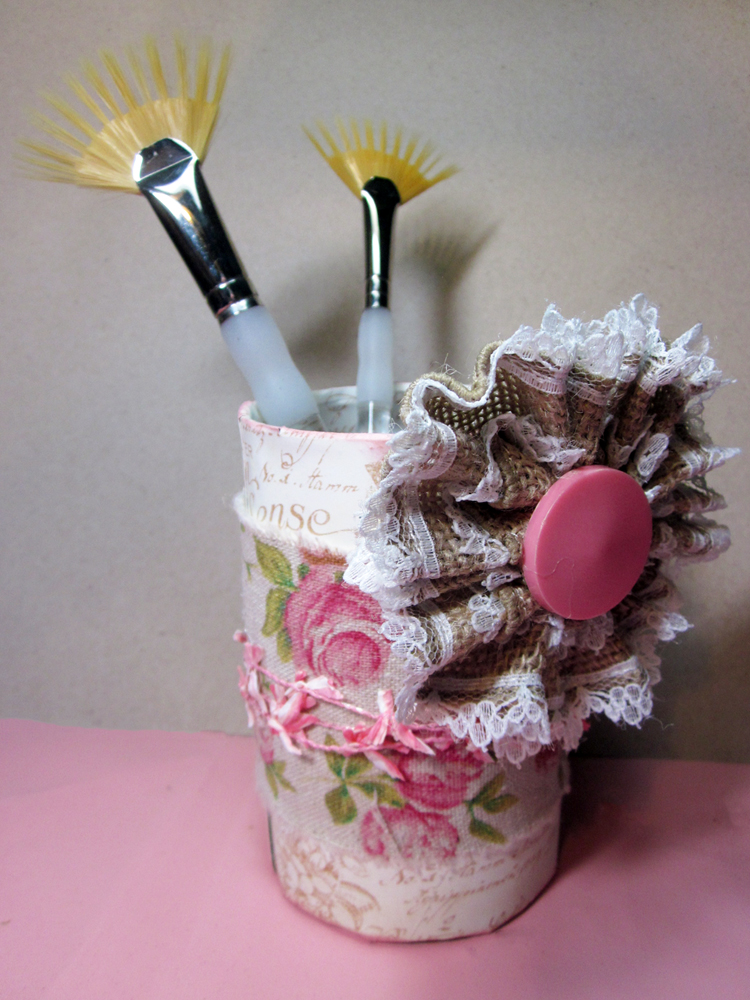
The New Year always inspires me to try to get organized, and of course I want to have really cool ways to sort my goodies without spending a ton of money. So here is an easy solution – create a pretty container for your desk or studio, with an upcycled tin can. I used some of my favorite new May Arts Ribbons to create a lovely home for my paint brushes.
Measure the height of your can and add 1”. Cut a piece of patterned paper this height and wide enough to wrap around the can with a little overlap. (Mine was 5.5” x 12”).
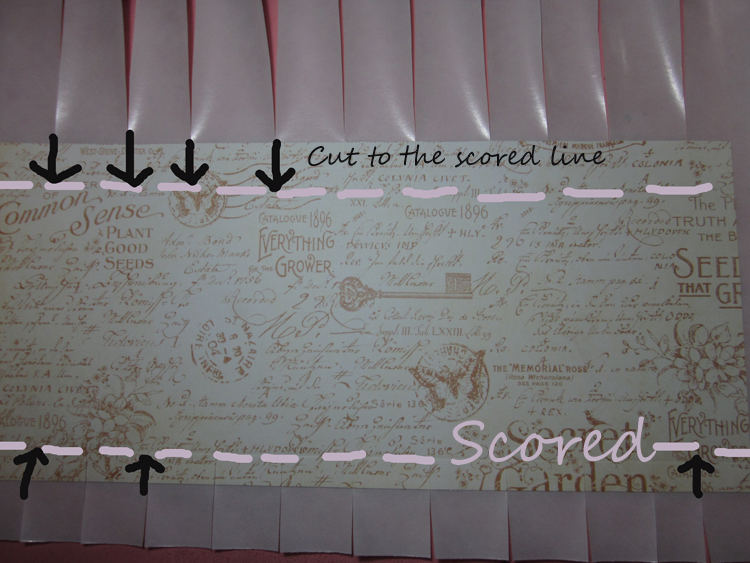
Score the paper on the long side ½” in on each edge.
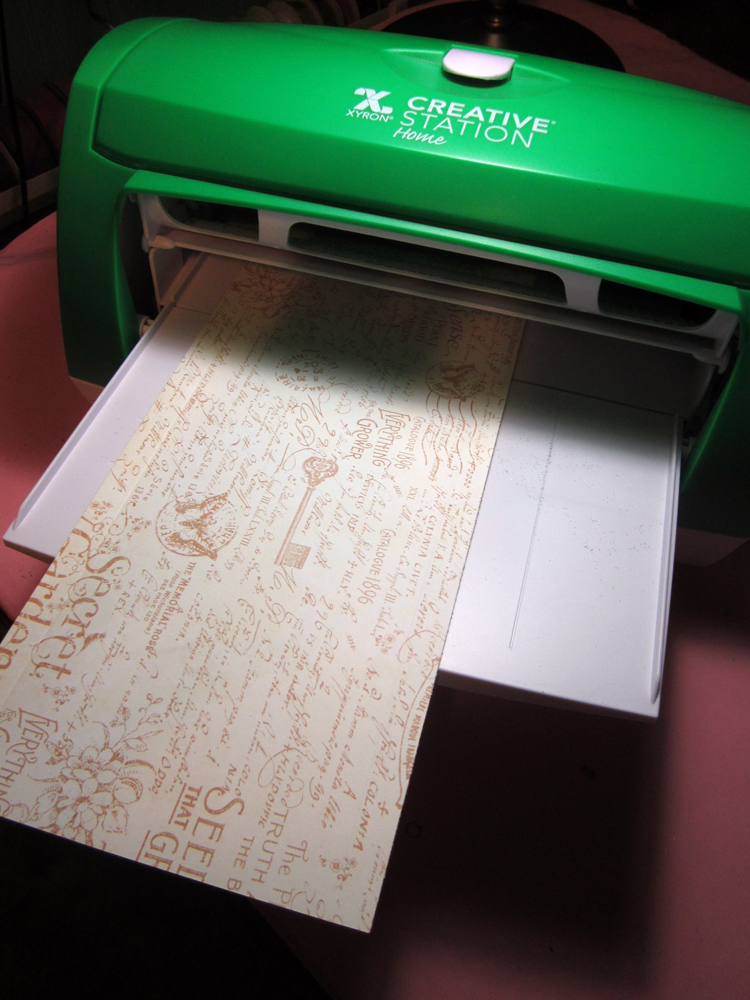
Run the paper through the Xyron Creative Station to apply adhesive to the entire back.
Cut tabs along the edges of the paper (up to the score line). Apply the paper to the tin can, and wrap the tabs around the edges of the can.
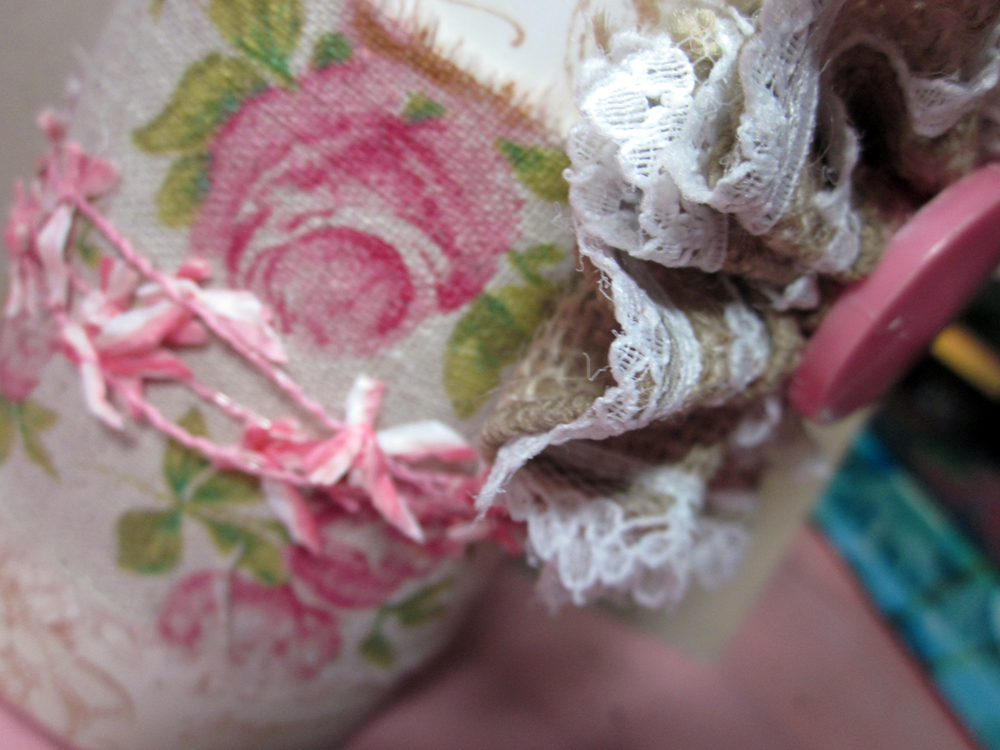
Ink the edges of the can. Adhere the Vintage Printed Ribbon around the center of the can. Add several wraps of the mini raffia bows over the top.
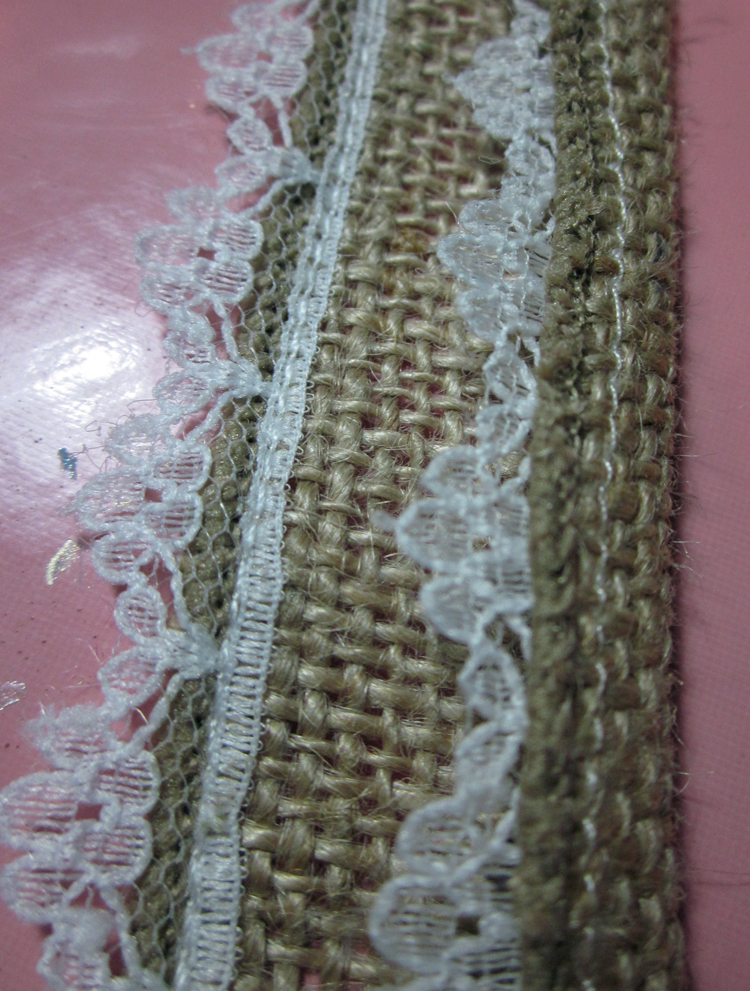
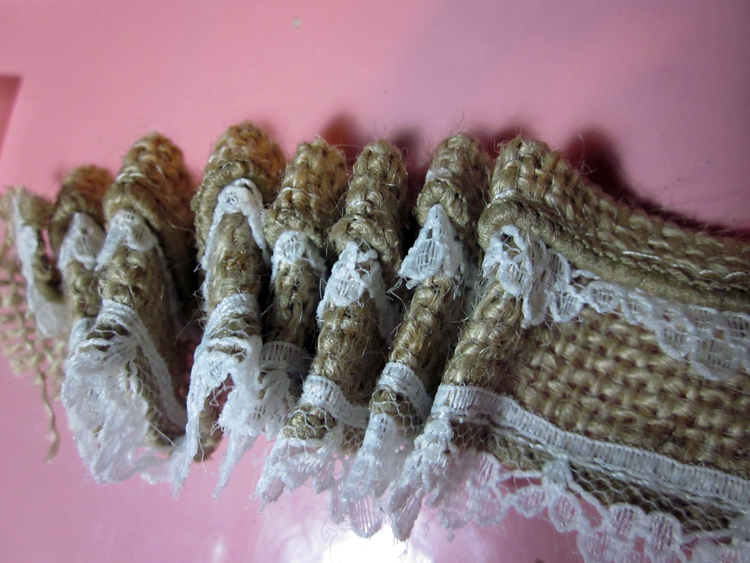
Use the wired burlap with lace edge ribbon to create a rosette. To make the rosette smaller, fold the ribbon over as shown.
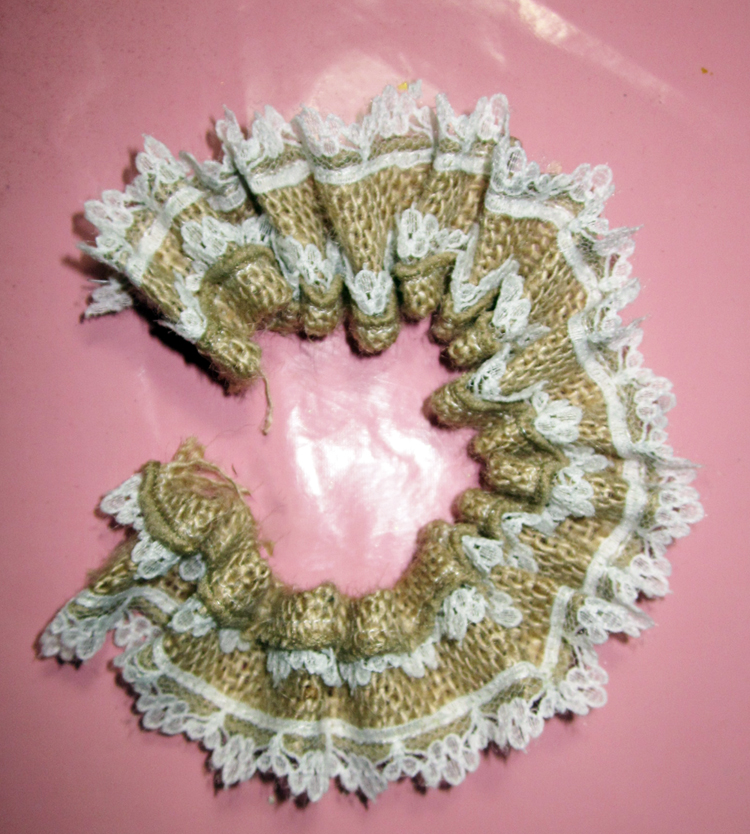
Since the ribbon is wired, you can finger pleat (and not have to score) and it will stay in place.
After the pleating is complete, use a hot glue gun to attach the two edges into a circle. Then use to glue the center into a rosette. Add a button to the center.
Add the rosette to the can and you are ready to start organizing!
There are 2 chances to win some new releases this week: here and on our sneak peek!
Partners in Craft Supplies Used:
- Graphic 45 Patterned Paper – Secret Garden
- Xyron 9” Creative Station with Permanent Adhesive
- Scor-Pal
Other Supplies Used:
- Tin Can
- Vintage Button


