Nov03
Hand-Made Christmas Card
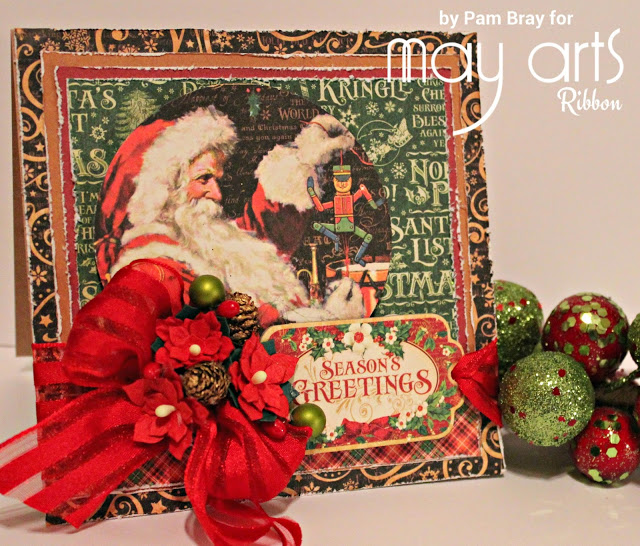
Our First Christmas Project of the Season is Here! It is never too early to start thinking about Christmas Cards, and what could be more thoughtful than a handmade gift or card?! Today, Pam Bray of Scrapbook Flair creates a beautiful Season’s Greetings Card using our 1.5 Sheer with Woven Ribbon Stripes Ribbon.
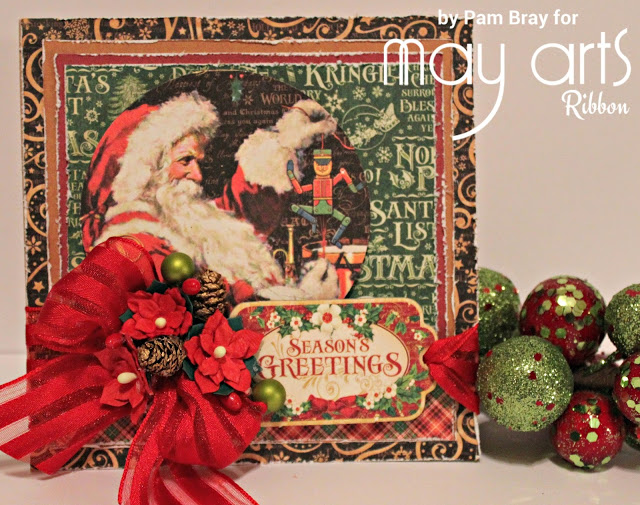
To create this beautiful card, follow Pam’s simple steps below:
Step One:
Distress the edges of pattern paper. Adhere paper to the top of card base.

Step Two:
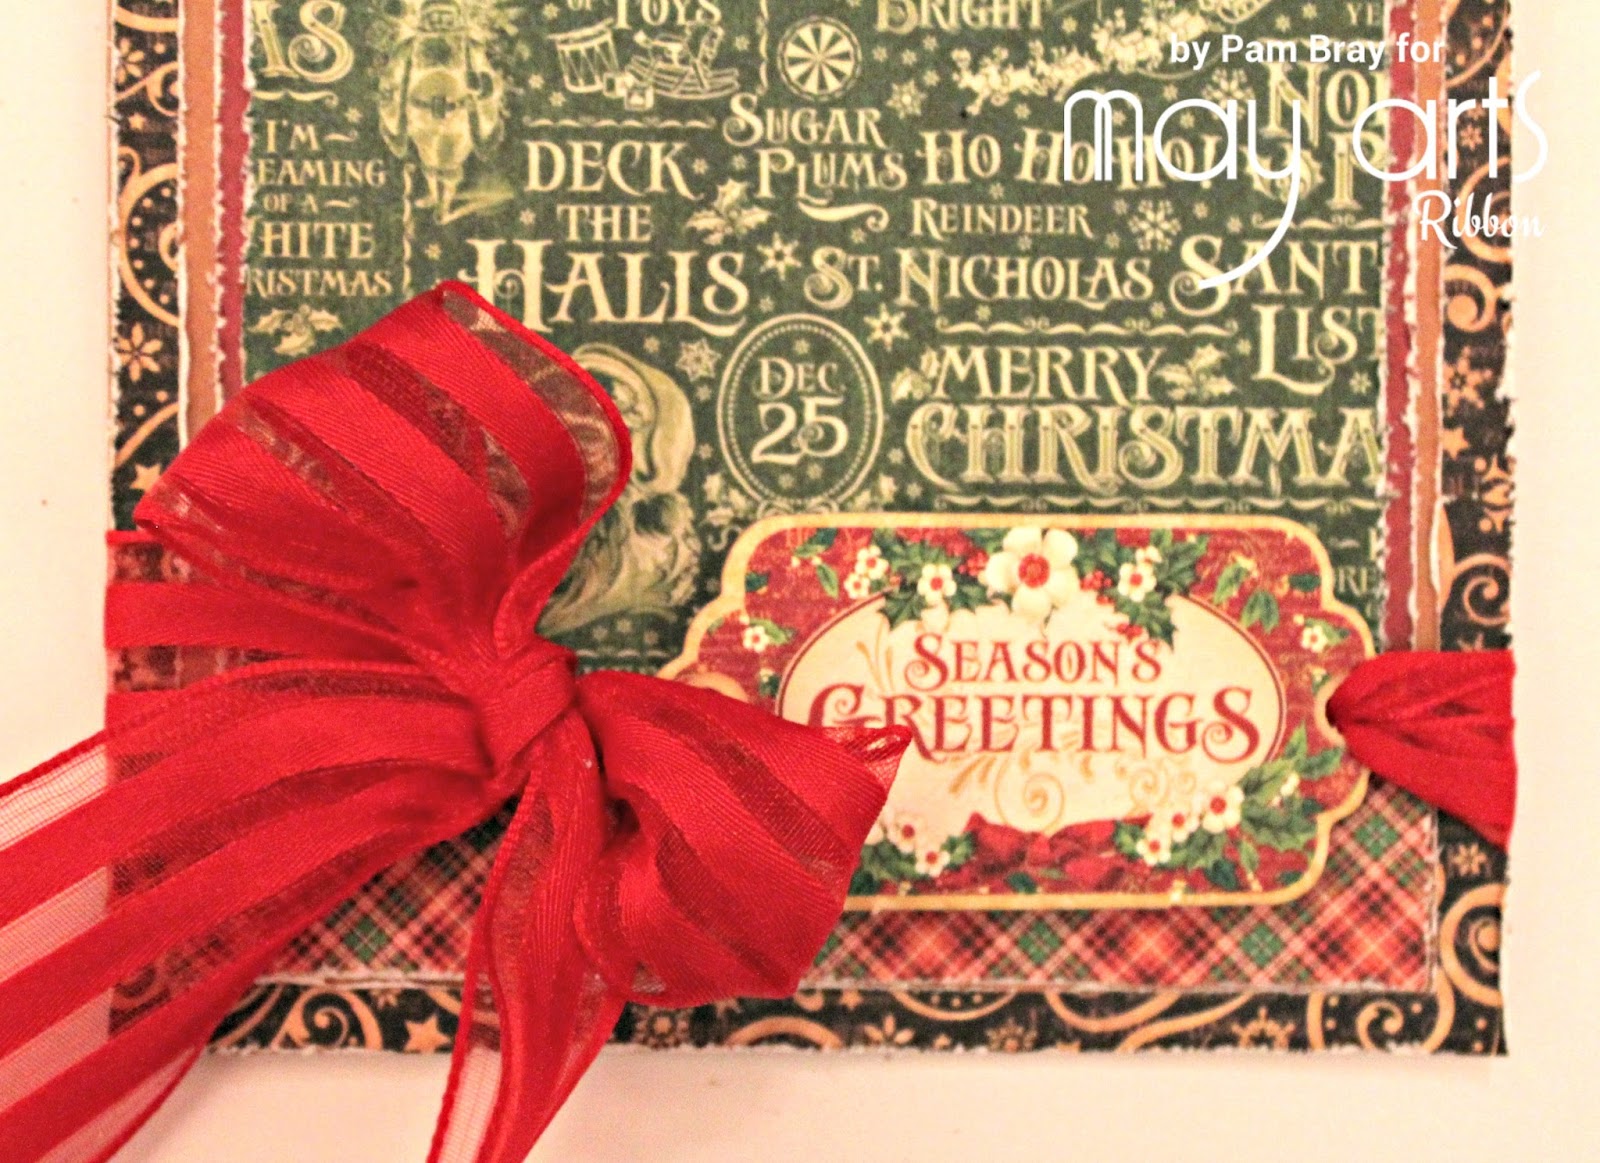
Tread 1.5 Sheer with Woven Ribbon Stripes Ribbon through chipboard “Season Greetings”.
(Place pop dots behind chipboard to hold it into place), and wrap a ribbon around the inside of card front and tie a bow.
Step Three:
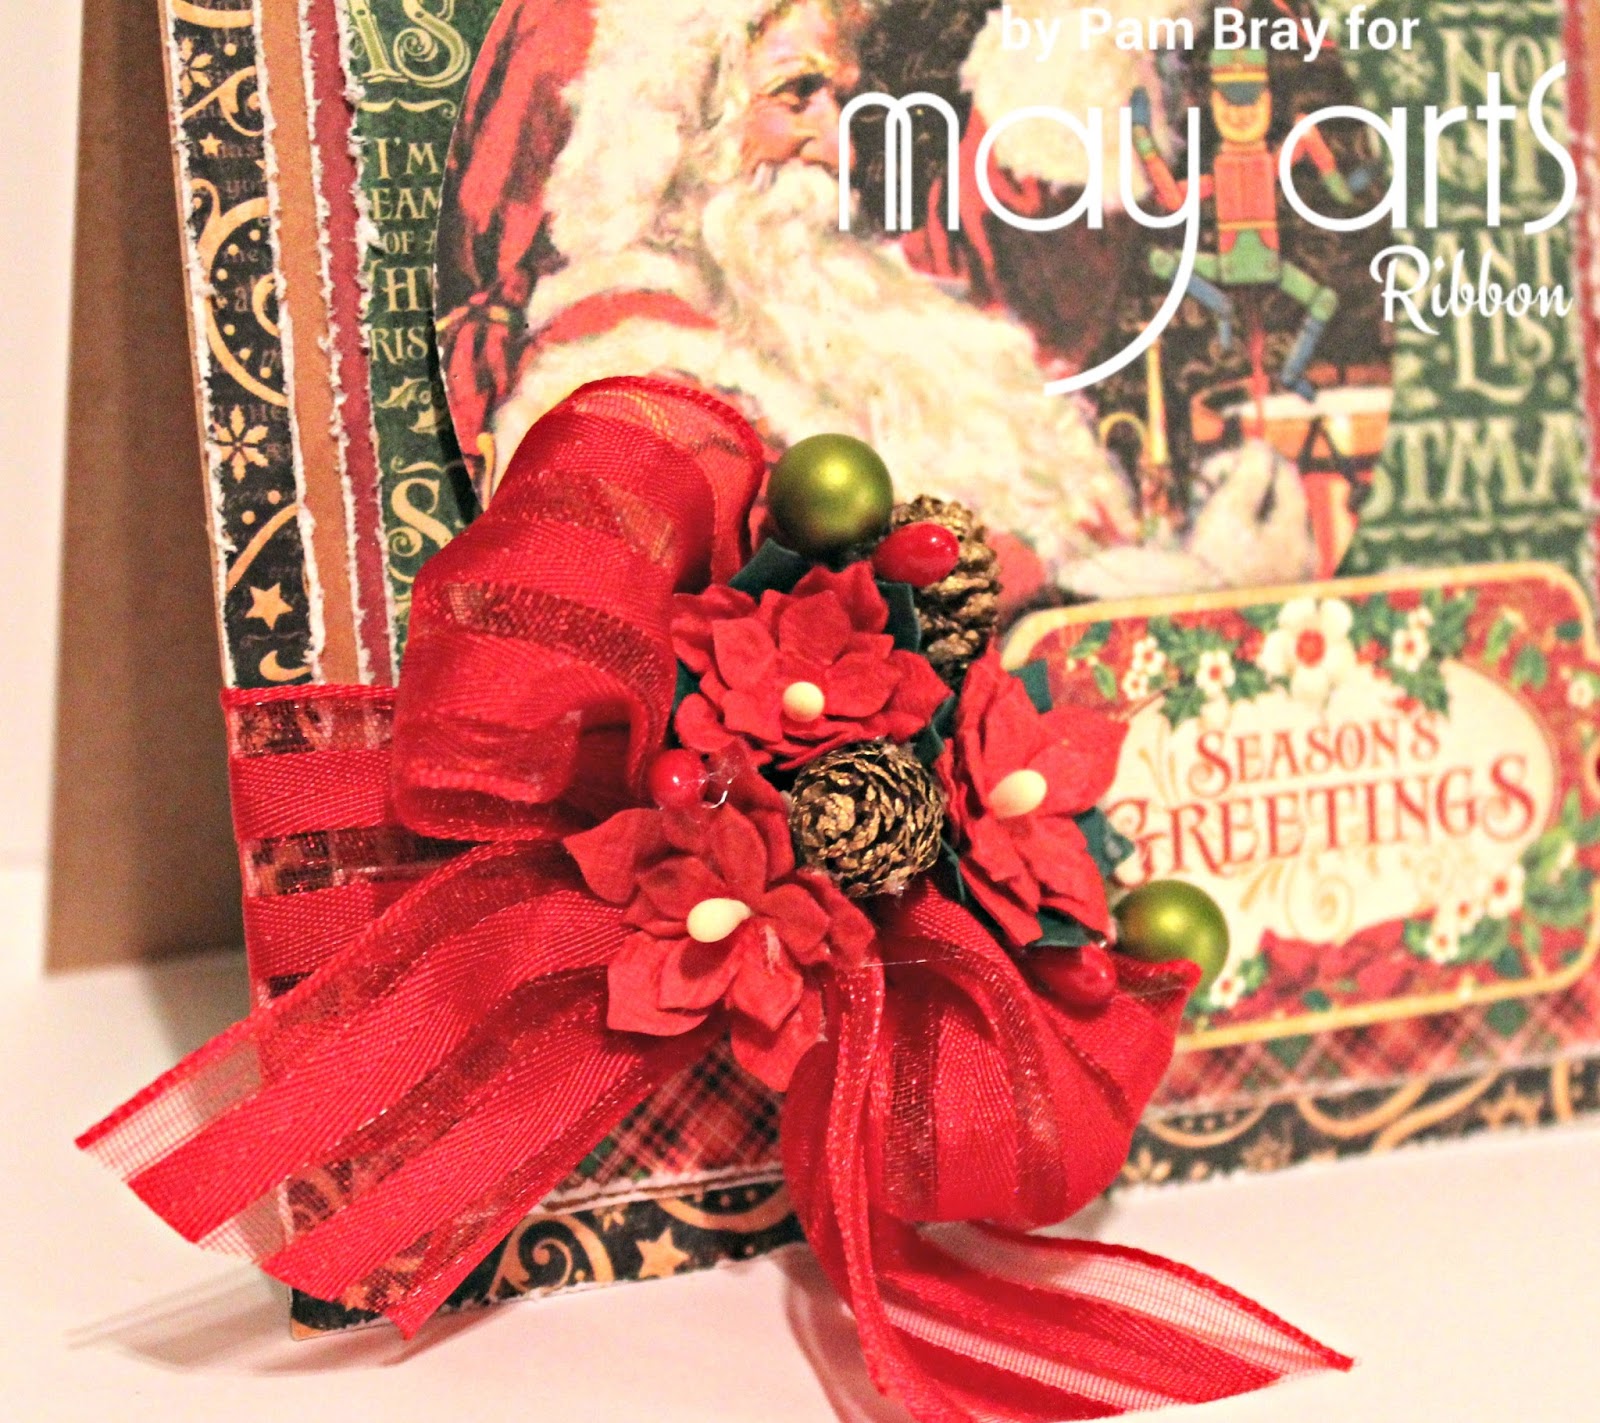
“Punch” the Santa image out with a circle punch. Then add the Santa image to the front of the card with pop dots. Add poinsettias, small cones and berries to the card as desired. Finish by simply cutting the ribbon ends.
Step Four:
Share your finished card with your friends and family! They are sure to love it! I hope you are inspired to grab some pretty Christmas paper and May Arts Ribbon to start designing your own Christmas Cards. Please see the full list of supplies and ribbon used below!
Thanks for stopping by! Hugs, Pam
May Arts Ribbon Used:
1.5 Sheer with Woven Ribbon Stripes Ribbon, in RED (SKU# 544-15-14)
Other Supplies:
Graphic 45 St. Nicholas 8″ x 8″ Pattern Paper and Chipboard
Petaloo Mini Paper Poinsettia
5 1/2″ x 5 1/2″ Kraft Card Base
Distress Tool
Pop Dots
Adhesive


