
I’ve got a great gift project today! I found the instructions for making a neck wrap here, and decided to add some ribbon to fancy it up a bit!

The directions on their site call for two 8”x20” pieces to be sewn together- I used a fat quarter (18”x22”) to make it even easier! I simply trimmed two inches off the length & width and pinned the right sides together.
In order to keep your filler evenly dispersed divide the 20” into 4 even sections- you can mark these with a pen if you’d like. I cut the folded side at each mark & slid my ribbon (I used ½” solid/wrinkled ribbon in red) in to hold my spot. I ran a ¼” seam around the perimeter, leaving an opening to turn the fabric & be able to pour my rice inside.
The directions call for 6 cups of filler (flax, rice, etc). Pour 1.5 cup of your filler into your bag & pin your ribbon/fabric so that you can run a stitch to secure your section & ribbon. Repeat for each section. This is the only tricky part- pinning the ribbon in place on the front & back of your wrap at the same time takes a little patience! 😀
I machine sewed the opening closed, and repeated the stitching on the other end so that both ends would match.
To use your wrap you microwave 2-3 minutes, so ideally you want to choose a cotton fabric/ribbon & watch your microwave carefully! The ¾” canvas ribbon and the eyelet trims would make great choices for this project! Take caution that it is not too hot before putting on your neck.
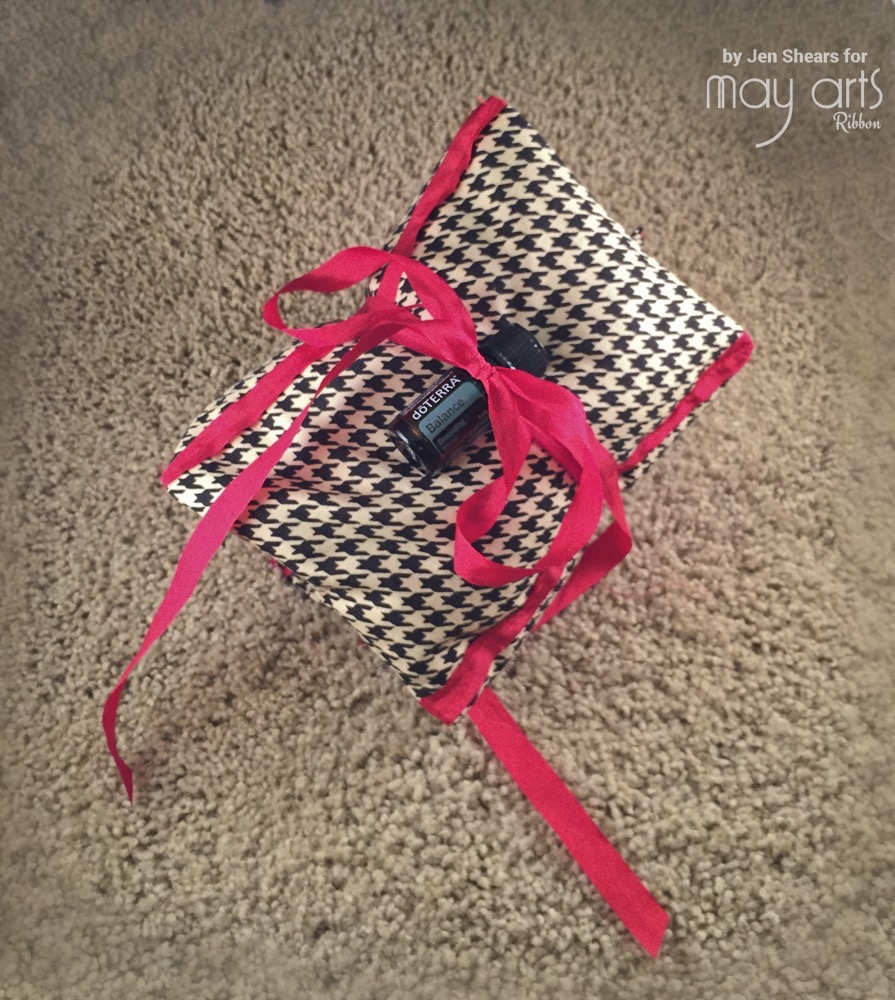
I wrapped it up with some more red solid/wrinkled ribbon & an essential oil for a pampering gift!
Thanks for stopping by- I hope you’ve been inspired!
By Jen Shears
Other Supplies Used:
- Fat quarter of cotton fabric
- Sewing machine/thread/straight pins
- 6 cups rice/funnel

THANK YOU for sharing this pretty & practical project Jen!!!
What a nice gift that would be and an excellent choice to include a Doterra essential oil.
beautiful!