How To: 3D Layer Embellishments with Ribbon & Paper
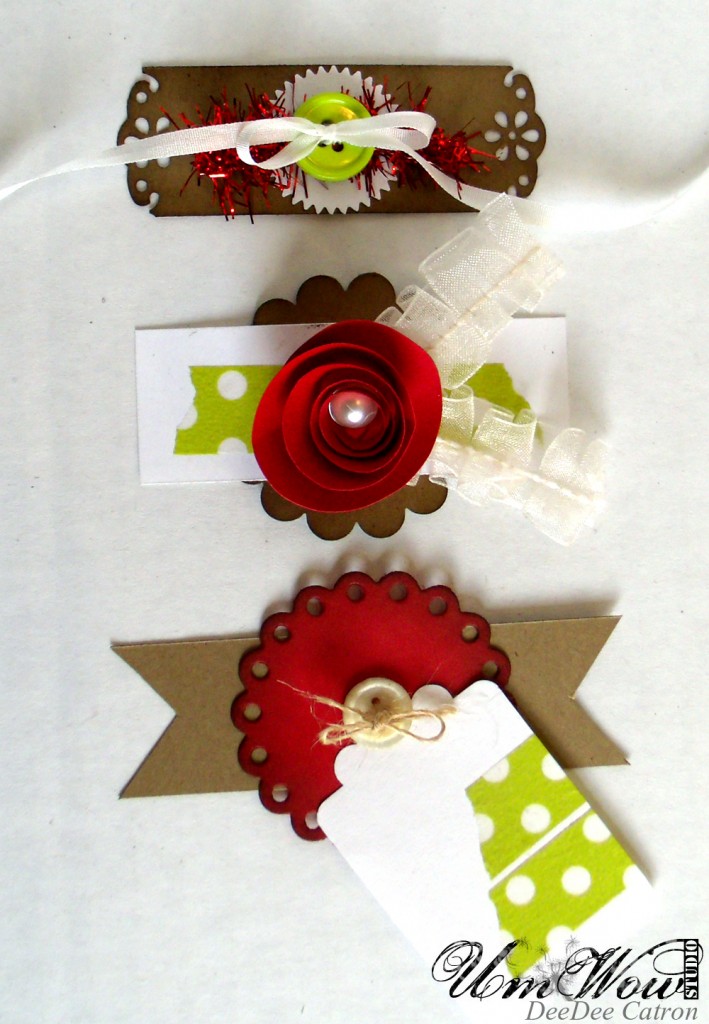
Hey all! DeeDee here today, with some super cute layered embellishments using paper, diecuts and ribbon!
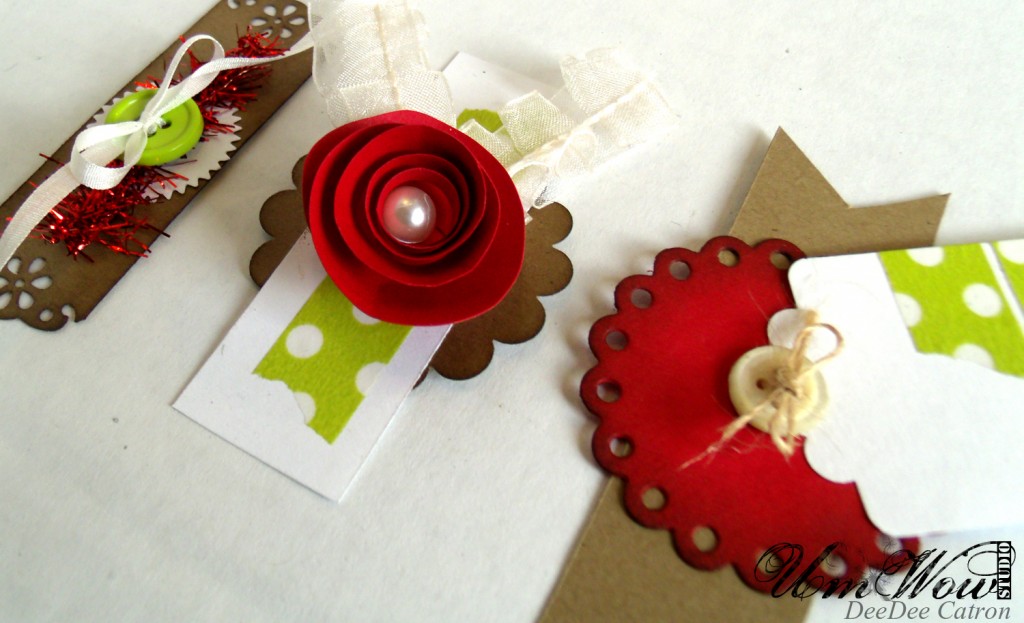
Basically I’ve just die cut, punched and trimmed shapes of paper. Some I’ve distressed and some I haven’t. Then I just played with layering some of the bits n pieces on top of each other. I ended up cutting a “banner” shaped piece from the kraft, but leaving the white strip of paper with square edges. I’ve also rolled a paper flower from a circle of red paper. The best part of this is layering, mixing and matching, and just generally having fun with your different pieces! Use things like old buttons, scraps of paper, and anything else you can think of. Don’t forget the ribbon!! Watch this video to see how I’ve layered the bits n pieces!
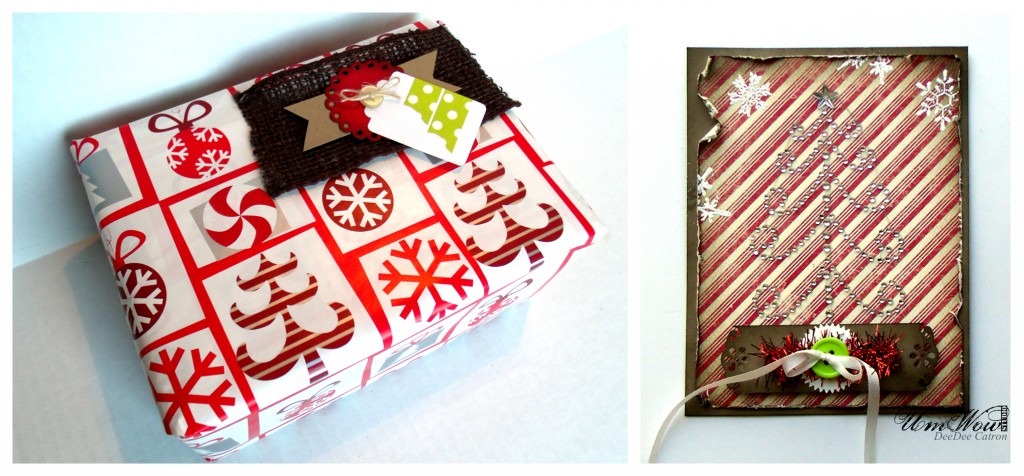
And here is how I’ve used two of the three embellishments so far! One on a Christmas card, and one on a package under our tree 🙂
I can see these in all colors for all occasions, too! If you end up making some, please share! I’d really love to see all the variations of these.
Thanks everyone!
Blog post by: DeeDee Catron
May Arts Ribbon Used:
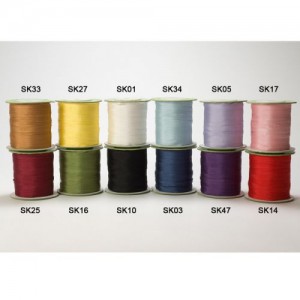
- SK01: 1/8″ White Silk
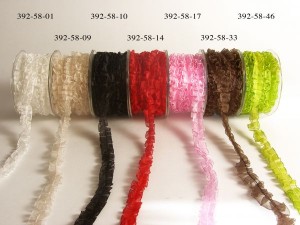
- 392-58-09: Sheer Box Pleat
Other Supplies Used:
- A wet glue (I used Crystal Lacquer)
- Hot glue and gun
- Scissors
- Various punches and dies
- a paper trimmer
- Buttons and a half pearl
- Red, kraft and white cardstock
- Distress ink (I used walnut stain)
- Washi Tape (mine is from Gauche Alchemy)
- Mini tinsel.


