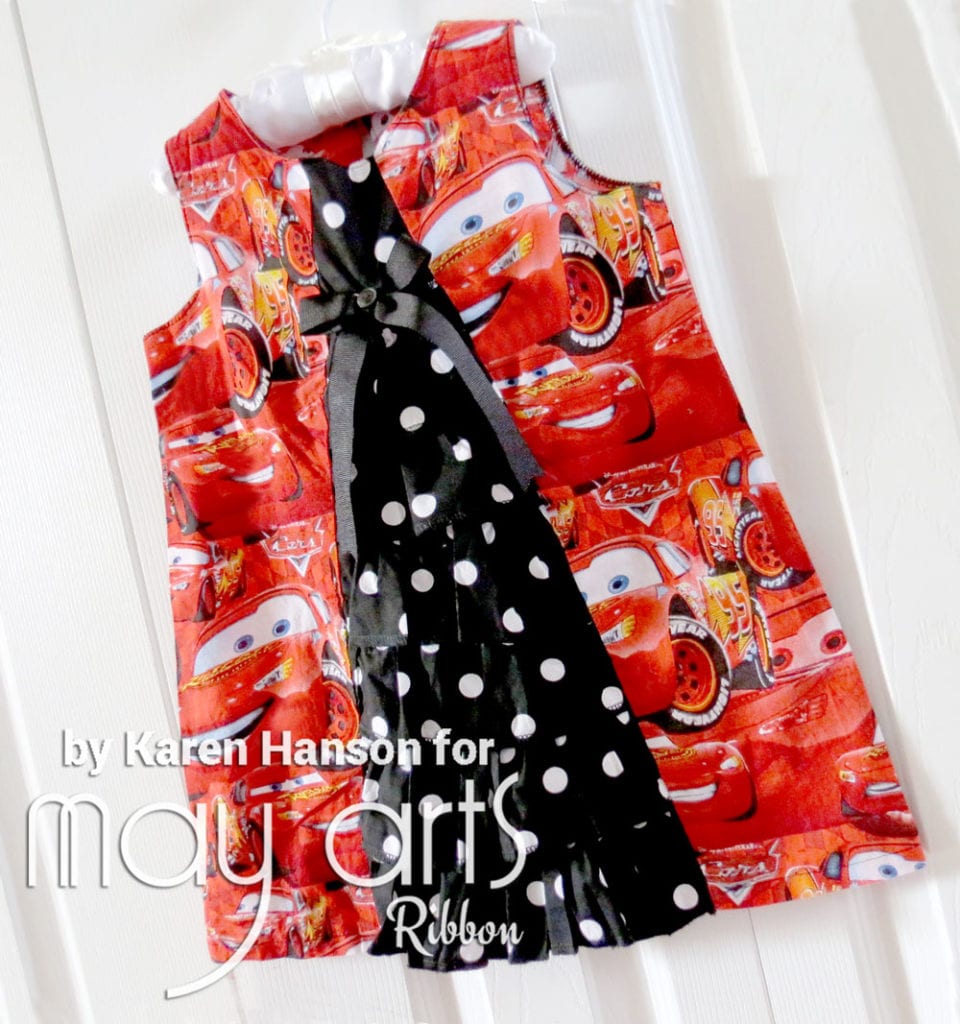
DIY Lightning McQueen Dress
Hi everyone! It’s Karen rom ScrappyCanuck Studios and today I am here to share a little project I completed for one of my daughters using two of my “go-to” products from May Arts Ribbon – ¾” Grosgrain Ribbon in black (QH-10) and 1mm Elastic String Ribbon in black (484-10).
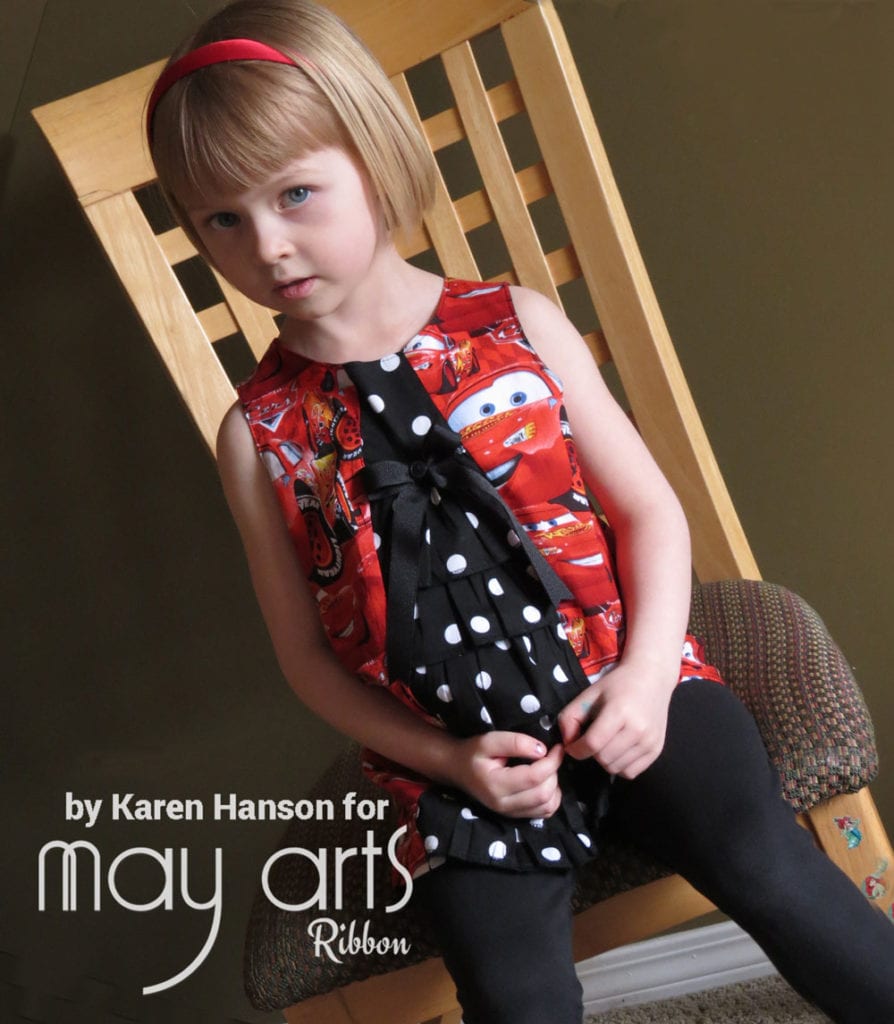
My youngest daughter recently turned four, and while she loves one particular princess, she also absolutely adores Planes and Cars. In fact, when we started talking about her birthday party, a “Cars” theme was the front runner right from the beginning (no pun intended). But finding this theme and remaining somewhat “girlie” is actually more challenging than I thought it would be, so I ventured out to make a little dress for her.
Now here’s where the ribbon comes in. I am in no way an expert seamstress! In fact, I can probably count on two hands the number of sewing projects I have tackled in my adult life. I actually really like to sew, but I have noticed that attention to detail is important, and this is not always my forte! 😉 This is why I always make sure I have matching ribbon on hand when tackling a project! You can use it to not only give a project a finished look, but also to cover a boatload of little mistakes!
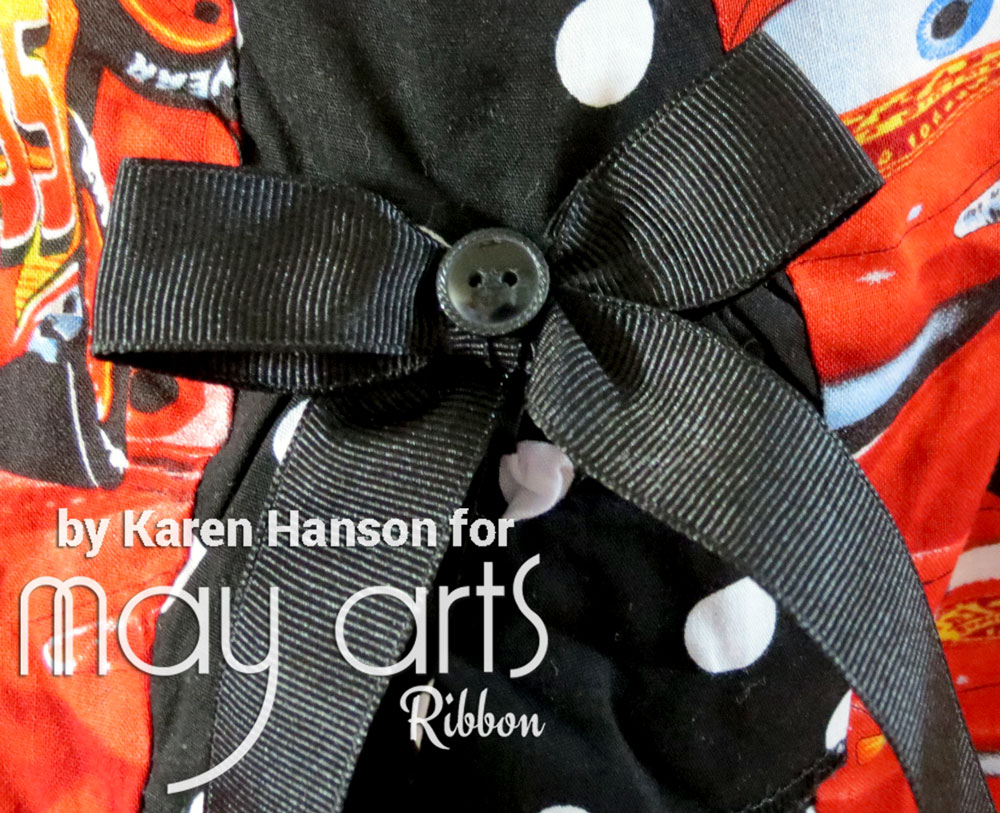
Take for instance, the awesome ¾” Grosgrain Ribbon in black (QH-10) on the front of the dress! Now when I pulled this dress together, I didn’t really have a pattern so I was kind of winging it when it came to the ruffles in the front. As I worked my way up, I quickly realized that I didn’t quite have enough to finish a last row of ruffles up at the collar line. So I simply finished that seam off with the bow and button, and it ended up giving a bit of an umpire waist look to the dress. I actually like it way better than the sketch I did with the ruffle all the way up.
Oh, and speaking of winging it, I had planned to have the dress simply slip over my little one’s head, but given that she has a rather large pumpkin, I realized after the first try on that I was going to need to add an opening in the back. Tackle a zipper? I think not! How about a simple button with some elastic ribbon lopped and then sewed into the back seam! Easy! And I would argue it is a darling detail that actually ties the button on the ribbon in the front together with the back of the dress.
In the end, I loved the way the dress turned out and the ribbon really made it look like I was much better at this than I am! So if you are like me and would love to try a sewing project but feel like you don’t have the experience behind you, go for it anyway! Grab some ribbon and see how you can turn some “oops” into fun details that actually work really well!
By Karen Hanson
Other Supplies Used:
- Fabric in two patterns
- Coordinating buttons
- Coordinating thread


